Each spring semester, I teach the CMWEB 270 class on web application security. Although we review a number of tools in that class, I also recommend students investigate packages of tools. One such tool is Kali Linux. This is a newer version of the venerable Backtrack Linux (which has been around for many years). As with most such tools, I tend to run these in virtual environments (in this case, I am using VirtualBox). One advantage of Kali Linux is you can also run this as a live USB install. In order to successfully use Kali Linux, one must have some understanding of Linux commands (and some comfort with issuing commands within Terminal). That being said, there are many tools available which have a GUI. I am covering Kali Linux from the perspective of a novice, but this tool also has many capabilities for veteran security personnel.
A few installation notes first. I like to use VirtualBox Guest Additions (so I can share folders with the host system). In order for this to happen, one should install Linux Kernel Headers. Open a new terminal window and issue the following command:
apt-get update && apt-get install -y linux-headers-$(uname -r)
Next, select Devices > Install Guest Additions (from the VirtualBox menu). Then open the “CD” and copy the copy the VboxLinuxAdditions.run file to the Desktop. Change the permissions to execute – chmod 755 and run the file. After the additions are installed, delete the file form the desktop and unmount the “CD.” You can then work with shared folders as desired (I like to exchange logs, etc. with the host system, for example).
I also set the Metasploit environment to automatically start when the system boots. First, launch PostgreSQL (it needs this database engine to run) using Terminal.
service postgresql start
Then, launch the Metasploit service using Terminal also.
service metasploit start
You can always use
msfconsole
to check database connectivity [db_status] (and use other commands).
I also set PostgreSQL and Metasploit to start when the system loads.
update-rc.d postgresql enable
update-rc.d metasploit enable
Lastly, I strongly recommend checking for system software updates (I found 84 after I installed this). Ok, now we have our initial environment and can explore some of the capabilities. Let’s first examine the installed applications (there are many). Note the screen capture below. Although I have highlighted a select number of tools (some in the top 10), there are a number of other tools (including many Cisco tools as well as anti-forensic measures). As always, you can click on the image to see a larger version.
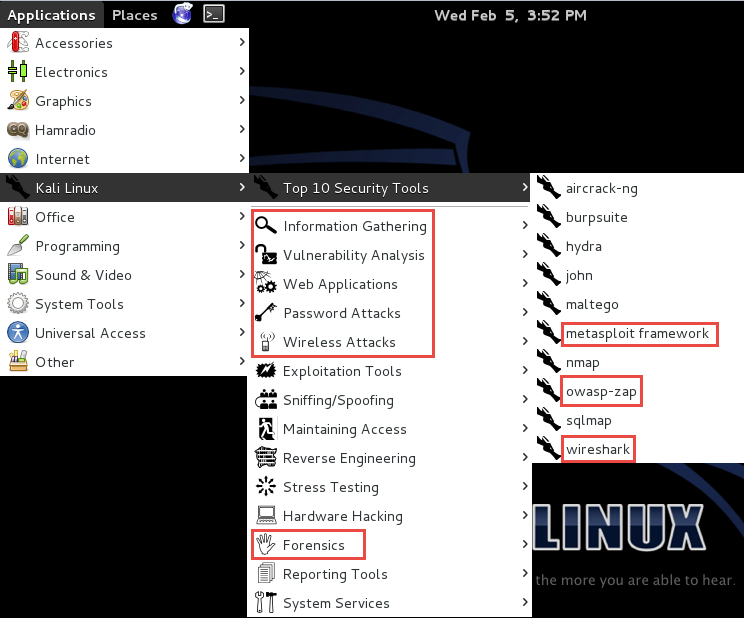
To me, the greatest advantage for a novice is that many of these tools are installed and ready to utilize. Of course, we need a context to understand capabilities and why some tools are better suited for certain tasks). Let’s just examine a few tools so readers have an understanding of the capabilities.
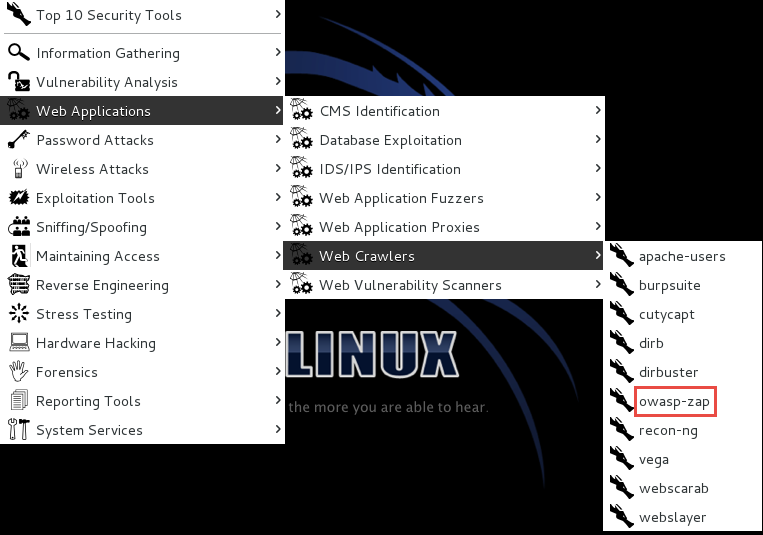
First – OWASP ZAP (this is an older product). I think it was originally based on the even older Paros Proxy tool.
In a nutshell, you point this tool at a website and scan the site for vulnerabilities. An example site (which is use in my web application security site) is analyzed in the screen capture below.
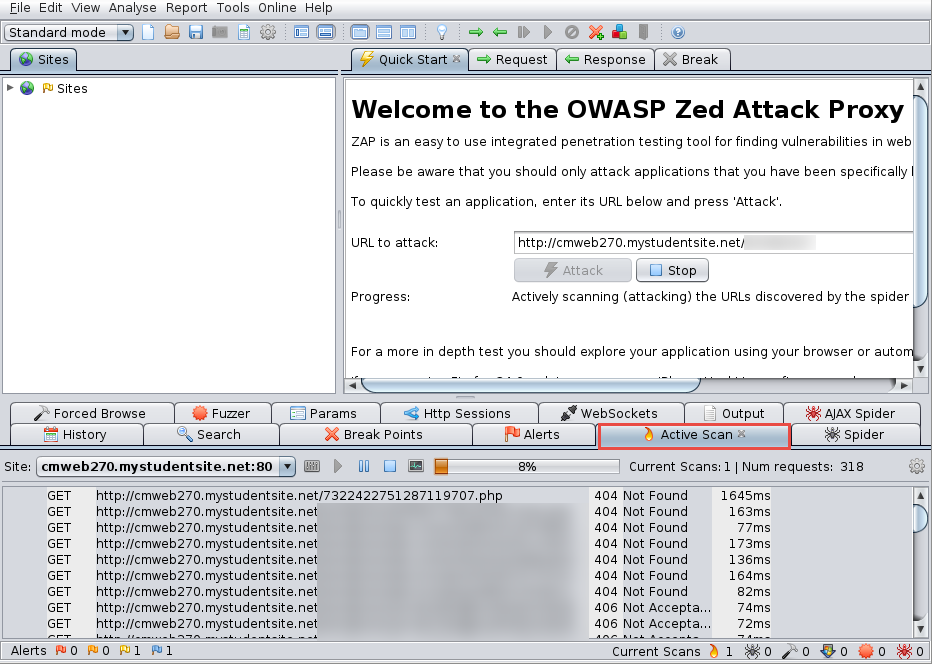
Without going in to all the details, a number of vulnerabilities are discovered at the above site. Obviously, we further investigate these in much more detail in the CMWEB 270 class.
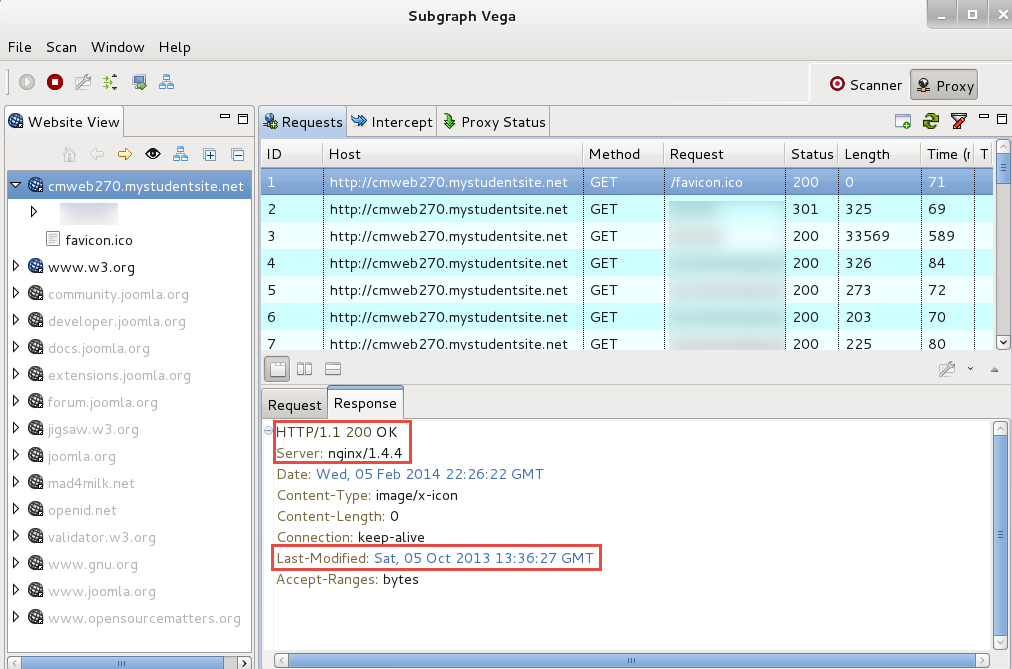
An alternate tool is Subgraph Vega. This is also installed. Since it is a proxy, one must first configure thee browser to use a proxy. The default browser for this environment is Ice Weasel (love that name). This is a browser based on Firefox. Once configured (port 8888 by default), one sees the following sort of information when the browser visits a site. Of course, you can modify request and response information as desired with most of these types of tools. I have just done some basic server fingerprinting in the screen capture below.
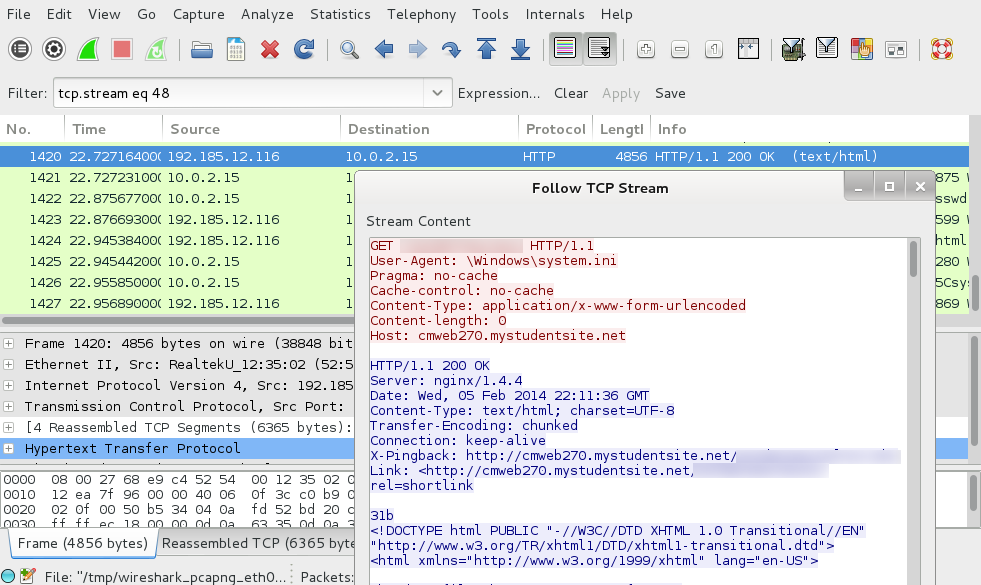
Another useful tool is WireShark (also installed in this environment). This allows one to examine the contents of network packets (and reassemble interesting parts). In some classes, I have students track unencrypted login information and tell me the username and password being used. Yes, this is a good reason why I always use SSL when providing login credentials. If a site asks for login credentials and does not encrypt them, it is a good idea to find another site. Here is some initial output. I simply followed a live TCP stream to observe some raw HTML in transit.
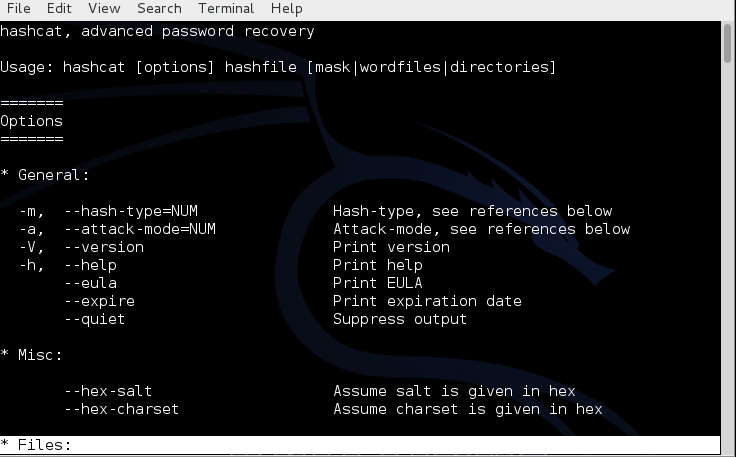
Additionally, there are many password cracking tools (like Hashcat). You may recall an earlier blog post of mine on that particular tool. By default, you have the command line version installed and ready to use with Kali Linux.
Yes, there are many other tools installed and mostly configured. I just wanted to provide an introduction and peak your curiosity about this suite of tools. Additionally, one can install other tools (such as LOIC – Low Orbit Ion Cannon) as needed. Yes, many of these tools could be considered dangerous. Some can bring servers down (or cause malicious damage). That being said, I believe it is important for my students to understand security vulnerabilities (how to locate them and how to defend against or mitigate them). These tools are all readily available on the WWW so it is also important to know what you are up against. I am curious if you have used Kali Linux. As always, I look forward to your comments.