In preparation for the spring, 2017 semester, I upgraded the Moodle environment that is used as a learning management system for our CMWEB classes. I thought it might be helpful for those using this environment to better understand the effort it takes to maintain (and keep this up to date). Yes, this is all done on my own time (and without any financial support from the school). Yes, we could use Blackboard, but there remain some limitations (and we like students to experience an alternate learning management system). So, what does it really take to upgrade Moodle (keep in mind I was moving from Moodle 3.1 to 3.2+ – which shouldn’t be that much of an upgrade). Famous… last… words…
First, and most importantly, one needs to backup the current environment (things can go wrong, horribly wrong). To backup Moodle, one must first backup the Moodle data repository (this is stored at a spot not directly accessible via the web for security purposes). One must also backup the Moodle files and folders. Lastly, one must backup the Moodle databases. All told, this took over 4 hours (keep in mind there are millions of lines of code and the SQL export itself was over 125 MB in size for all the CMWEB classes).
For those who are curious, I am running Moodle on a dedicated server environment, not a reseller account. This means the site is more secure since no other individuals are using the server. Of course, it means it costs more as well. Sigh.
Now that everything is backed up and stored on another computer, it is time to upgrade. This is done by first placing the site in maintenance mode and then setting an upgrade configuration key. The latter prevents unauthorized access while the upgrade is in progress (during the upgrade, a malicious individual could trigger it and then see all the database table names and much more). Newer versions of Moodle provide the capability of setting a super secret key (and I strongly recommend this approach). While the site is in maintenance mode, only site administrators can access it (since we are between semesters, this is not a problem).
Next, I renamed the Moodle folder and created a new folder with the prior name. One should never simply over write the contents of a Moodle directory, one should always do a new install. Once the files and folders were uploaded (all 190 MB of them), I copied the original configuration PHP file from the older site to the new environment. This file contains pointers to the databases and more. I also made certain to check the new sample configuration file to see if there were new features needing to be installed.
Of course, the current version of PHP on the server was 5.6.4 and the latest version of Moodle requires 5.6.5. Instead of doing a minor upgrade, I opted to upgrade to PHP 7.0 (which is significantly faster). Yes, this took a fair amount of time to upgrade.
I then started the install process (this is triggered by visiting a specific URL in Moodle and entering the super secret pass phrase). It does take a while to upgrade as all the data stores are upgraded during the process. I also needed to make certain all additional plugins/ blocks/ enhancements were also installed in the proper folders in the new Moodle environment (and upgraded as needed before I could upgrade Moodle itself). There were a number of warning messages, but the site was upgraded to the latest version. Whew!
Well, that took about a day in total, but it is all good, right? Not really. In checking the warning errors, I see that several PHP extensions need to be installed (they don’t normally install by default with PHP 7.0). Ok. And, of course to install these, I need to upgrade the Apache server to the latest version. Done and done. Now, I can install the necessary PHP extensions (like intl and xmlrpc and many others). Of course, there are numerous server restarts during this process.
Now that the extensions are working, all is good, right? Well not really. I see that there is a need to upgrade the InnoDB file format from Antelope to Barracuda. Of course, this needs to be done at the command line (using ssh and MySQL cli). Luckily, there are tools. Of course, one must be root and have SUPER privileges to make this happen (it is a series of SQL statements). Certainly glad I have made backups of the databases (because if this goes wrong, the only way back is to restore the prior contents of the databases). Luckily, all went well and completed in a reasonable time.
So Moodle is now up to date (until the next version). Just to recap, here are the technologies I worked with (and knowledge I had to have to complete this upgrade).
- Solid understanding of sFTP (and ability to work with files and folders). Yes, this all needs to be done securely (so no credentials are passed in plain text across a network these days).
- Full understanding of PHP (not just the coding, but the differences between versions of PHP and the implications regarding which one was best to select).
- Full understanding of Moodle (including ability to know where blocks and related plugins are stored – spoiler alert, this is different between versions 2 and 3 if anyone is moving from an older version) and ability to know which to copy and which to upgrade.
- Solid understanding of Apache server capabilities and knowledge of how to upgrade the server environment.
- Full understanding of ssh (secure shell) commands in order to work with necessary data stores and perform necessary upgrades.
- Solid understanding of SQL commands (and knowing what to backup in the event of a catastrophic error and how to recover should such an error happen).
- Solid understanding of PHPMyAdmin tool (as I also needed to visually inspect the database tables to confirm all was upgraded properly).
As you likely suspect, all this is way beyond what I should be doing as a teacher. That being said, this should confirm I have a vast knowledge of the technologies I teach. Just in case there was any doubt *grin*. I wish we had time to actually go through this process in one or more classes as I think it would help individuals realize how all these technologies are inter-related (and depend on each other when upgrades happen). By the way, total elapsed time was over 16 hours to make all these changes. Yep, this is how I spent a fair amount of my time between Christmas and New Years. This does not include the time I spent verifying all was working properly once the upgrades were completed.
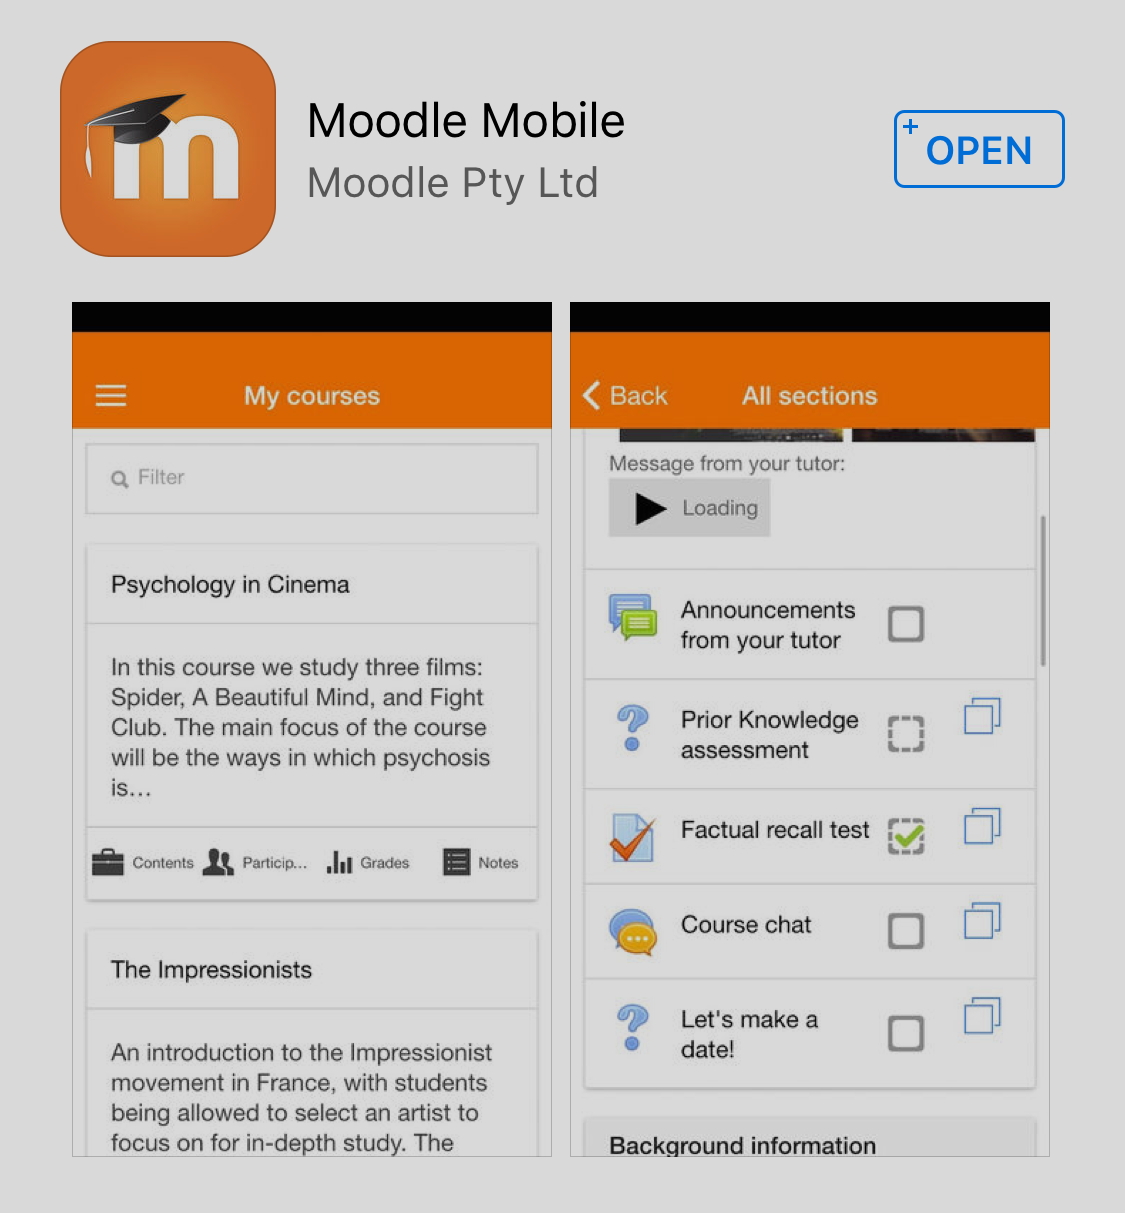
For those who care, all CMWEB classes are accessible via the mobile Moodle app. You should see a screen like the following (if you are using an iOS device). The app is also available in the Google Play Store. The app itself looks like the following:
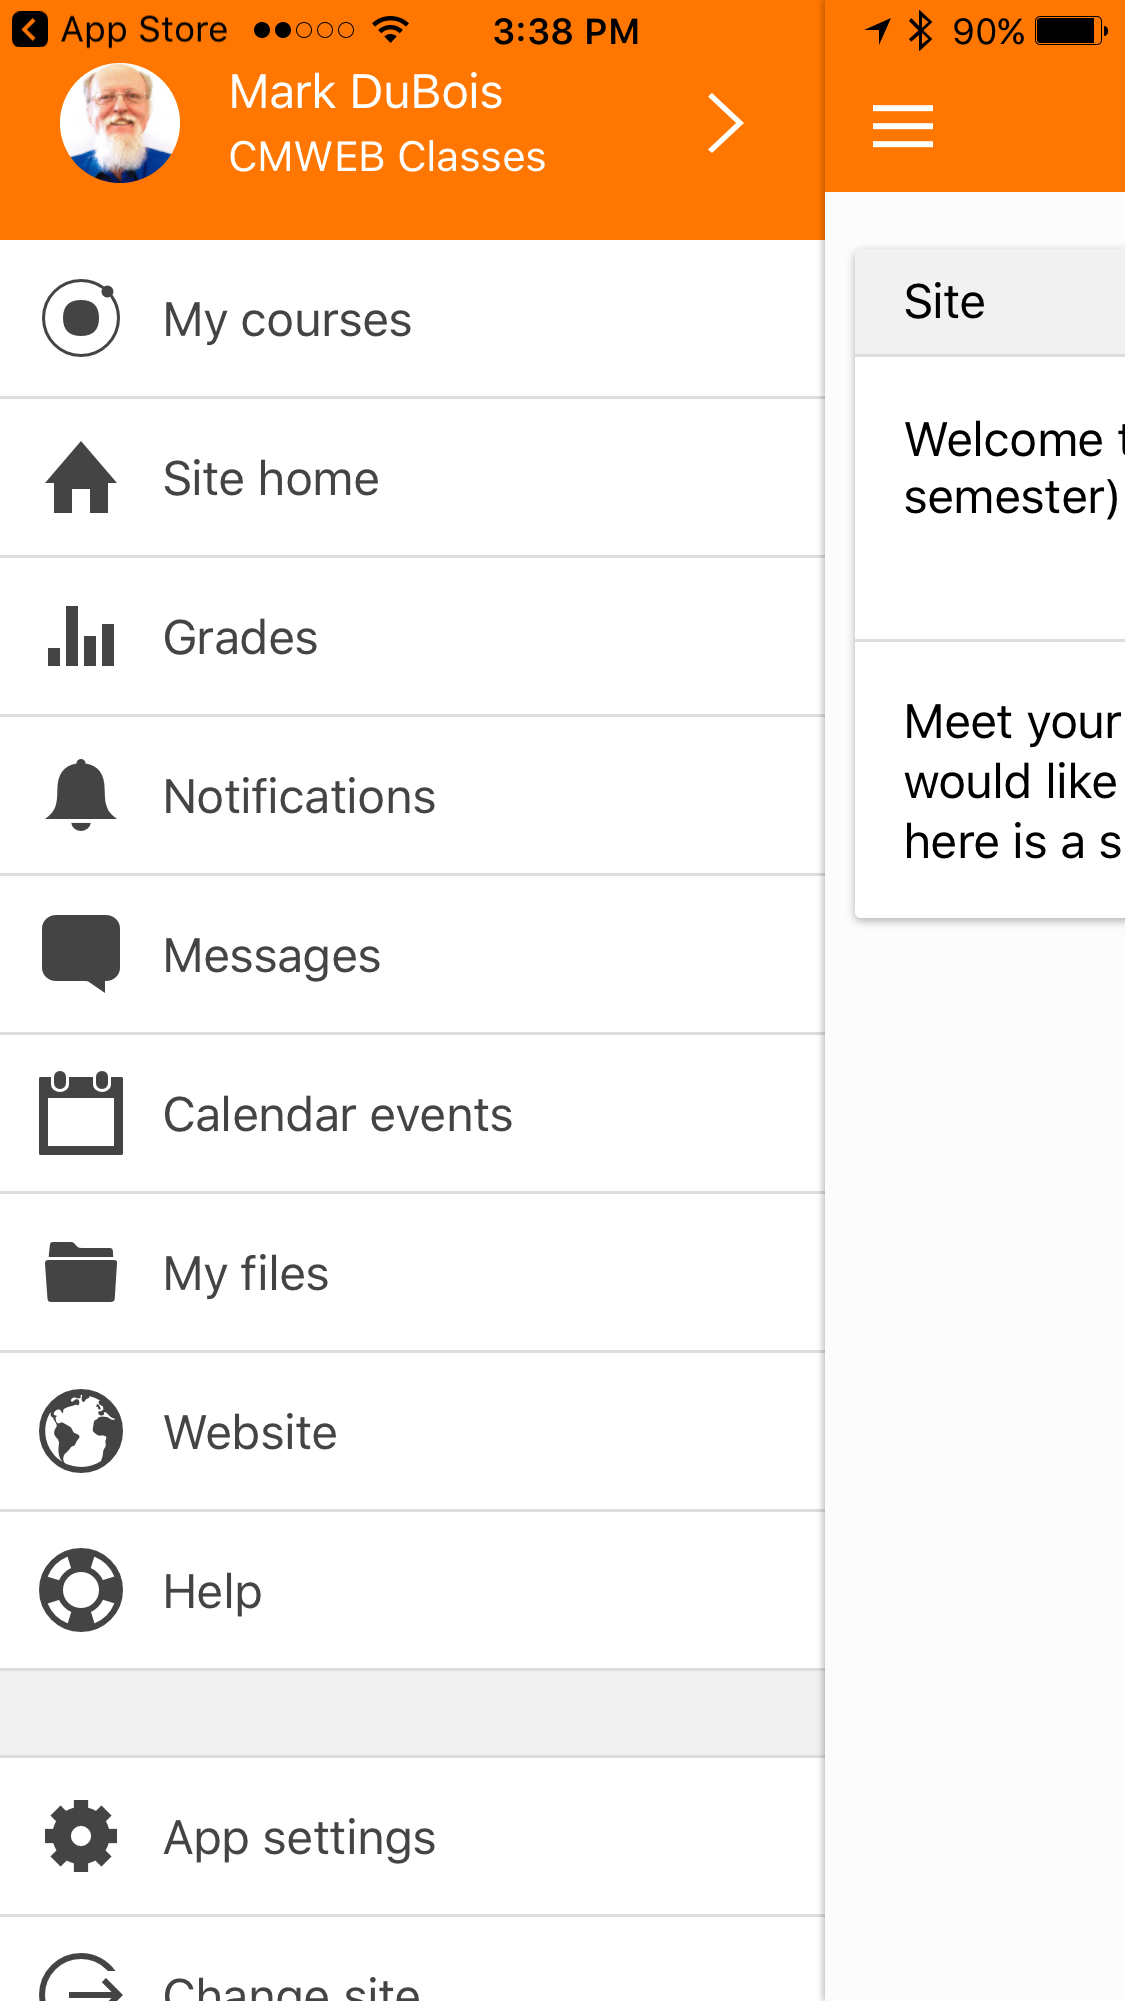
Once you point to the proper Moodle learning environment and authenticate, you will see something like the following:
Yes, the Moodle environment is also accessible for those using screen readers and other assistive technologies.
I am curious if anyone reading this has done a similar upgrade (and encountered the need for so many additional upgrades). As always, I look forward to your comments.