I recently provided a post on passwords. I mentioned that one should employ 2 factor authentication where possible. Given that many readers and students may use WordPress as a blog platform (or for other purposes as it is a rather flexible platform), I thought it might be helpful for individuals to understand how to employ 2 factor authentication on their WordPress blog.
First, make certain your server has a NTP daemon running (this means that times are synchronized with a common clock). If you are using a hosting provider (like HostGator), this is usually true. Still, it doesn’t hurt to confirm.
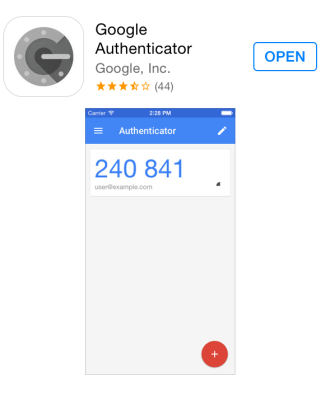
Next, make certain you have a smartphone. I know that may seem obvious, but you will need an app (Google Authenticator app). It is available for most major smartphone platforms. A screen capture is shown below.
Once you have confirmed that you are able to handle 2 factor authentication, here are the steps. It is pretty painless.
1. Download and install (and activate) the Google Authenticator plugin. I believe the current version is 0.47.
2. Open the Users link as an administrator. Select the user profile you want to update, and scroll down to activate the Google authenticator. You will need to specify a name (or you can accept the default name provided). I recommend a custom name as you may have more than one WordPress site.
3. Choose the option to create a quick response (QR) code.
4. Open the Google Authenticator app on your smartphone and scan the generated QR code. You may need to click the plus (+) icon near the top of the app to generate the scan. You will then see a 6 digit number within the app. If you use 2 factor authentication on multiple sites, you may see multiple entries (hence the need to have meaningful names for each site).
5. [optional and not recommended] You can also set a more generous time limit (up to 4 minutes) to remember older numbers (in the event there are timing issues with your server). I do not recommend this, but it is an option.
That is it. You have now enabled 2 factor authentication. To login, you now need to have your smartphone and know your username and password. Of course, I recommend also using SSL so all information is sent encrypted to the server. If all is working properly, you will now see a login screen like the following:
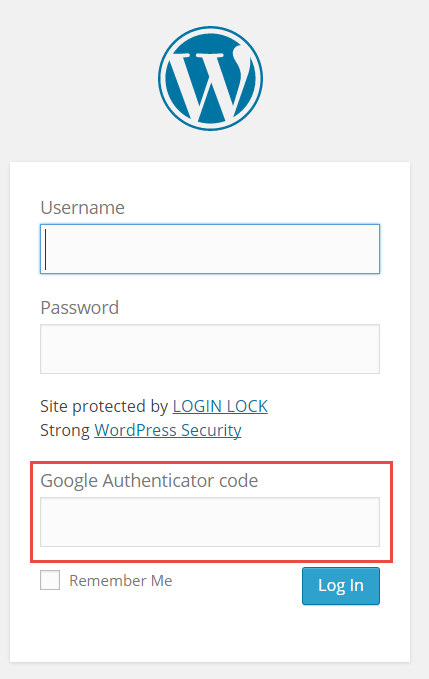
I have highlighted the authentication code you will need to enter. These codes are generated periodically within the smartphone app. You will either see a blue 6 digit number or a reddish brown 6 digit number. If the latter, it means that the number is about to expire. I recommend waiting until a new number is generated. An example is shown below. Note there is a visual clock which counts down (red arrow points to the clock).

But wait, what if there is a catastrophic issue and I am not able to login? Simply use FTP to visit the wp-content/plugins folder and delete the Google Authenticator folder. You should then be able to login without relying on 2 factor authentication again.
I am curious if readers find this information useful. As always, I am interested in your comments.