|
Listen to this post
 |
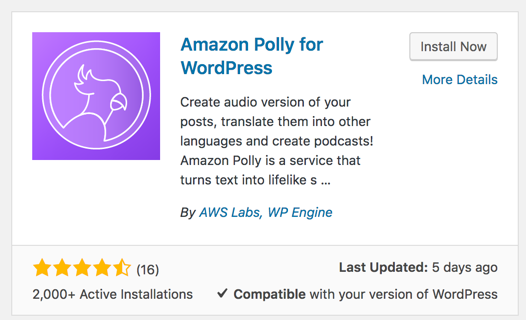
During our recent Peoria WordCamp, I was intrigued by Keanan Koppenhaver’s presentation on voice interfaces in 2018 and beyond. One of the technologies he mentioned was Amazon Polly (a text to speech engine and much more). I thought I would try out this technology. You will note that there is the ability to download or listen to this weblog post so… spoiler alert… I was successful. Yes, there is a WordPress plugin (note screen capture below).
That being said, there is a lot more to the story. Here is how I implemented this technology. Before beginning, you will need an account at AWS (Amazon Web Services). You need to enter your credit card information (even for the free tier). Here are the steps required to get Amazon Polly working on your WordPress site (I make the assumption you do not have an AWS account).
Step 1 – create your AWS account. If you follow that link, you will need to provide your eMail address, desired password, and account name. Before going down that rabbit hole, you need to understand that the first account you are creating is your AWS root account. It is considered a good practice to not use that account unless absolutely necessary and to create subordinate accounts (such as an administrator account) that you would use on a daily basis. If you already have an account, you can just sign in (you will need access to the IAM console). You will also nee to verify your phone number. Once you have your root account created, you can proceed to step 2.
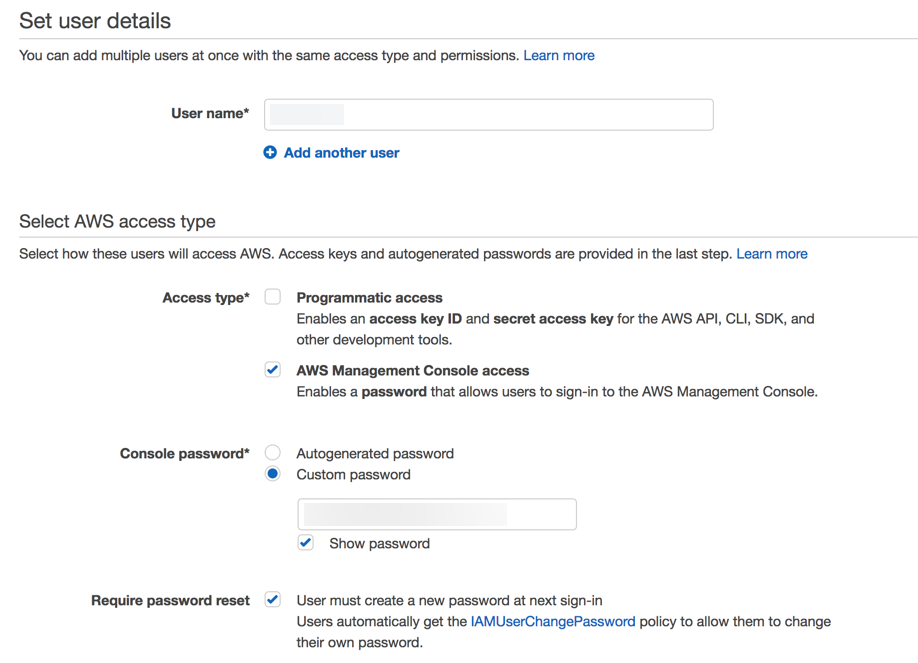
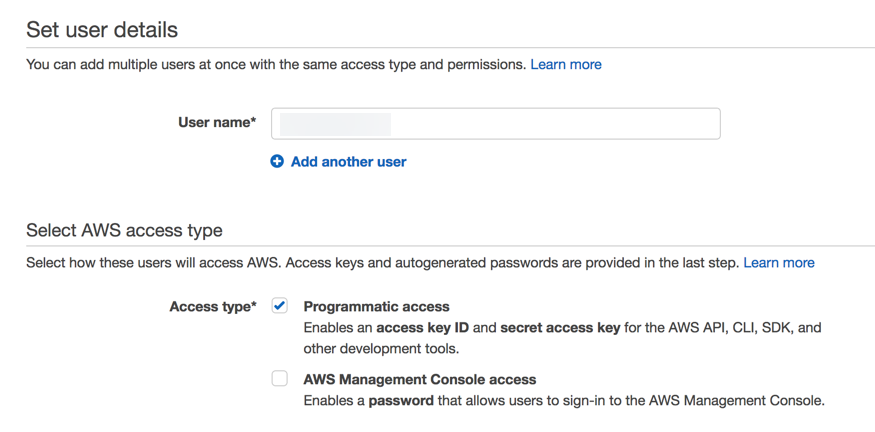
Step 2 – create an administrator account. For this step (and to have a better understanding of all the capabilities at AWS), I recommend you review this AWS getting started document. Some of the settings I used when creating the admin user are shown in the screen capture below. Obviously, the name of the user is blurred out. Note that I selected AWS Management Console access and chose my own long and complex password. I also required a password reset when that account first accesses the system.
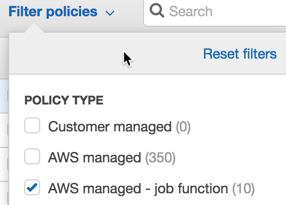
As part of the user creation process, one also needs to create a group. I filtered this to AWS managed job function (as shown in the screen capture below).
Once the admin account has been created, one next needs to login as the admin. The specific URL is provided along with the credentials when you finish creating the admin account. It is a good idea to save these as they will not be displayed after the initial display.
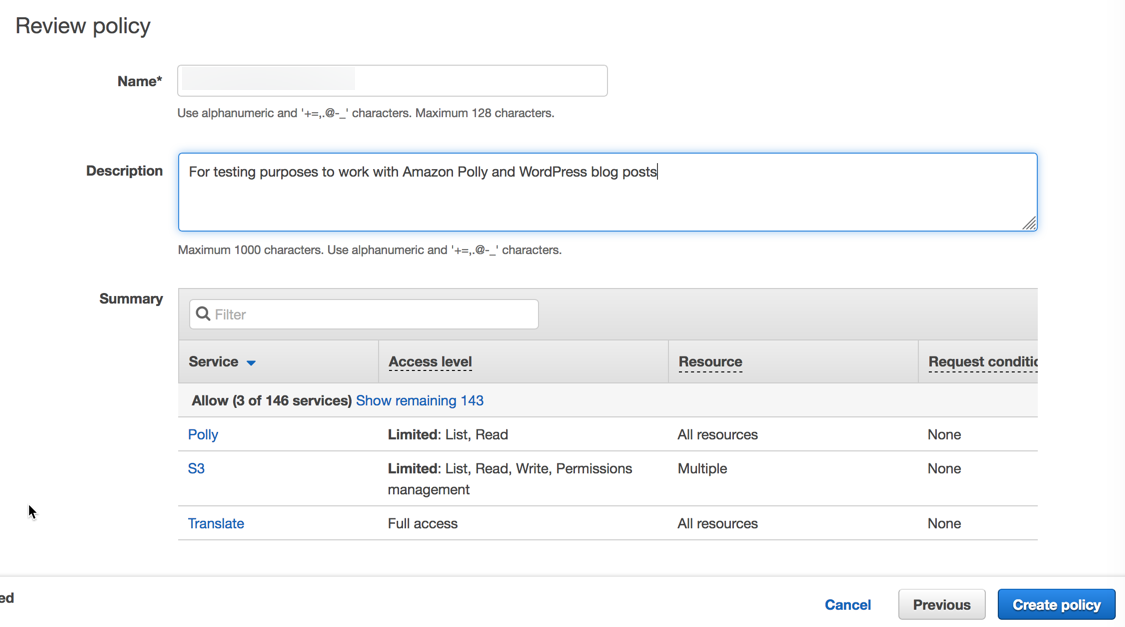
Step 3 – once you have logged in as an administrator (not the root), you will need to create a user with appropriate credentials for the plugin to communicate with AWS Polly. One first needs a new policy for that user. I did this following the instructions provided along with the GitHub repository. Within the AWS IAM console, one creates a new policy. Under the Policies tab, there is a button. Make sure you select the JSON tab while creating a new policy and enter the following code (copied from the GitHub repository).
{
    "Version": "2012-10-17",
    "Statement": [
        {
            "Sid": "Permissions1",
            "Effect": "Allow",
            "Action": [
                "s3:HeadBucket",
                "polly:SynthesizeSpeech",
                "polly:DescribeVoices",
                "translate:TranslateText"
            ],
            "Resource": "*"
        },
        {
            "Sid": "Permissions2",
            "Effect": "Allow",
            "Action": [
                "s3:ListBucket",
                "s3:GetBucketAcl",
                "s3:GetBucketPolicy",
                "s3:PutObject",
		"s3:DeleteObject",
                "s3:CreateBucket",
                "s3:PutObjectAcl"
            ],
            "Resource": ["arn:aws:s3:::audio_for_wordpress*","arn:aws:s3:::audio-for-wordpress*"]
        }
    ]
}
After you have uploaded the JSON string, you should see a screen like the following. Note that there may be a few errors (they will be warnings). One then creates the policy.
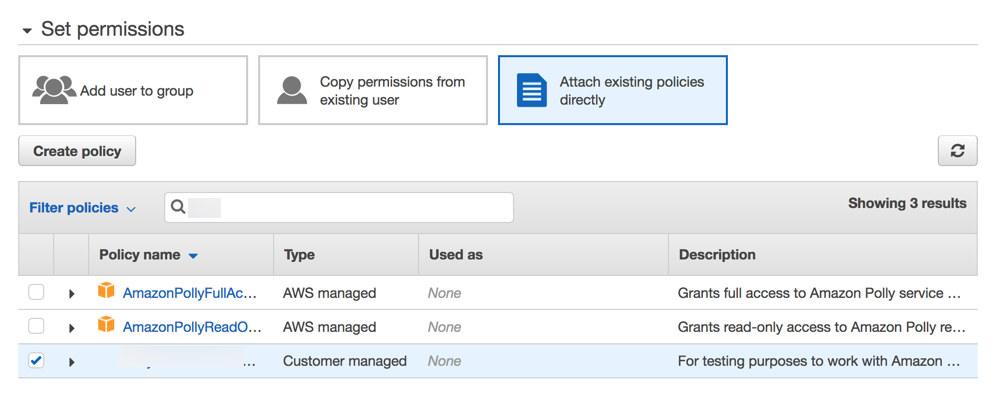
Step 4 – Now that there is a policy, one needs to create a user to interface with. Add a new user, but give them programmatic access (as shown below). Obviously, the username is blurred out.
Step 5 – assign the policy to the user you just created. A screen capture is shown below. As before, the specific policy name is blurred out.
Once this is completed, you should see specific user credentials – a unique access key ID and a unique secret access key. These are not to be shared, but will be needed by the WordPress plugin. This allows the WordPress plugin to communicate with Amazon Polly to generate the speech from the text in the post. You are now ready to access WordPress.
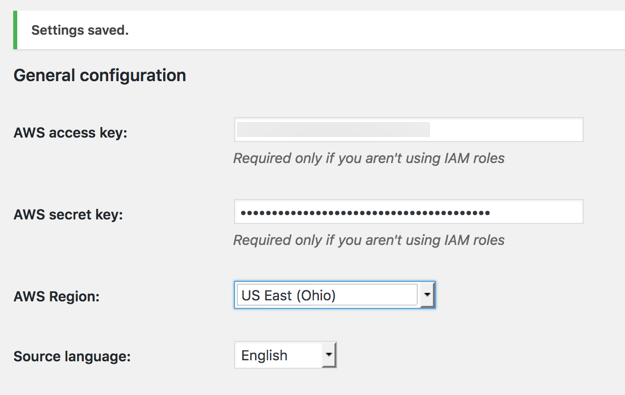
Step 6 – as the WordPress admin, install and activate the Amazon WP Polly plugin (you can download and install it as a zip archive or simply install from the WordPress plugins site). Be aware that you may encounter errors when you activate the plugin. At a minimum, your site must be running PHP version 5.6 or higher. You may also encounter conflicts with other plugins (such as BackWPup). At least I did. Deactivate the conflicting plugins (and find alternatives). Once the Polly plugin is activated, you need to modify the settings to include those secret keys mentioned above (as in the screen capture below). Again, blurs below are for security reasons.
Now that the plugin is active, you will need to configure the text to speech engine.
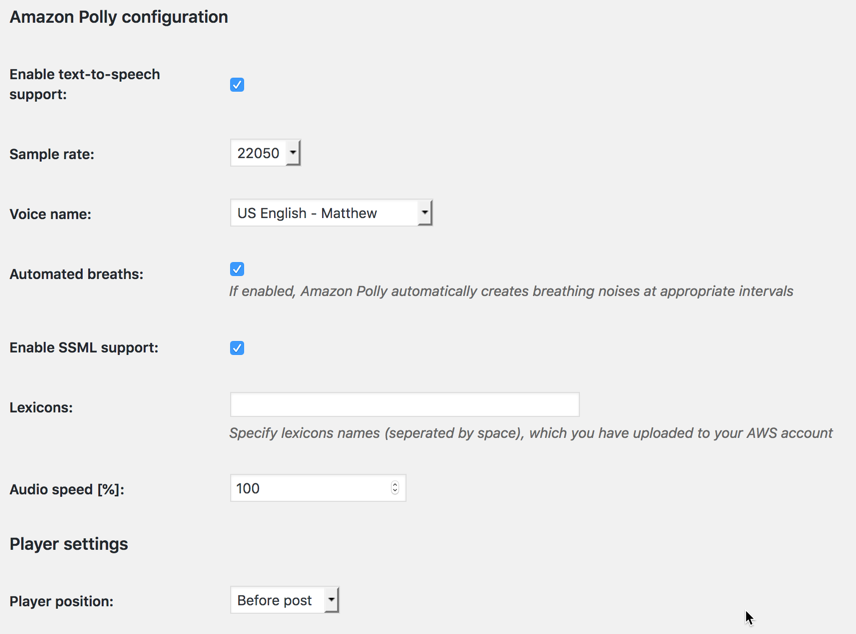
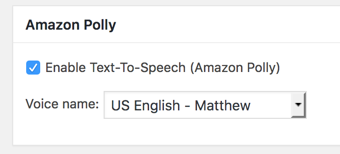
Step 7 – I have observed differences in the voices you choose, you might want to experiment with different ones. You can also change the audio speed and other parameters. A screen capture below shows my initial settings.
Step 8 – now that all is configured, you will need to activate this for each post you want to have the speech capabilities. Remember, you are limited to 5 million characters per month on the AWS free tier. I know that seems like a lot, but one often updates a post several times. You should see this feature enabled with each post as shown below. You can change the speaker voice to any of the ones on the selection list.
And… that is it. Yes, there are multiple steps involved, but you only need to do most of these once. Personally, I find it a bit humorous that I am using AWS Polly as a plugin to speak about this post describing how to enable Polly as a WordPress plugin. FYI – when I crated this blog post, it took less than 30 seconds for the mp3 file to be generated. I find that impressive.
I encourage you to try this out. As always, I hope you found this information helpful/ useful and I look forward to your comments.
Best always,
Mark