Augmented reality is a concept which has fascinated me since I first learned about it a number of years ago. I was recently exposed to Aurasma by a colleague. This is an app which runs on iPhone and Android devices and allows you to scan an image to display additional information (typically a video). There is a corresponding Aurasma Studio you can use to create the appropriate linkages for your content. You create an aura. This is similar to a QR (Quick Response) code in many aspects, except that the code can be any image (or a physical location). So, how does all this work?
First, you need to create an account at Aurasma Studio. This step is free. You then need to create an aura. Note that you can also do all these steps from the Aurasma app itself (runs on both Android and iPad).
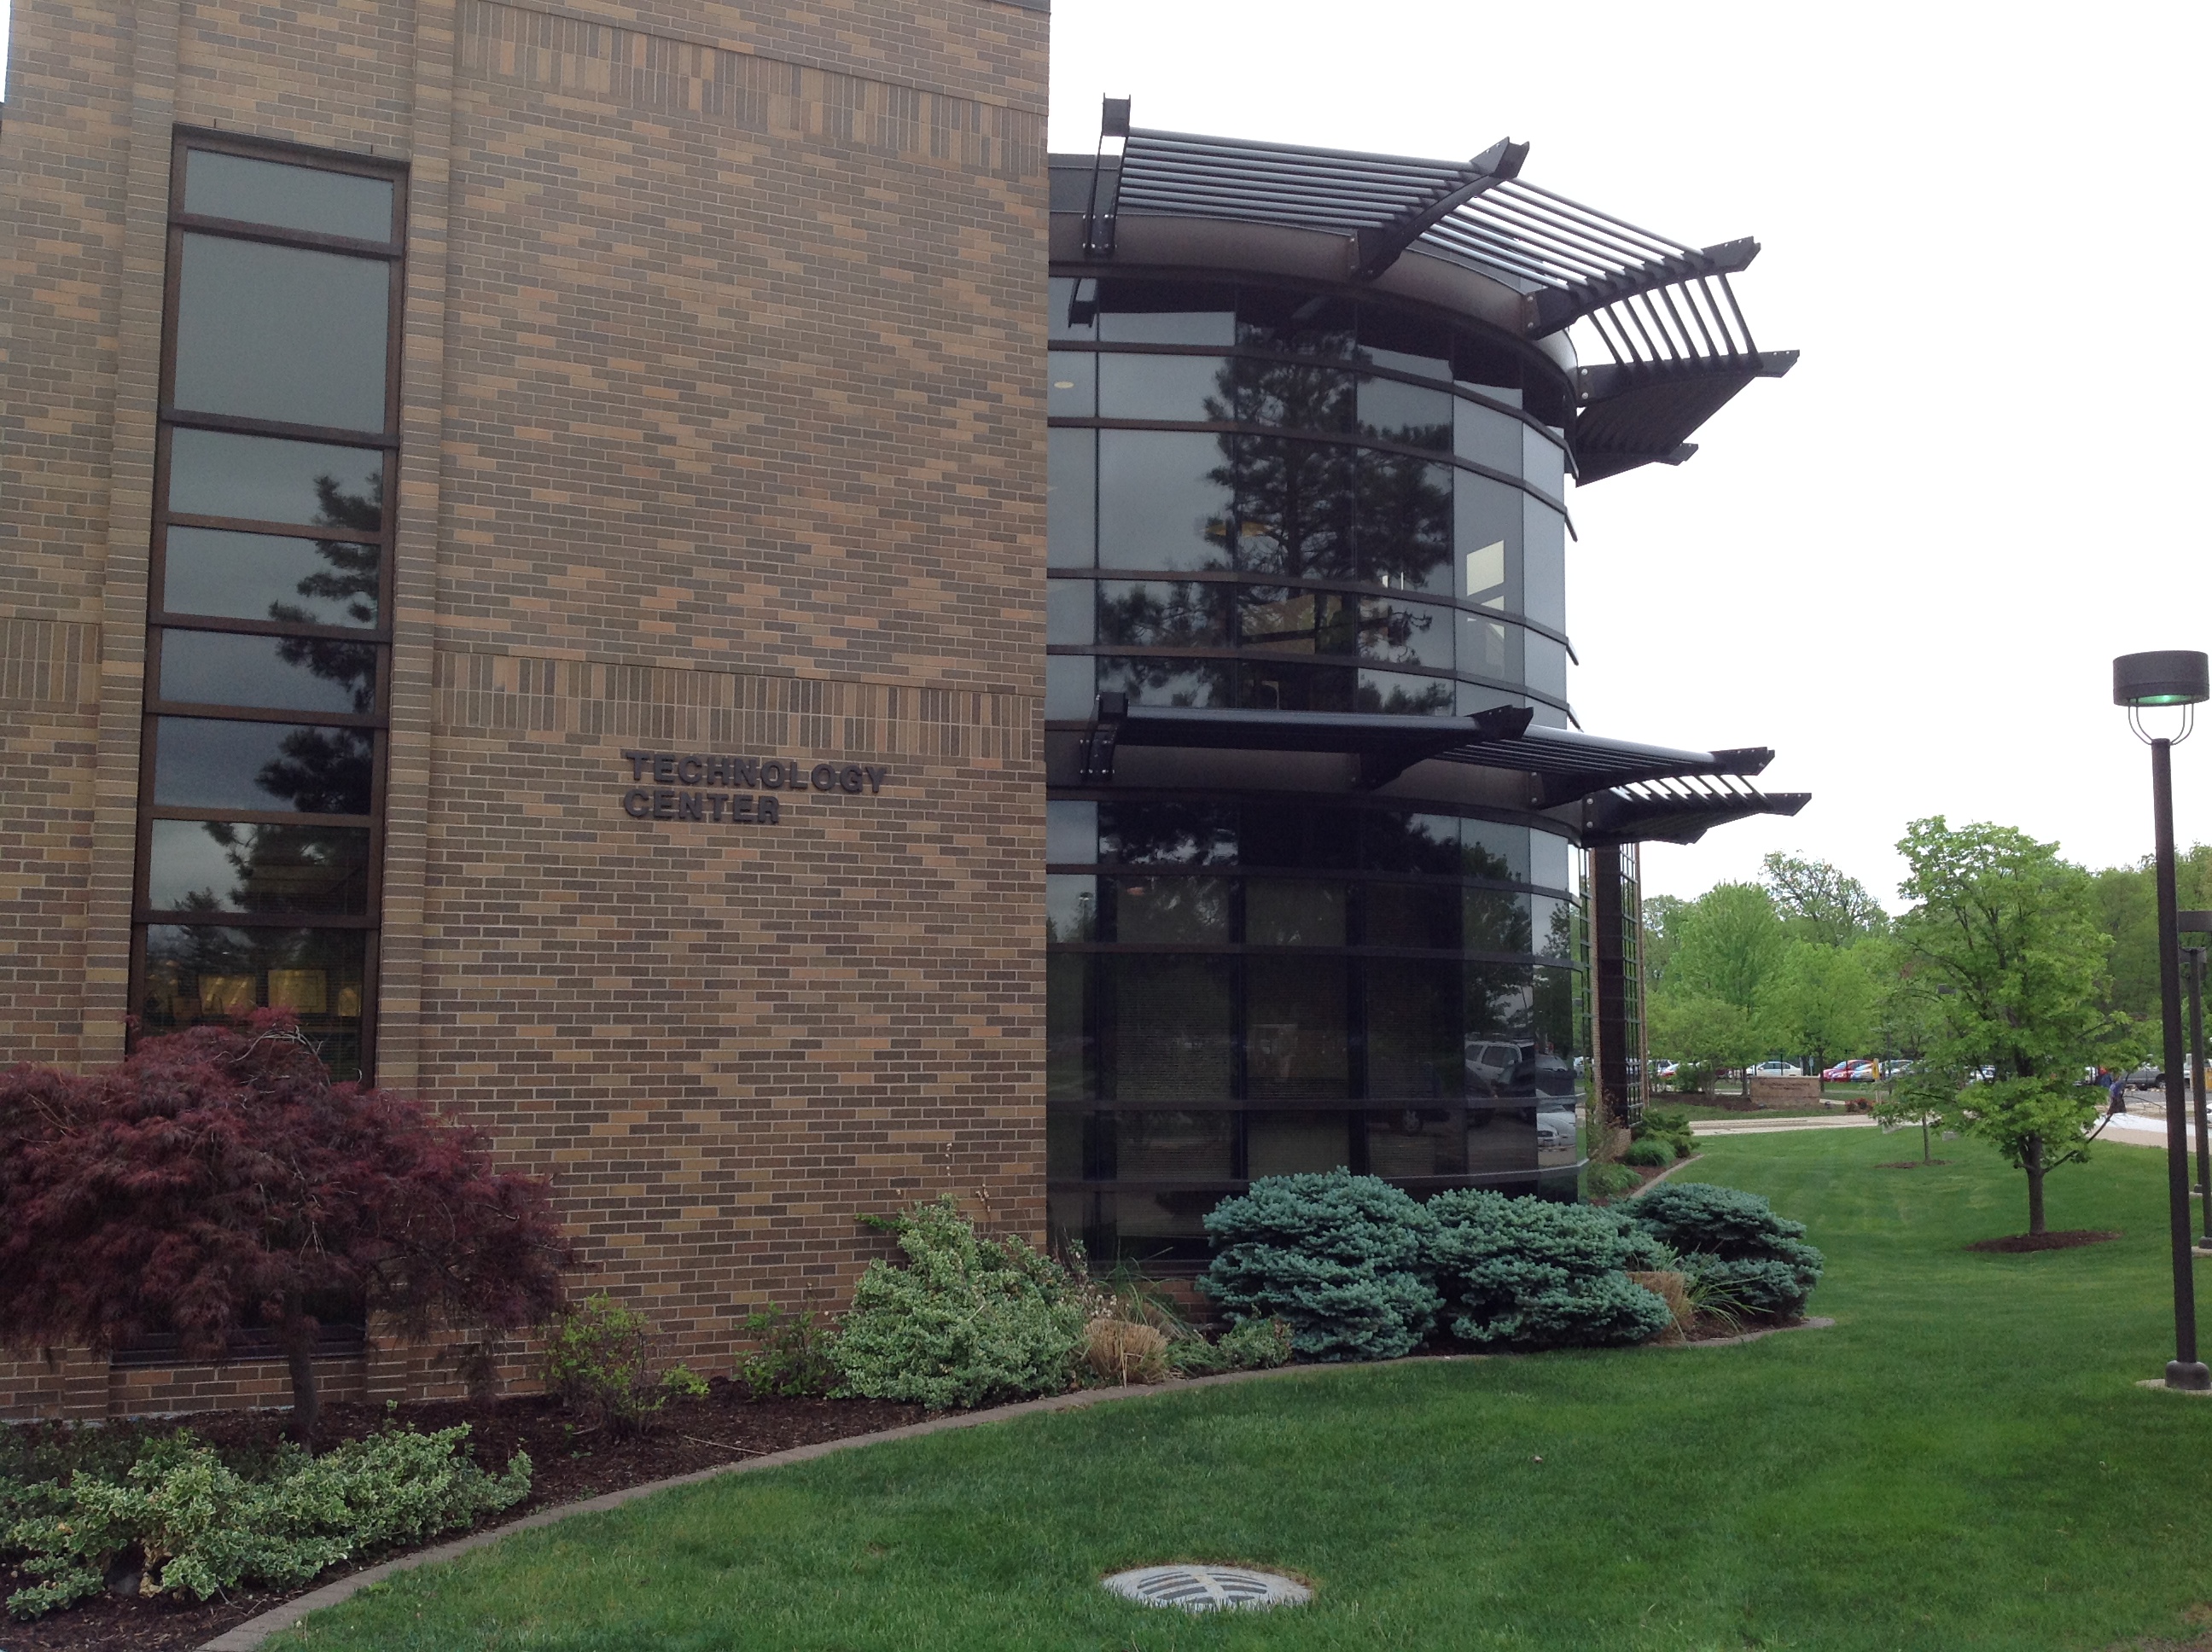
There is a three step process. First – you need to create a trigger (this can be an image or a specific geographic location). This is the image someone scans with the Aurasma app on their smart phone or tablet (or the specific spot they need to stand in with their smart phone). In the screen capture below, I have uploaded an image (which will also appear in this blog post). You may want to click on the image to enlarge it.
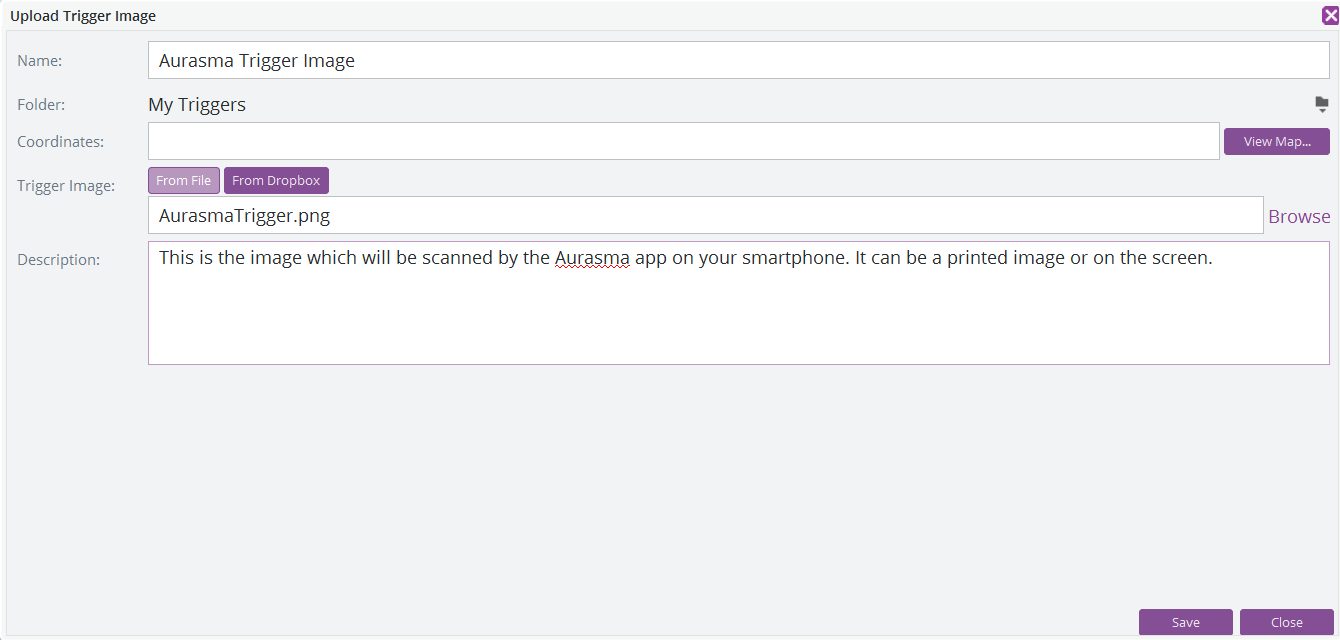
Once the image is uploaded, it is analyzed to confirm there is sufficient detail for the app to read. If you choose to use map coordinated (in the above image), the app will only trigger when you are at that specific location. This could be very helpful if you have a physical scavenger hunt (or other geographic specific activity).
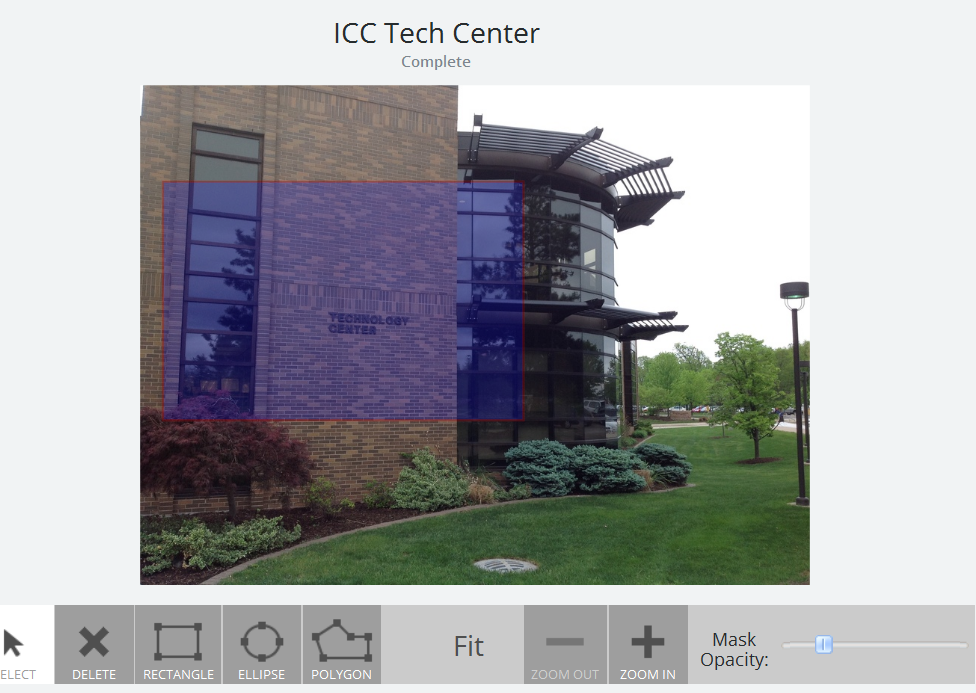
Second – you create an overlay. As you see in the screen capture below, you next identify which part of the image where the overlay will paly. In this case, I chose a rectangle covering the left part of the image.
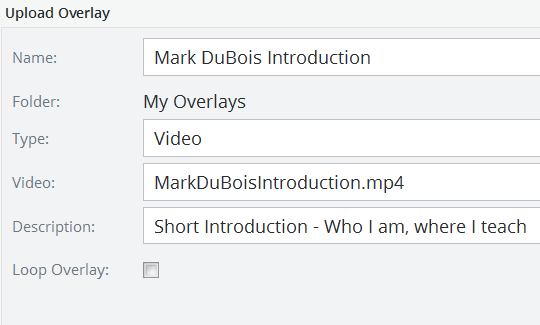
You next need to upload the overlay itself (typically a video file). I selected a short introduction I created as part of my activities in a class I am taking on digital creativity. Well, it seemed like a good match.
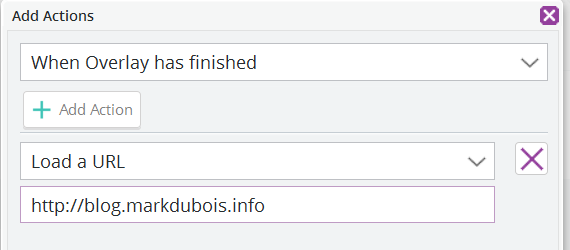
You can create multiple overlays and associate actions. I could choose to add a simple action (once the overlay has completed).
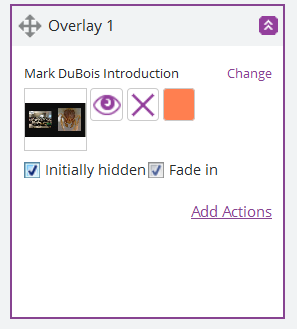
Once the overlay has completed, direct visitors to my weblog.
Lastly, you save the aura and make it public. However, for someone to activate and view the content, they need to follow you. If you want to try this out, make certain you follow mdubois on Aurasma. Here is what you see as a result. Once the Aurasma app has identified the image, it immediately starts playing the associated video.
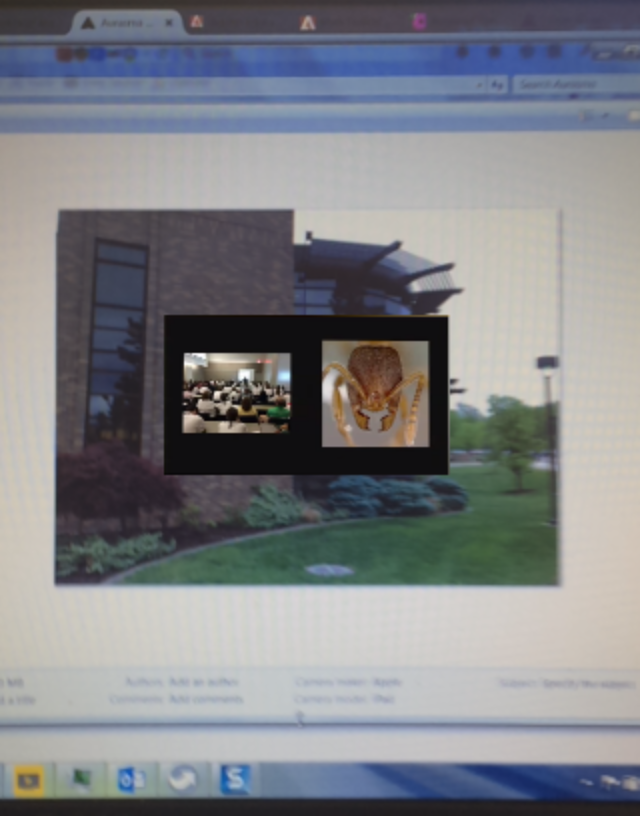
Again, if you want to try this out, make certain you are following mdubois in the Aurasma app and then scan the image below (from within the Aurasma app). A brief video will play introducing me. You might want to click on the image to see it larger (easier for the Aurasma app). Enjoy.
I am curious if readers plan to use this app (and how they might incorporate it into their learning activities). I think there are many possibilities. I look forward to your comments.