I have been giving more and more presentations on developing apps using either PhoneGap or PhoneGap Build. My most recent presentation was done at the Adobe Education Leader Summer Institute in San Jose on July 21. In the past, I focused on deploying developed apps on Android devices. However, I also wanted to show how easy it was to deploy developed apps on iOS devices. Therefore, I needed to purchase a developer account with Apple ($99 a year). Yes, I know there is the possibility of obtaining an educator account, but I have asked at my school in the past and been refused. Therefore, I bit the bullet. Now what? I had to do a fair amount of research on the WWW to determine the next steps. I thought it might be helpful for readers to know how I solved this (and I also have a post I can refer to when I forget how to do this myself). I suspect many readers think these posts are for others (FYI – sometimes, they are for my future reference as I do suffer from middle aged memory).
Essentially, one needs to accomplish three things in order to use PhoneGap or PhoneGap Build and deploy on iOS devices. I will focus on PhoneGap Build as it is where I direct most students as a starting point in the CMWEB 280 class. Essentially, you need:
- a certificate (must be a .p12 version – private key) and a password to access that certificate
- a provisioning profile (indicating the devices where you plan to test your developed app)
Of course, to accomplish these steps, you can only do it on your Mac or MacBook.
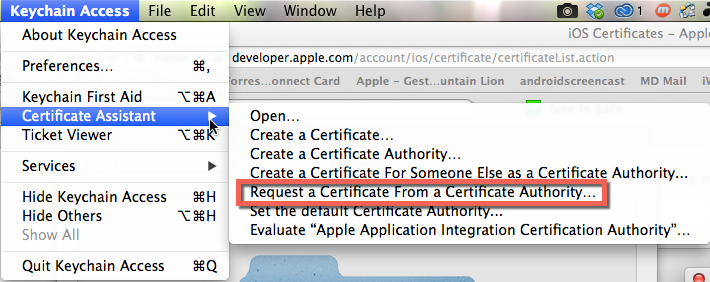
Step 1 – Open your KeyChain access. Use Finder to browse to Applications > Utilities > KeyChain Access (then open it).
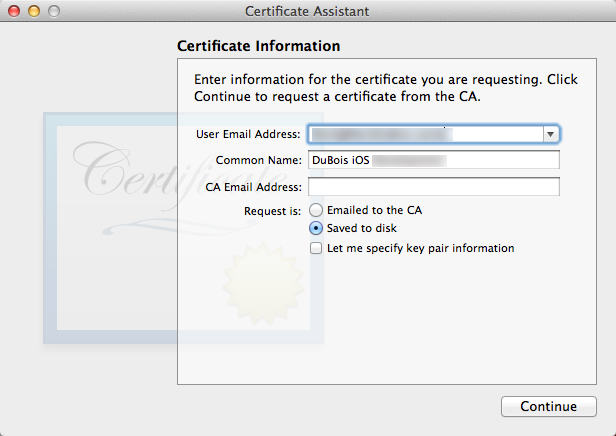
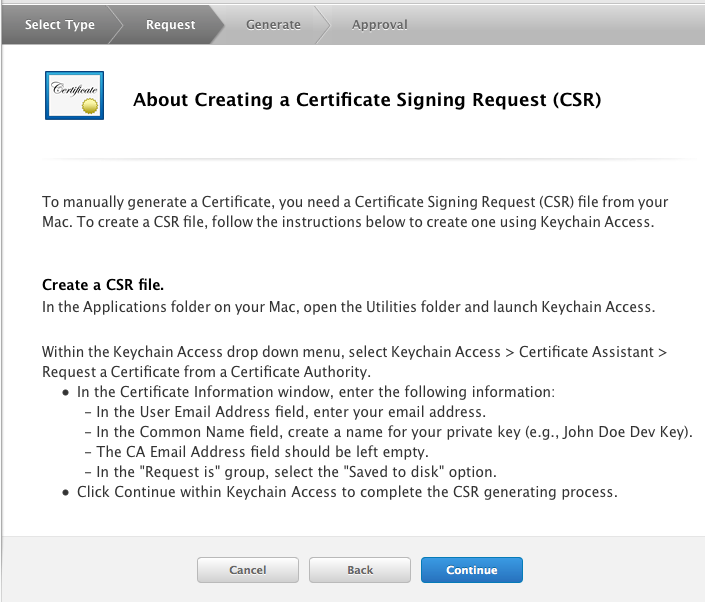
Step 2 – From the KeyChain menu, Certificate Assistant > Request Certificate from Certificate Authority
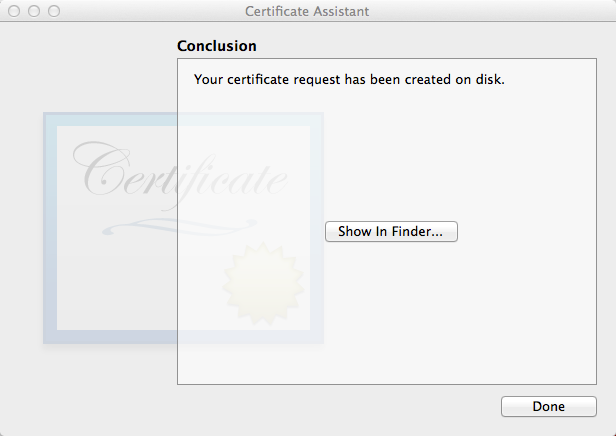
Step 3 – Save it locally.
Once saved, you can then open it in the Finder.
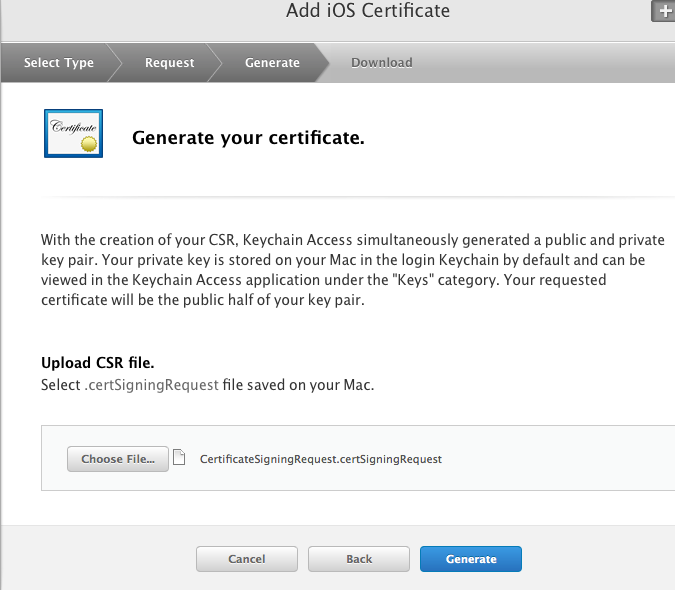
Step 4 – Visit the Apple Developer Center in your browser and navigate to the Certificates section. You will need to add a certificate (click on the (+) icon. Decide on the type of certificate, and then click Continue (at the bottom of the page – this would be under the part of the screen I captured below).
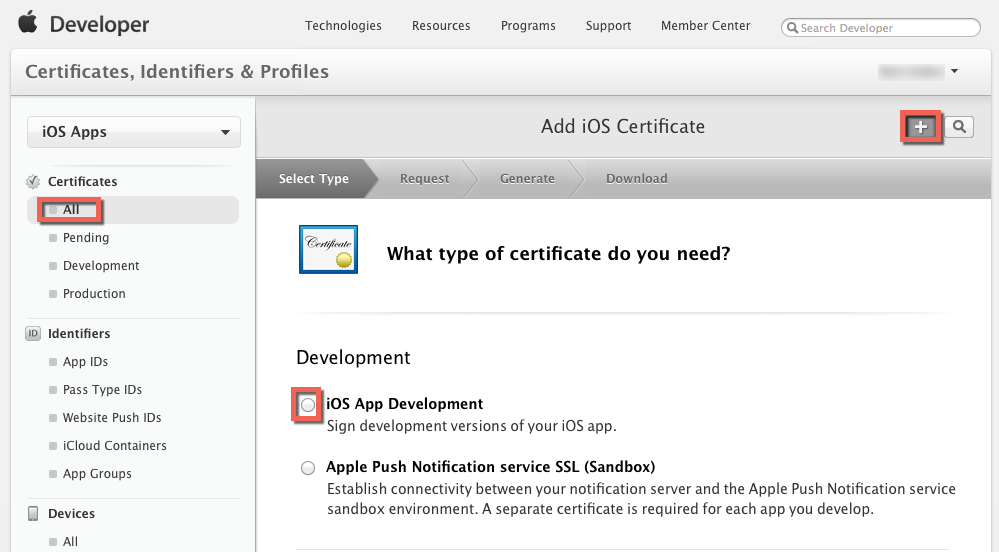
You will already have completed these instructions (generating a certificate request), but they are listed in the screen capture below in case you did not already complete that step.
After choosing Continue, you will need to select the file you saved locally. This is the .certSigningRequest file. You then click Generate. It may take a few moments for that request to complete.
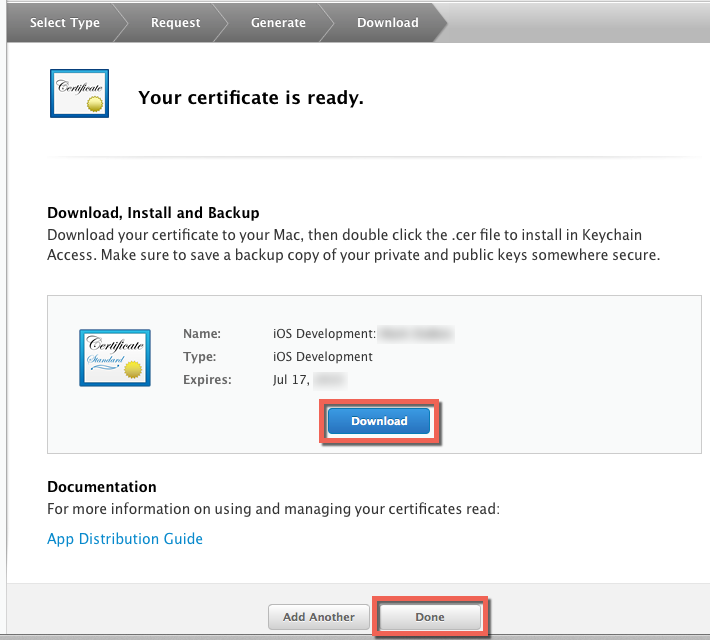
Step 5 – Once completed, download your certificate (and remember where you stored it). Once you have downloaded your certificate, you can choose Done.
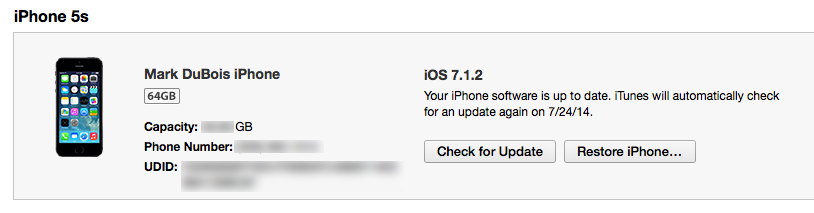
Step 6 – you need to specify the devices you wish to test on. You can include up to 99 devices (if you upload a file). You will need to know the UDID of each device. To locate the UDID, connect your device to your Mac via USB (select Trust this computer on your device) and open iTunes. Select the device and you should see information like that shown below. Click on Serial Number (highlighted below) and you should then see the UDID.

With the UDID displaying, click and choose Copy to store the value in the clipboard.
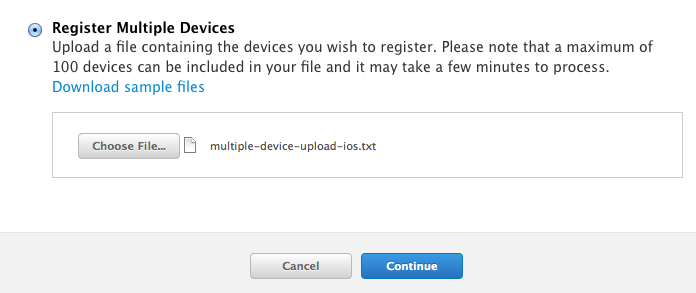
I chose to register multiple devices at once (you can download a sample file to make certain you have the correct format).
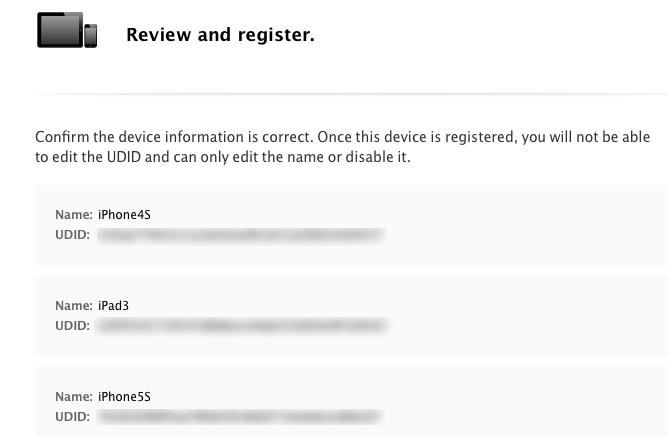
It may take a moment if you have a number of devices in the list. You should see something like the following (and can then proceed with the next step).
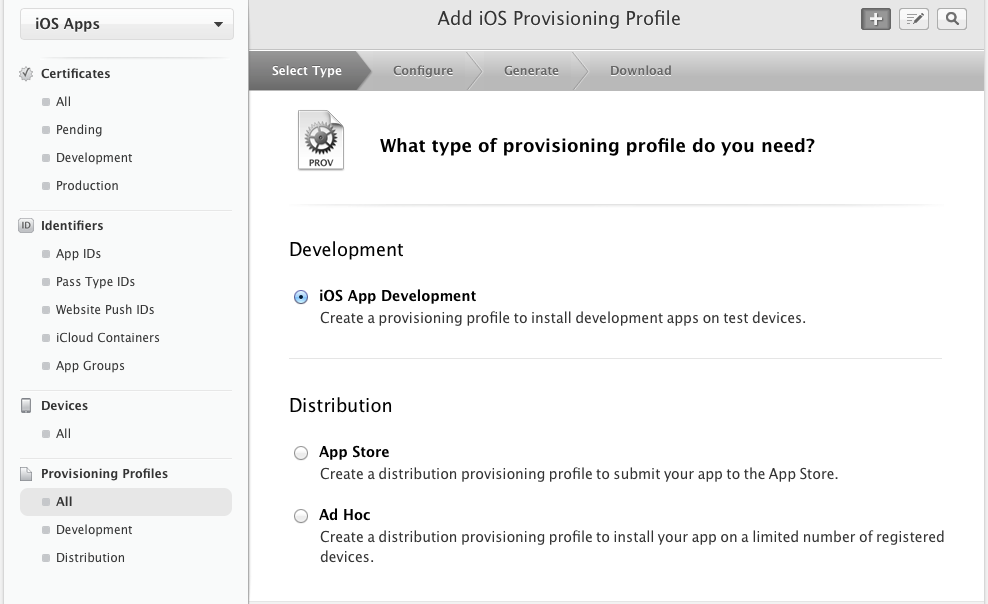
Step 7 – You next create a provisioning profile. I selected iOS App Development.
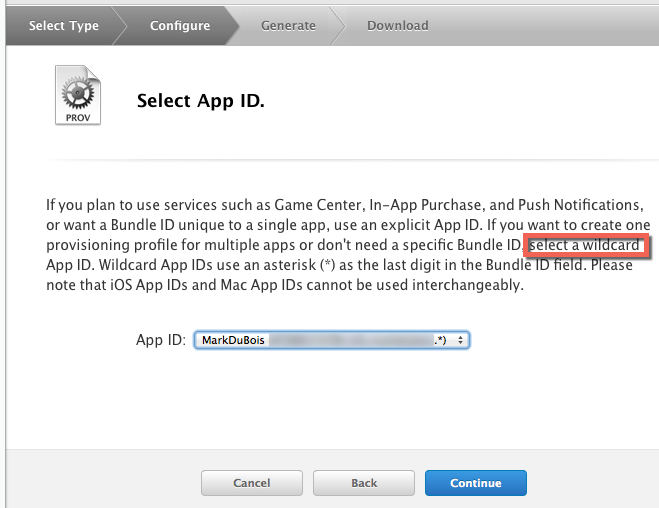
You next choose an AppId (I set mine to a wildcard so I could use for multiple apps).
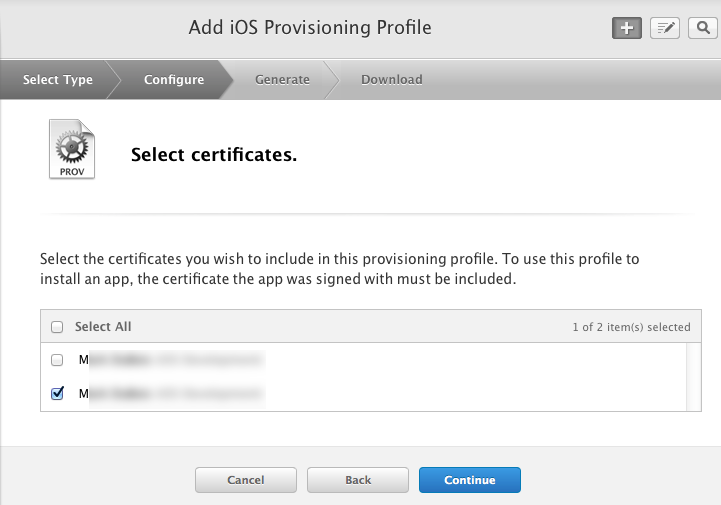
If you have multiple certificates, you must choose the appropriate one.
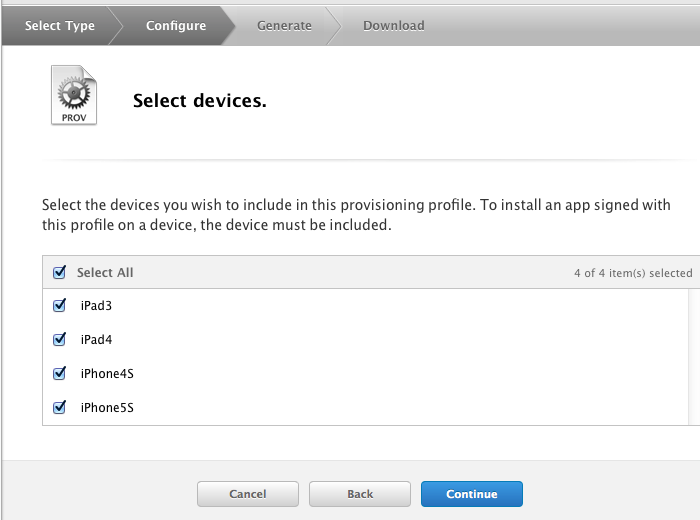
I then specify the devices I want to test.
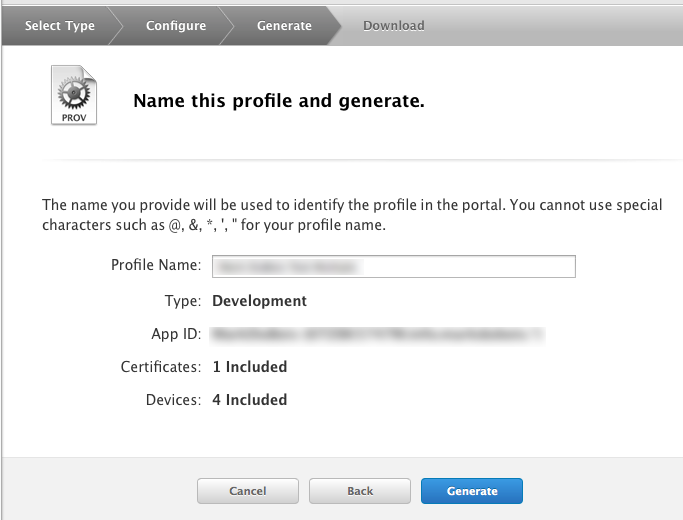
I next name the profile and generate it.
You can then download the provision profile. It will have an extension of .mobileprovision.
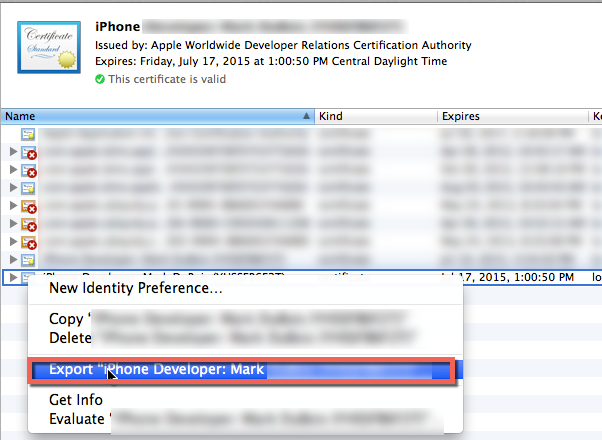
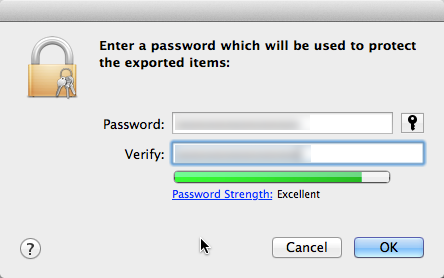
Step 8 – You next combine the certificate and your key and export them (for use in PhoneGap Build). Return to KeyChain, select File > Import Items from the menu. Point to the location of the .cer file you created in Step 5.
You will be prompted for a password (make certain you remember it). Make certain you use a strong password.
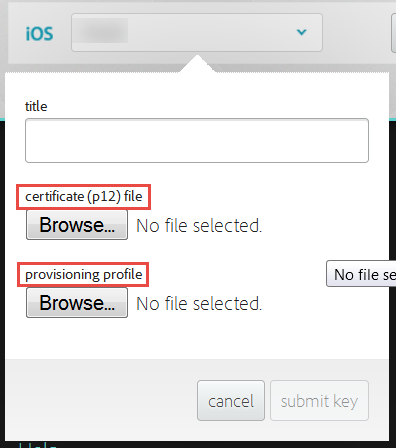
Step 9 – Login to PhoneGap Build and add a key when creating a new application for your iOS device(s). You will be prompted for both the .p12 certificate file and provisioning file.
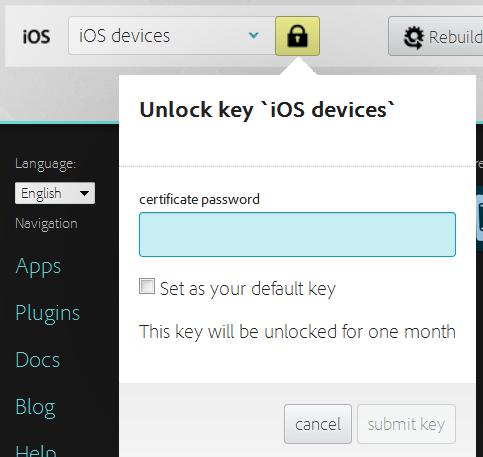
You will also need to provide your password before you can successfully build your iOS apps.
Whew – that is it. You can now successfully build and deploy apps on your iOS devices. I hope you found this post helpful. I am always interested in your thoughts. I look forward to your comments.