I recently purchased the Adobe hardware Ink and Slide. I have been working with it for a couple of weeks and thought others might to see my insights. Personally, I like the pressure sensitivity and ease of use with tools like Adobe Line and Sketch. Unfortunately, the tool is a bit pricey ($200). It only works with iPads (and only the 4th generation version). Hopefully, the price will come down over time and there will also be an Android version at some point. For those who can meet the requirements, I think you will like the tools.
First, the hardware itself arrives in a nice box. For those who are curious you must purchase both Ink (the stylus) and Slide (the ruler) together. You can not just obtain one or the other. I have included a photo of the tools below.
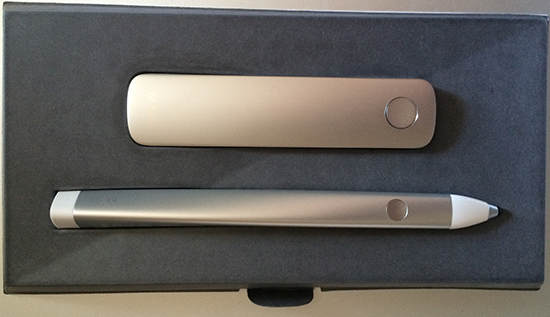
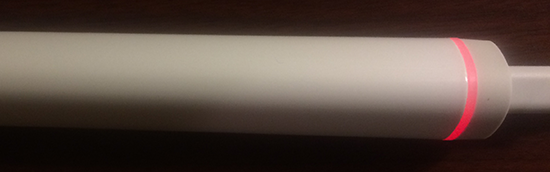
You touch the button on the stylus (Ink) to turn the device on or off. You touch the button on the ruler (Slide) to change selections. The stylus needs to be charged periodically; the ruler does not require any charging. A tube is supplied which holds the stylus when it is being charged (micro-USB connection for charging). The tube displays different colors as it is charging (starting at red and eventually going to full green – indicating a full charge). Here is what the stylus looks like while charging.
These tools work best when used with the corresponding Adobe apps on the iPad (duh). For purposes of this discussion, I am focusing on the Adobe Line app (free). When you open the app, you connect your stylus (Ink). You hold the stylus on the red dot until the stylus is recognized.
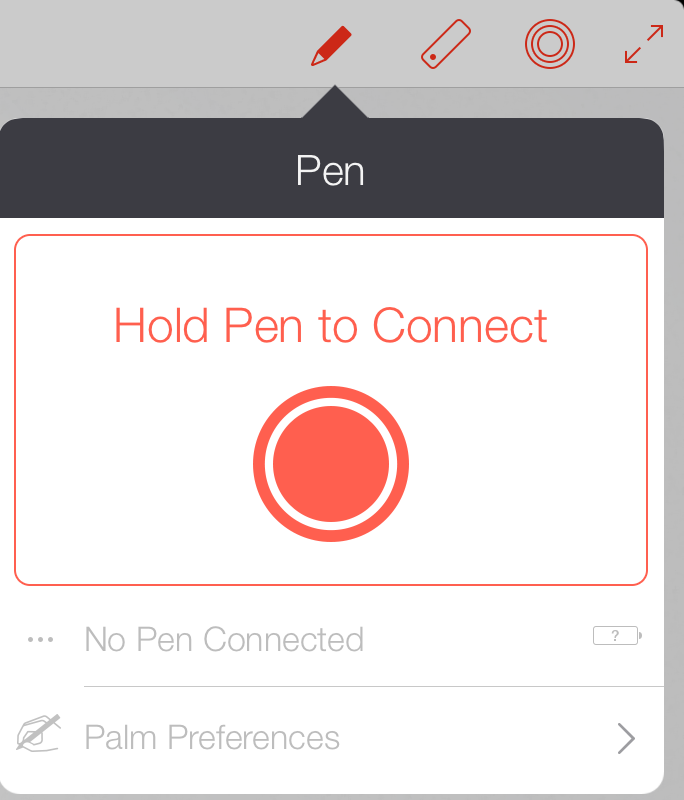
You can then set preferences (see screen capture below). There are options for either right or left hand. You can also name your stylus and set a color.

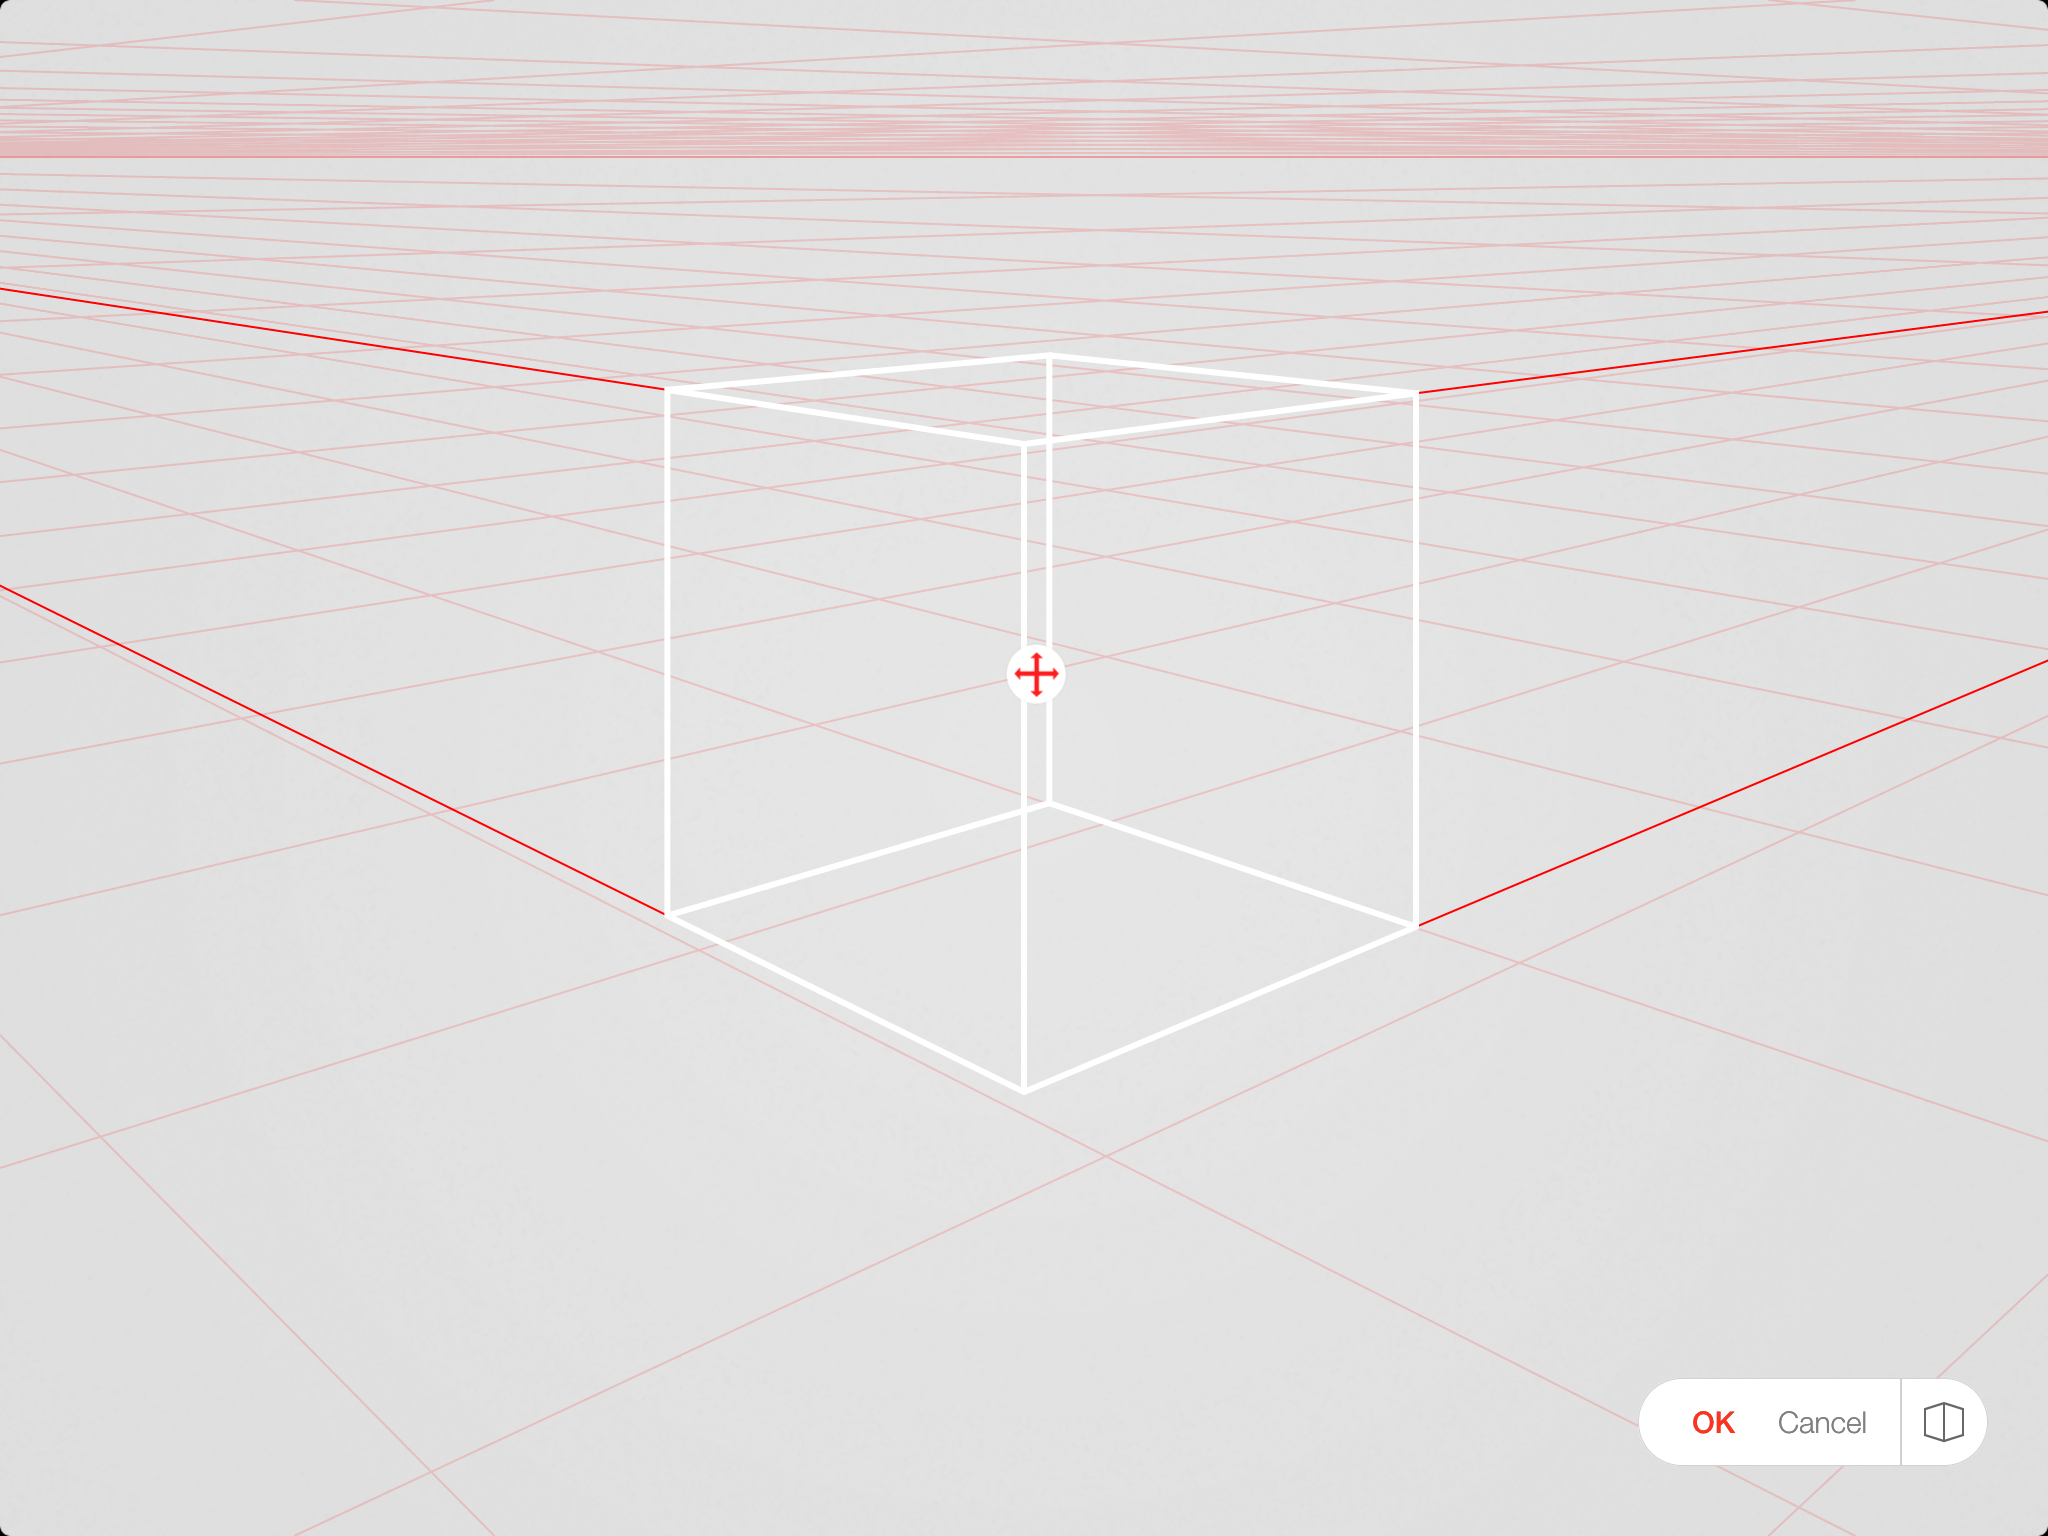
There are a couple of interesting features in the Adobe Line app itself. First, one can set a perspective view. I really like the ability to do this (for example, if I wanted to trace a landscape image and draw a structure, it is great to include appropriate perspective lines to help with the drawing).
There are also a number of stamps included in the app. One can choose a category and then cycle through the various images using the button on Slide (the ruler). One can easily draw straight lines, circles, squares and so much more. This is one feature I have been looking for with a stylus for a long time. You can scroll through the available stamps (there are many choices).
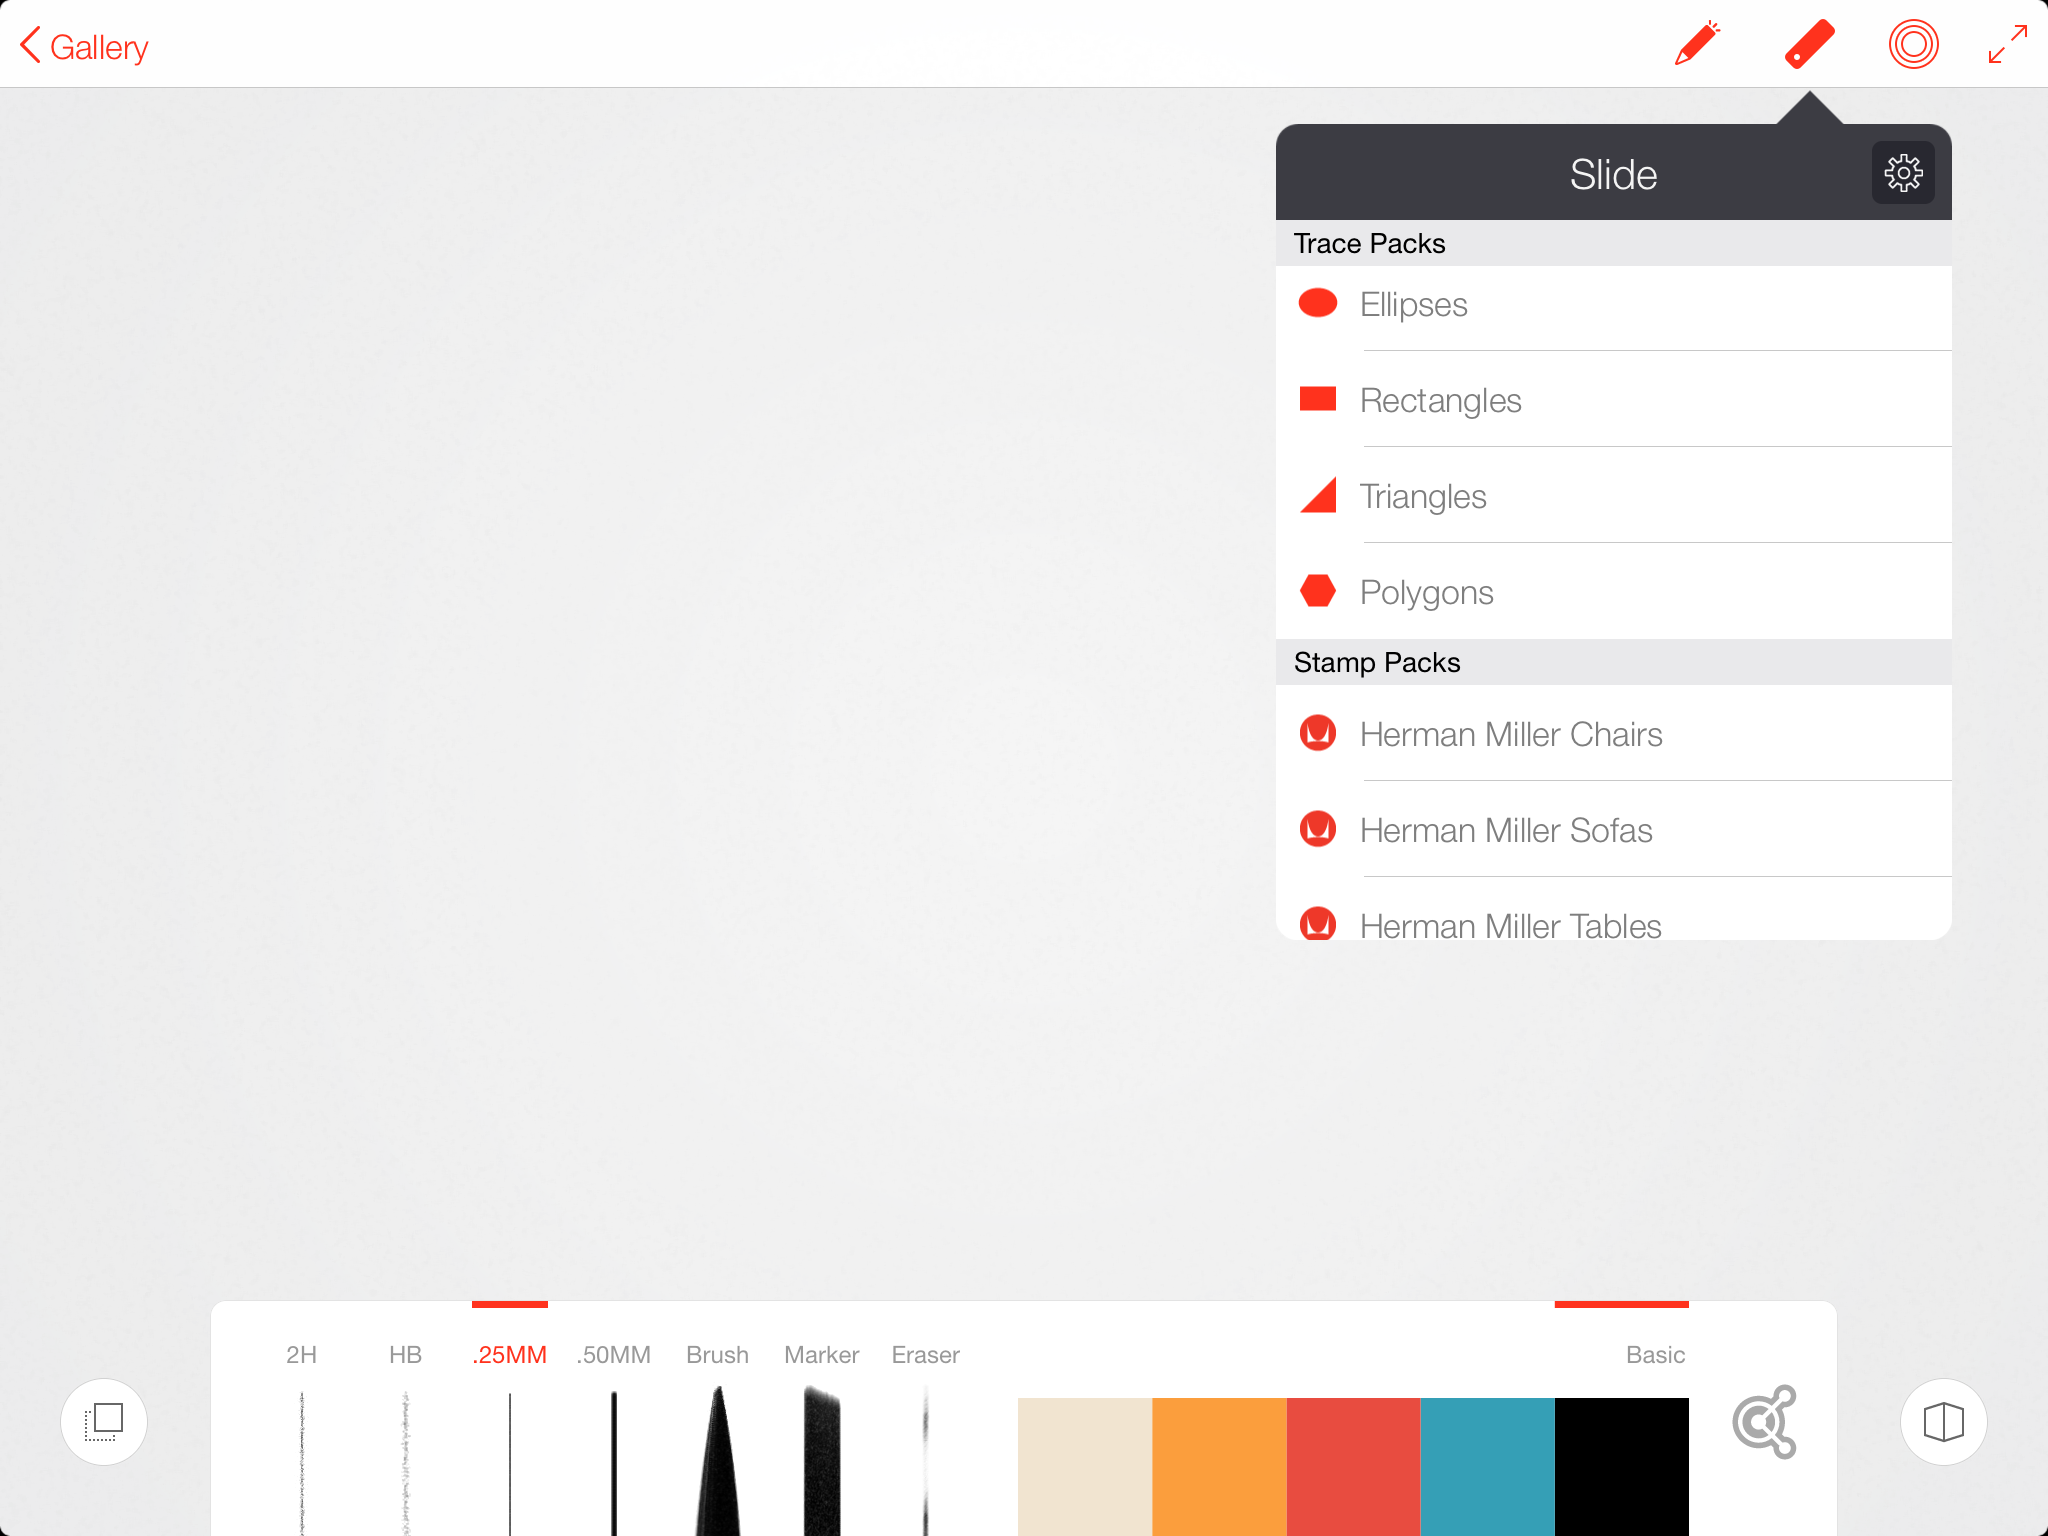
If you examine the interface captured above, you can also set the desired tool (pencil, brush, marker) and choose color swatches from the Adobe Kuler site. If you select a stamp, you can easily resize it (pinch and zoom with two fingers). You also have the ability to undo something (two finger swipe to the left) or redo something (two finger swipe to the right).
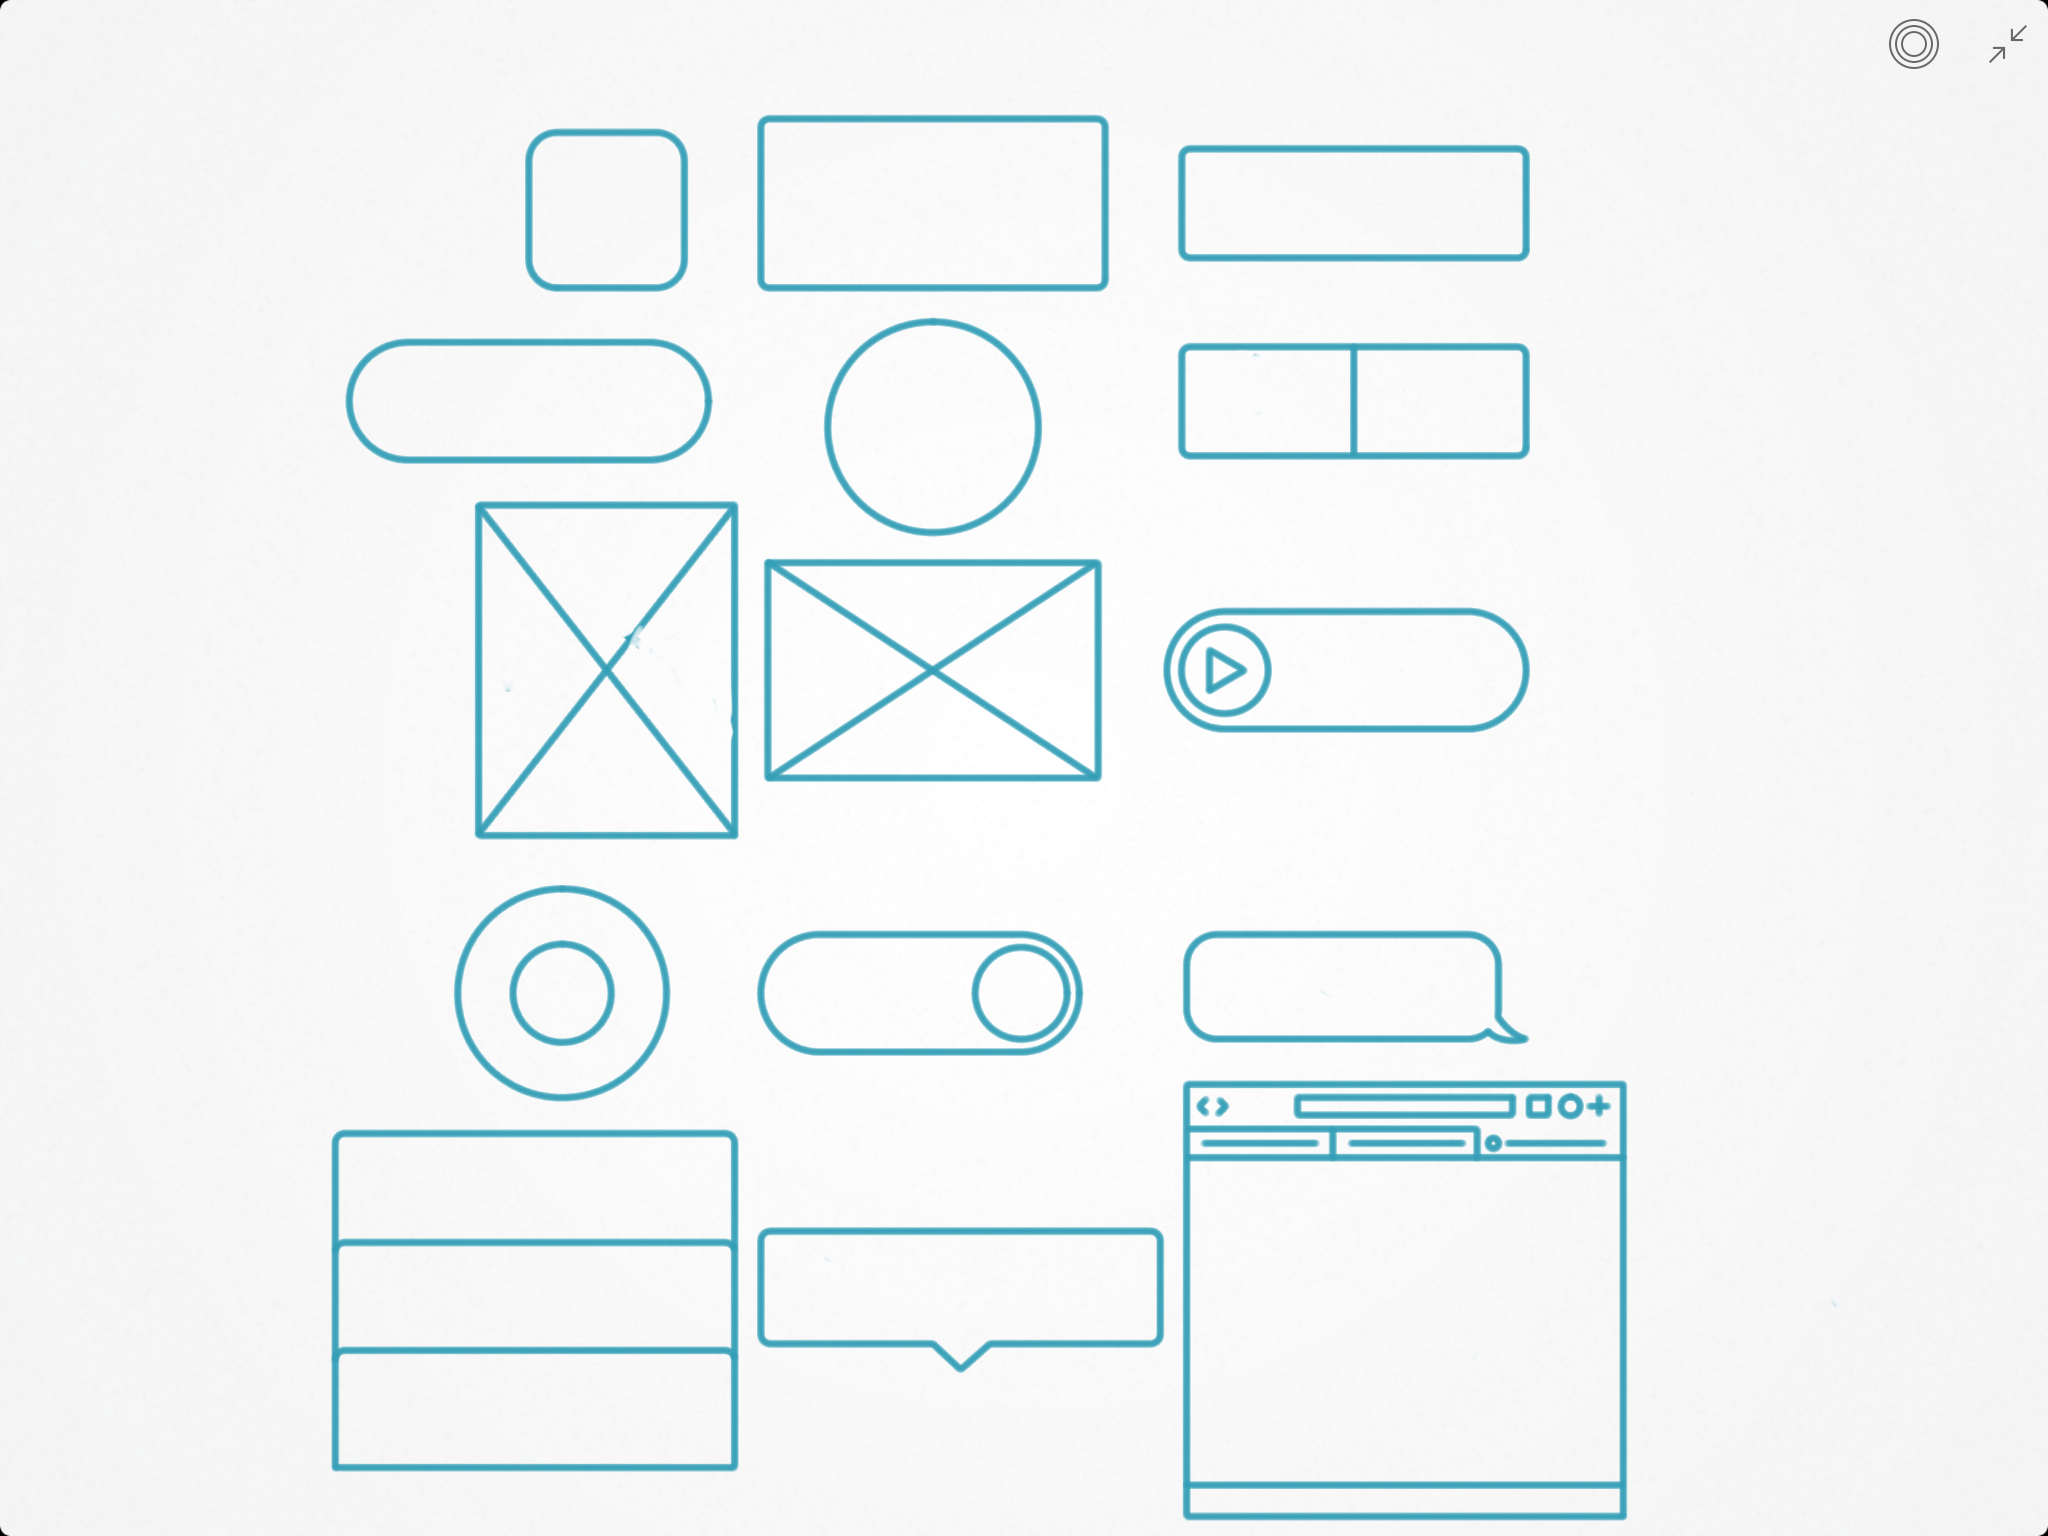
I am most interested in the stamp packs associated with UI design. I have included some screen captures below of some of the available stamps. These are available with the default UI stamp pack.
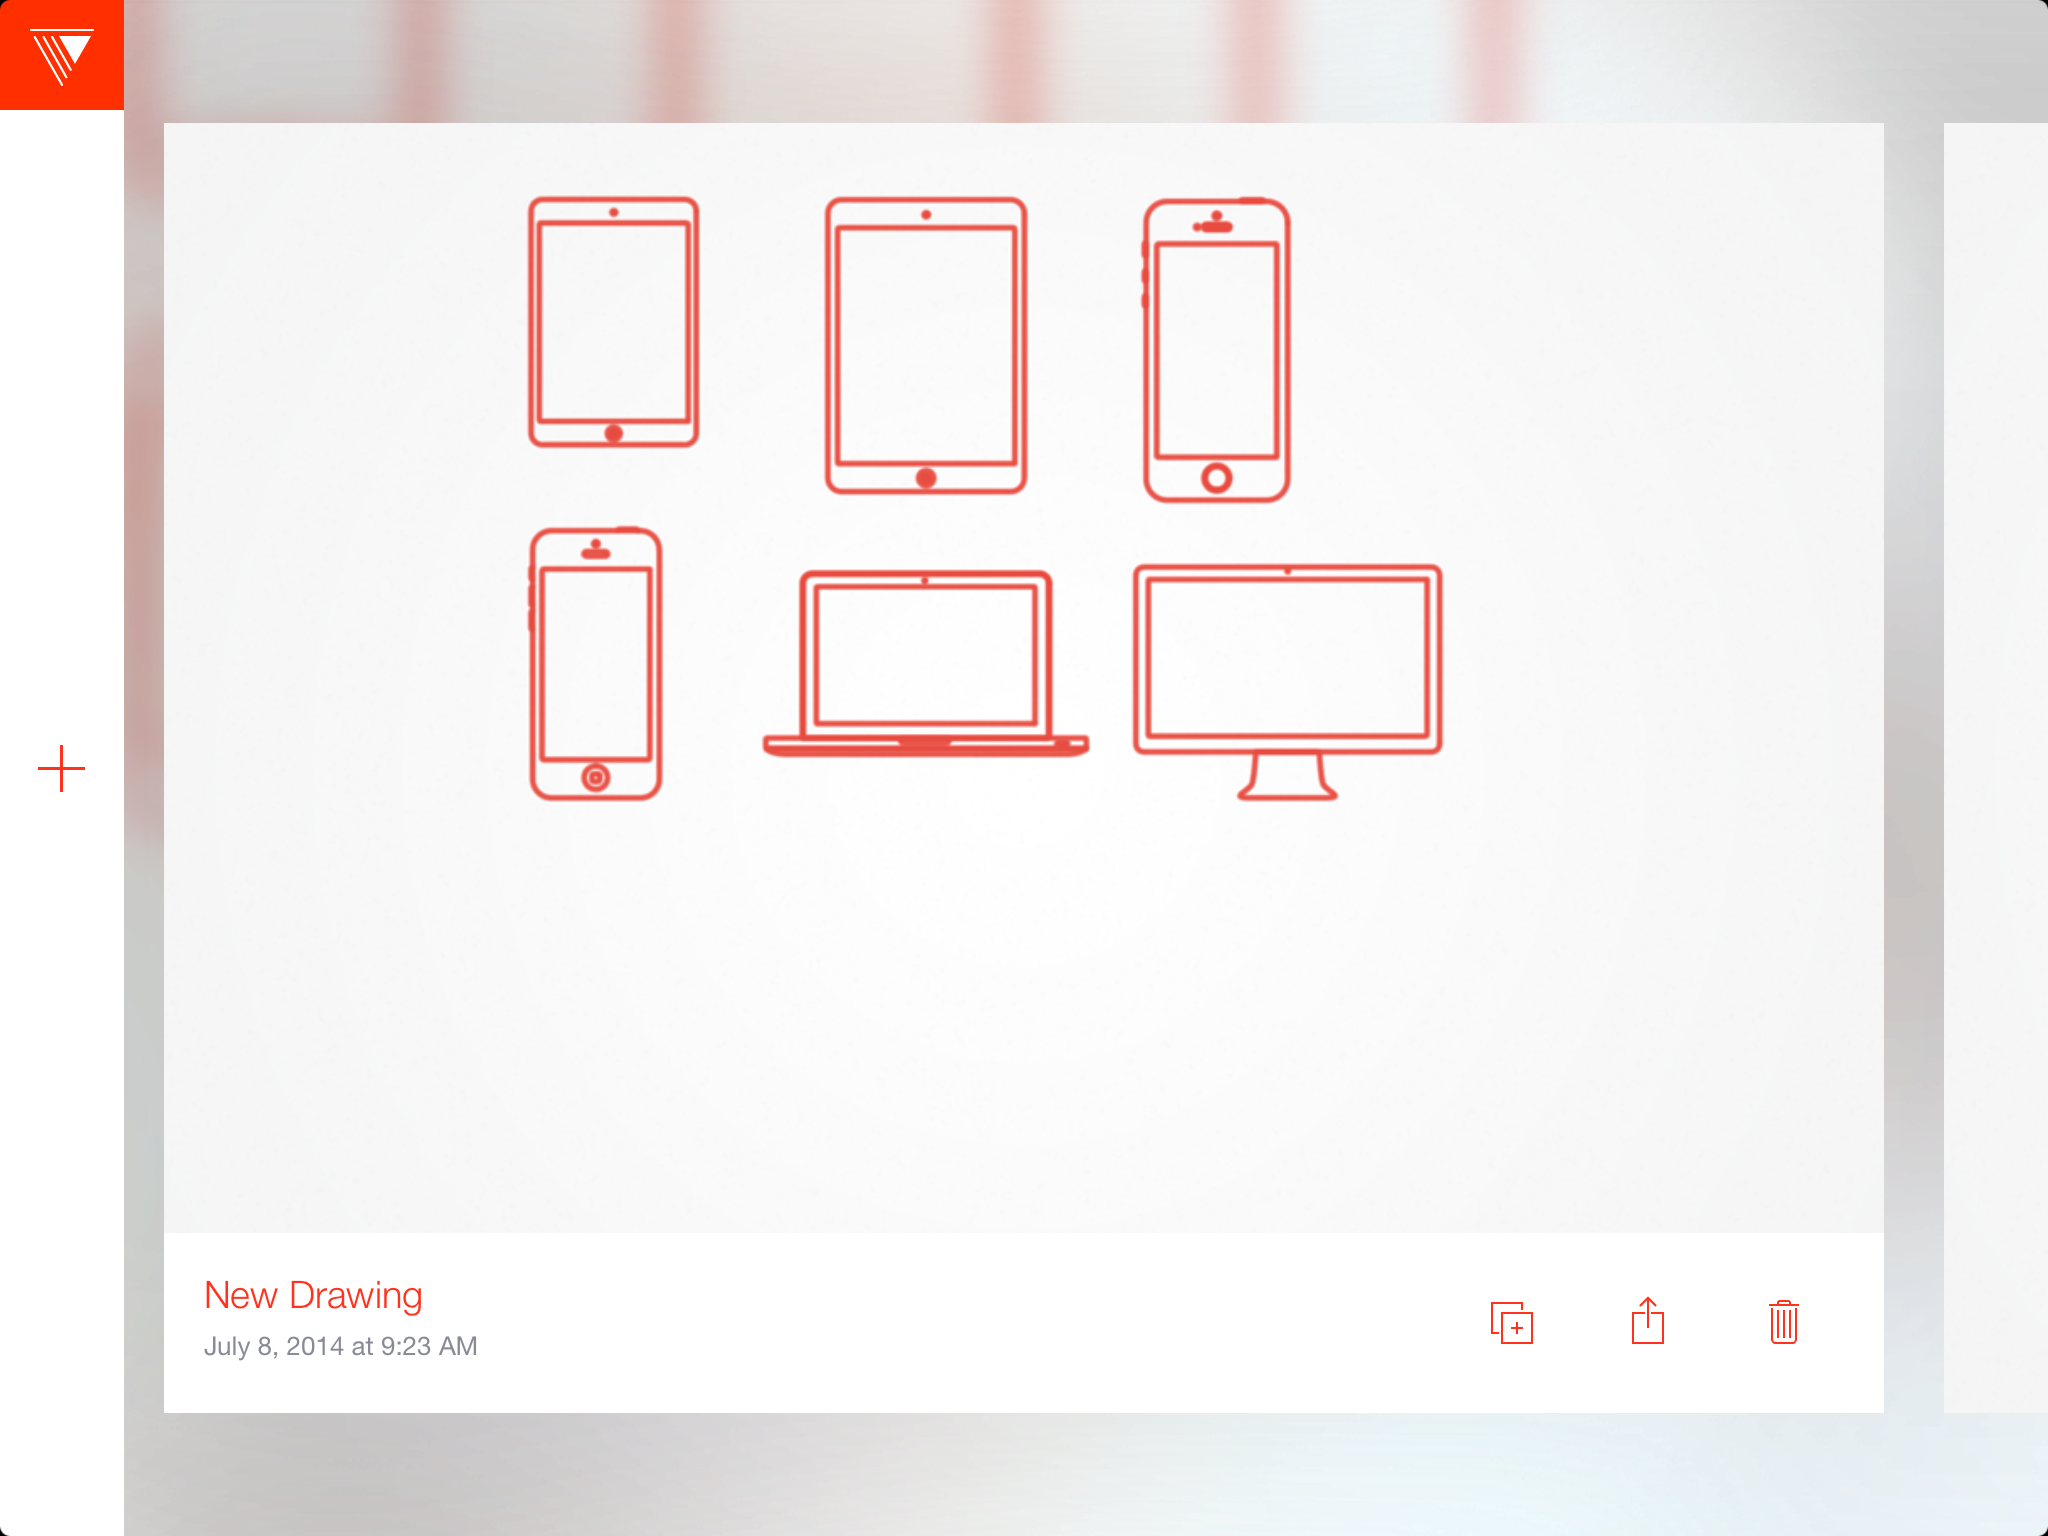
These are available with the device stamps.
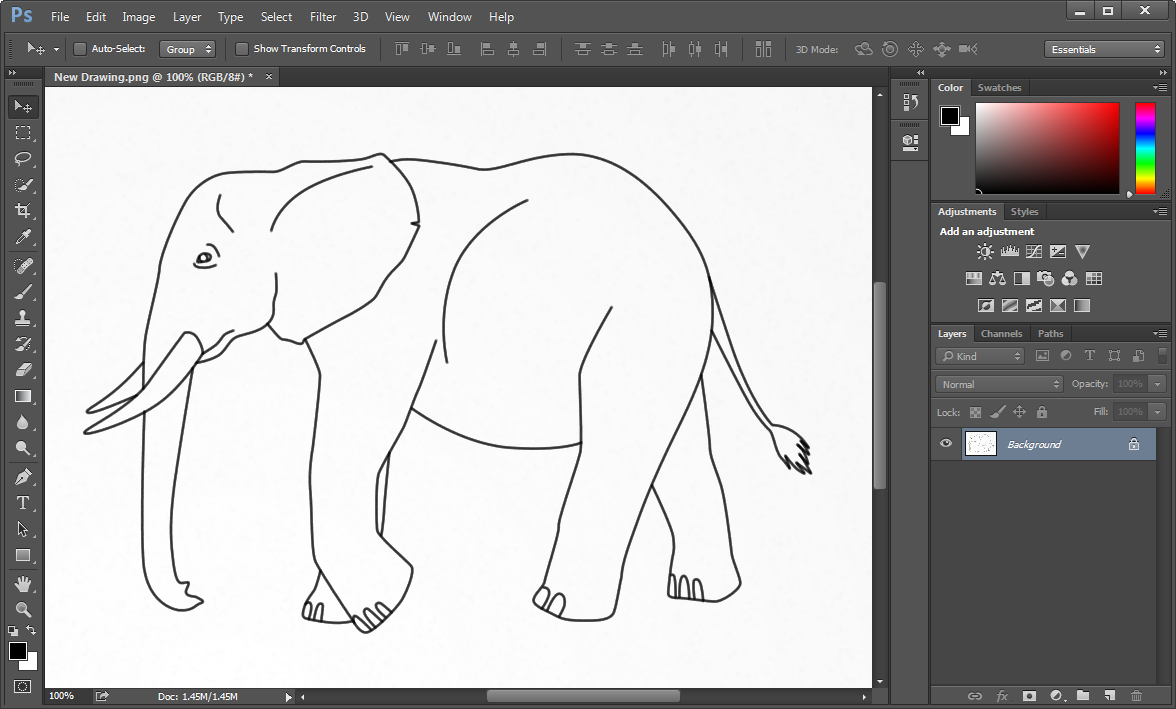
I like the fact that you can send your work to the Adobe Creative Cloud. In fact, if you hold the Ink button and tap your work, a copy is placed in the Creative Cloud. Alternately, you can choose that as an option for sharing. Other options include the ability to send to Photoshop or Illustrator. This makes the workflow from you tablet to your desktop seamless.

Once I selected Send to Photoshop, in less than a minute, I saw the resulting image in Photoshop on my desktop.
Overall, I like these tools. To take advantage of the 2048 pressure points in the stylus, you must be running an app which recognizes them. Otherwise, you can use the Ink as a stylus in other apps.
There are two enhancements I hope to see in the future for the Line app. Specifically:
- I would like the ability to add my own stamps (or small drawings I create) and access them in the same manner as the existing stamp packs.
- I would also like the ability to pull a file from Photoshop or Illustrator and open it on my iPad in Line.
I am curious if you have tried these tools? If so, what did you like or dislike about them? I look forward to your comments.
Great overview, Mark. I like the tools as well, however I do seem to have one struggling point when using Sketch. I’m not much of an illustrator, so I’ve tried using the tracing option in order to produce something moderately pleasing. But I find that often when I trace, the pen tip isn’t aligned directly with what I am tracing – it’s offset by several pixels. This is likely just the fact I rarely draw and don’t have the proper skills.
The other issue is that I seem to have a tendency to activate the bottom pullout UI for the iPad (accidentally) or end up scrolling over to another app or inadvertently repositioning the tracing image. These are probably all newbie mistakes on my part, though.
As a test, I put Ink in the hands of one of my friends (who CAN draw), and he took to it pretty quickly and liked using it.
Jim – many thanks for your comments. I experienced similar issues (thought it was likely my lack of drawing skills also). It might also be that I had the wrong hand orientation set on my pen (figured out how to change that with the pen setup).
Best always,
Mark