My wife, Jeri, bought me a GoPro camera for the holidays. Many thanks dear. This is a rugged little camera which can be used in a number of different places. The great part about it is that you can set it to take photos, time lapse photos or video, activate it, wear it and forget about taking photos. It takes the photos for you as you continue about your task. There is an associated app for tablets and smartphones which allows you to connect via wifi. Since the controls on the camera itself are small, I prefer working through the app (easier for me to see). I thought I would give the camera a try during the first major snowstorm of 2014. I set it to take a series of time lapse photos (every 30 seconds). I then decided to use Photoshop to turn this into a short video (compressing an hour long walk into 1.5 minutes of video). I thought readers might enjoy learning how I did this in Photoshop.
First, here is the resulting video. I added some audio (I have a subscription at Soundzabound and understand I can use this music as part of educational purposes for videos I create and place on the web). I chose to use “Smiling in the Snow” by Ionics for the audio. I set the frame rate to 1 photo per second.
Since some readers may not be aware you can use Photoshop to create and edit videos, I thought it would be appropriate to share how I accomplished this.
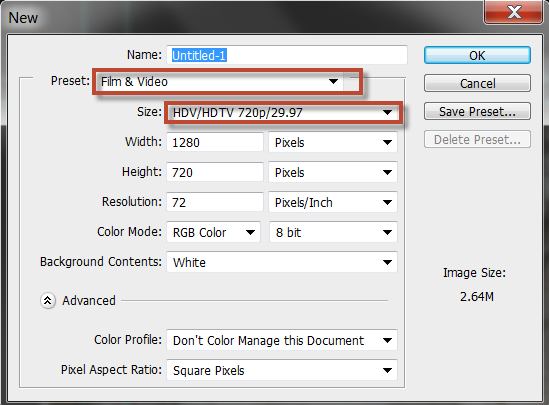
First, one needs to create a new file in Photoshop. I chose the Film and Video preset and HDV/ HDTV default size.
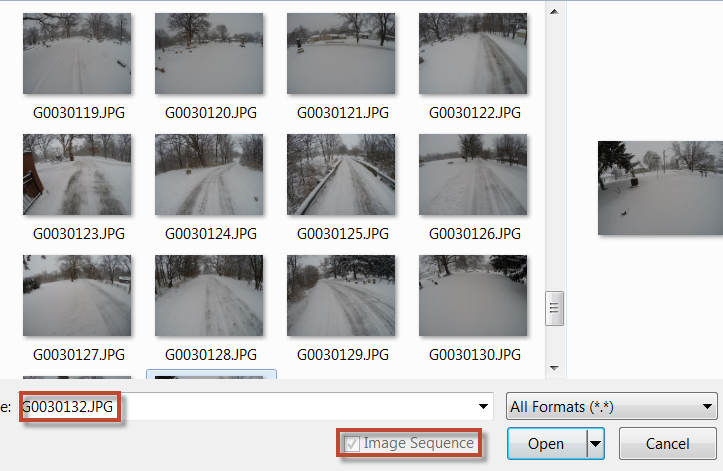
I then added a new video layer and imported the image directly from the GoPro camera microSD card. From the menu Layer > Video Layers > New Video Layer from File. I selected the last image in the sequence (the images all need to have sequential numbers). The image sequence box is checked by default.
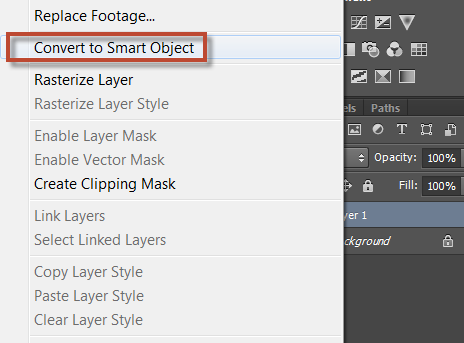
I then needed to edit the image sequence. In order to edit, I had to convert the sequence into a SmartObject. I just right clicked on the video layer and converted it.
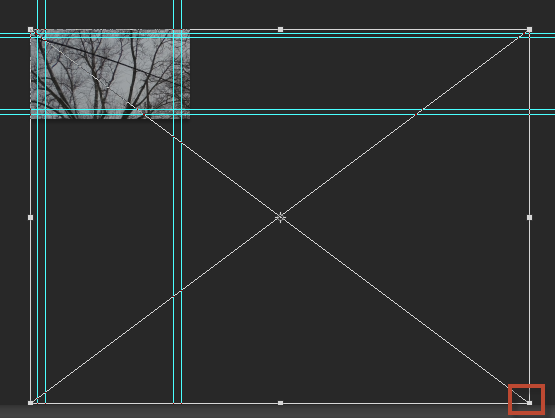
I could then perform a Free Transform (Edit > Free Transform) to resize the image sequence so it would fit in the available space. One can just click and drag on the lower right sizing handle and then hit enter once the image has been properly sized. To maintain the proper aspect ratio, hold the Shift key while resizing.
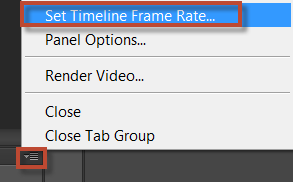
One may need to adjust the frame rate in the timeline (in my case, I clicked on the menu in the upper right of the timeline and set a custom rate of 1 frame per second.
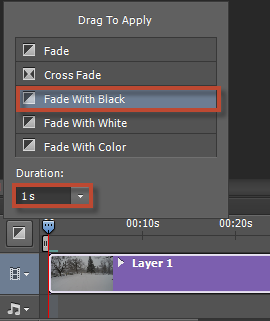
I decided to also apply a transition (fade from black) to both the start and end of the video. I selected the transition and then placed it at the beginning and end of the timeline.
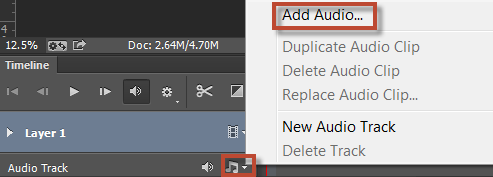
Next, I added some audio (from my Soundzabound account).
Since the audio clip was longer than the video sequence, I had to resize the audio clip to match.
![]()
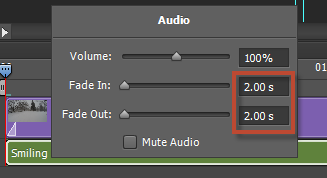
Lastly, I decided to have the audio fade in at the beginning and out at the end. I right clicked on the audio clip and set the appropriate values.
Lastly, I chose File > Export > Render Video from the menu to generate the MP4 file.
So you now know that you can use Photoshop to create a video from a series of time lapse photos and can include audio. I am curious if you have tried this approach. I look forward to your comments.