|
Listen to this post
 |
Our Central Illinois Chapter of Web Professionals meets the second Tuesday of each month (typically on the East Peoria campus of ICC). For our May meeting, I decided to provide a demo and overview of the recent Adobe software – Premiere Rush. This works both on the desktop (as long as you have a Creative Cloud license) and on iOS devices (such as my iPhone XR).
I developed this example in under 30 minutes. This is the main benefit of employing this software. You can easily create reasonably high quality content quickly (and then deploy via various social media). I will provide a demonstration of the use of this software at our meeting. In the interim, I also provide a quick introduction (for those who are not able to physically participate on May 14, 2019).
Select your media
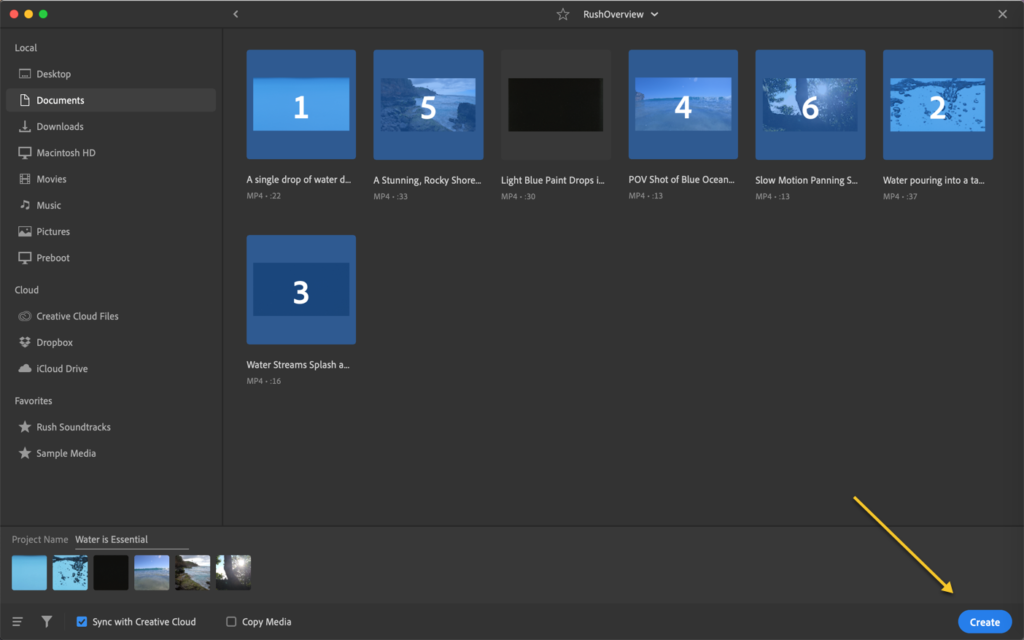
Obviously, you will need images and video (possible audio) before you begin your project. First, open the Rush software, navigate to the appropriate folder, and select your media. Note the media will be numbered in the sequence it will be displayed. Once you have selected the media, click the Create button (note arrow below).
Choose Transitions
Personally, I find it easiest to choose transitions between clips. Although you can use multiple transitions, I like to stick to one (such as a dissolve) and use that for each transition. Simply click on the media and choose the appropriate transition.

Add Titles
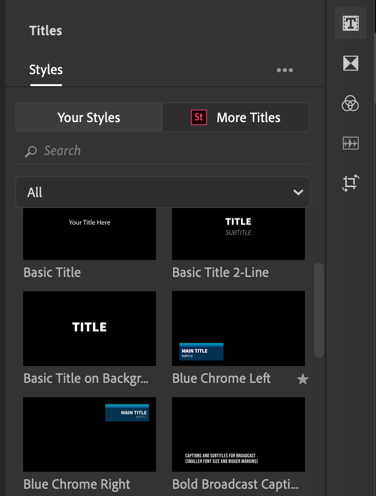
I next added an introductory title, edited it, then duplicated it for use at the end of the video as well. There are a number of different titles one can choose from.
Add Audio
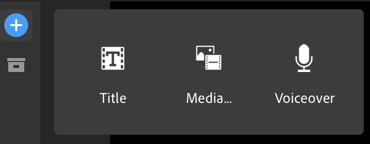
I next added a voice over (I chose to only include a short amount of audio). I connected my microphone, chose the Voice over option and then hit record. This option in on the left side of the interface.
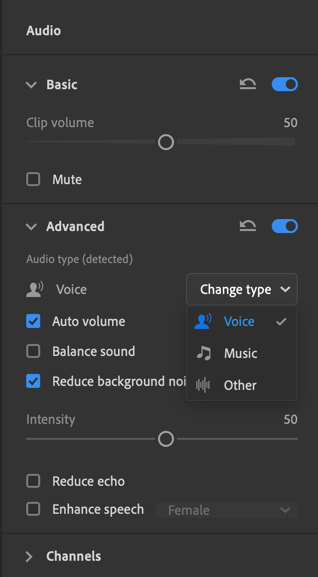
Edit the audio
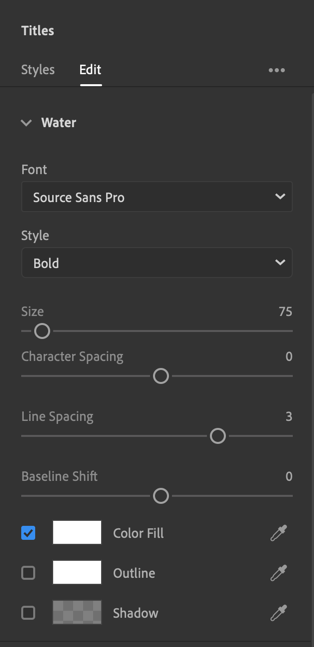
One can add media (including additional audio) and can make changes to the audio. By default, Rush tries to decide the type of audio you have included (for example, someone speaking). As you can see from the screen capture below, one has a significant amount of control over the audio.
Review the project
After adding all audio and media, arranging it as needed, and setting transitions and other effects, the project is ready to be reviewed. Note that this software automatically uploads your work to the Adobe Cloud so there is no “Save” capability.

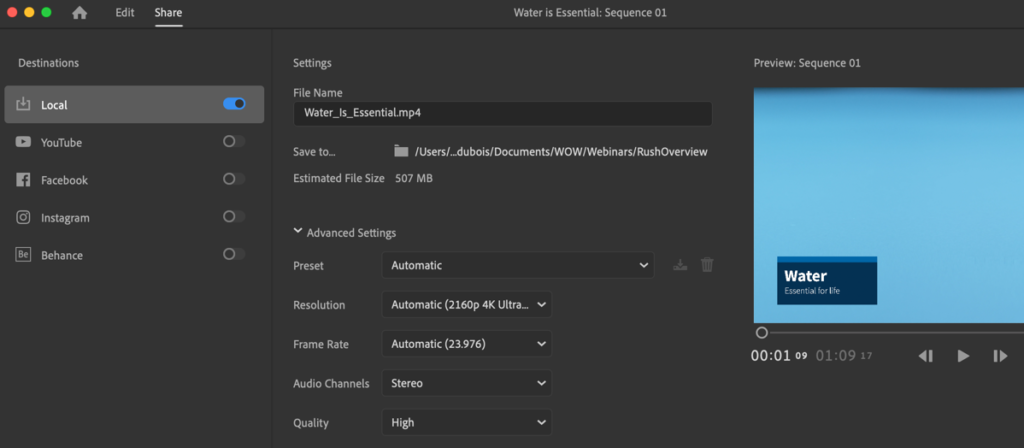
Share your work
One can share via a number of channels. Typically, I choose to save the project locally (as .mp4) and upload it after a final local review.
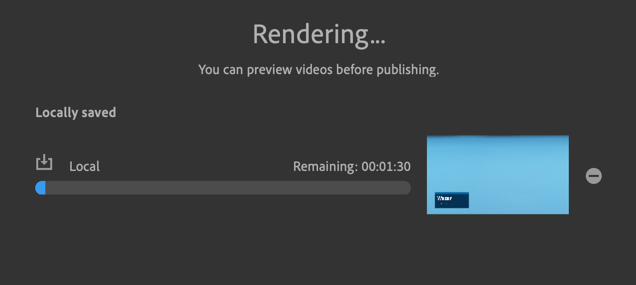
Rendering will take time
As the project is rendered, it will take time (obviously, the longer the video, the longer the rendering time).
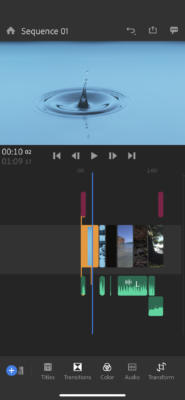
These projects also available on mobile
There is a separate iOS app (which automatically synchs your projects). I have included a screen capture below of what this looks like on my iPhone. There are minor differences, but the majority of the interface is very similar (as long as you view the app in portrait mode). In landscape mode, there are limited controls readily observable.
Enhancements I would like to see
At a minimum, I would like to see the ability to add captions to these videos. Hopefully, that will happen in a future release. Even auto captioning (with the ability to edit the resulting text) would be a plus.
I would also like to see the ability to have finer controls over the clip volume. For example, I purposely added a voice over and background sounds to the ending clip. I can not indicate that I want the background audio in increase in volume 2 seconds after the voice over concludes.
Demonstration
During the meeting, I developed a presentation (this is polished a bit from what we developed during the meeting). Thought you might find it interesting. If you are interested in web technologies, you definitely should consider participating in these meetings.
Your thoughts?
Have you used Premiere Rush? What are your thoughts? Obviously, we will take some time and experiment with this app at our meeting. I also look forward to your comments below.