To begin 2018, I am providing a webinar on the use of variables in Adobe Captivate. This is intended to be an introduction. Since I only have one hour, I plan to concentrate on the following items:
- using system variables
- creating user variables (and using them)
- associating actions with variables
As I have done in prior sessions, I will provide example files (including the .CPTX files). Of course, you will need the latest version of Adobe Captivate (2017 as of this writing) in order to open and work with the .CPTX files.
Before we get “too far into the weeds,” let’s examine why we might want to use variables in Captivate in the first place. As readers likely know, this tool is used to generate eLearning content (which can also be included into learning management systems – like Moodle). There may be instances where we want to confirm that a student has reviewed materials provided before class (perhaps so they are ready to work on an in class project). There may be times when we don’t want to include such a module as part of a course (perhaps it is remedial for selected individuals). We may want to confirm that the individual has reviewed the materials. We could ask them to enter their name and could generate a certificate of completion once they completed the module (and they could print it as a PDF if they needed to). Obviously, there are many other instances where we might want to make use of variables. Let’s investigate the fundamentals.
As I have done in many other such sessions, let’s examine the result first. If you follow this link to the Captivate module, you will be prompted to enter your name and will then be asked a few questions. If you really want to score 100%, wellkinfire is a meteor and we use descriptors in the order opinion, size, age, and shape. Assuming you entered my name and proceeded to complete the quiz, you would end up with a certificate of completion that resembles the following. Note the date is included along with the number of questions answered correctly.
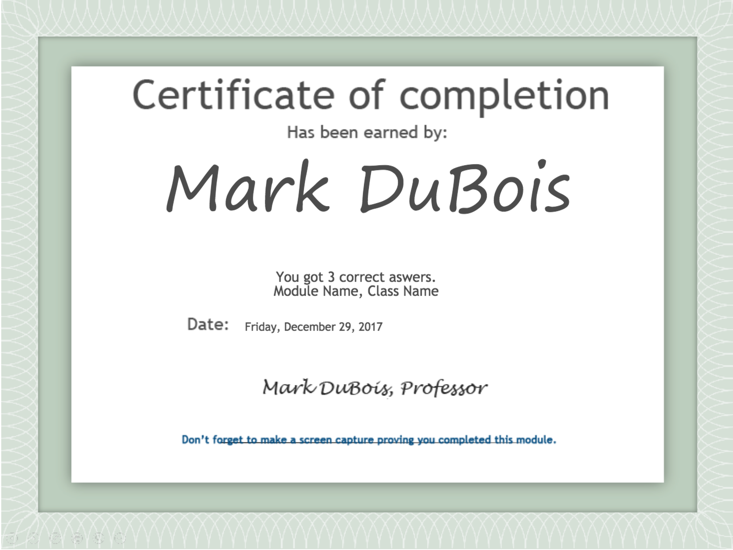
The date is a system variable; the name of the individual is a user variable. We first need to open Captivate and create a new project (or examine this file which is what I used to create the above HTML quiz). Navigate to the menu and select Project > Variables. You can then either work with system variables or create user variables.
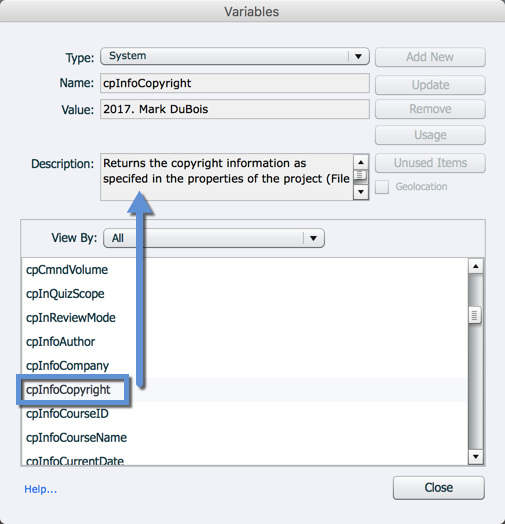
System variables – there are a number supplied within Captivate. The screen capture below shows details about a particular one. If you wish to examine a complete list, examine this Adobe Help file. In the screen capture below, you see copyright information (which was previously entered into the Project info panel).
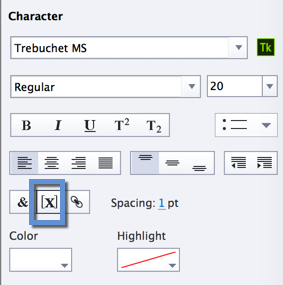
If you wish to use these variables, you can place two dollar signs before the variable name and two dollar signs after the variable name and you will be able to use it. In this case, the variable would be referenced $$cpInfoCopyright$$ in a text caption. However, if you choose to take this approach, not only are you running the risk of mis-typing a variable name, you also may not have the proper length of the variable. Instead, I recommend visiting the Properties panel (when you are working with a text caption, for example). If you scroll down, you should see something like the following. Although it is not obvious, the [X] symbol allows you to insert a variable.
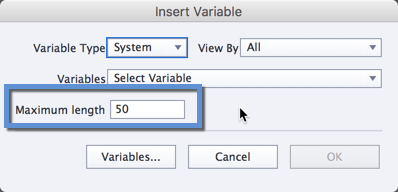
When you click on the [X] in Captivate, you will be prompted with the following dialog. Obviously, you need to select the desired variable. If you choose the default value of 50 for the maximum length of the contents to display, that is usually sufficient. If you simply use the variable name, you may experience the default length of 12 bytes for the contents (depending on the version of Captivate). This means dates may not display properly (they will be truncated) and so forth.
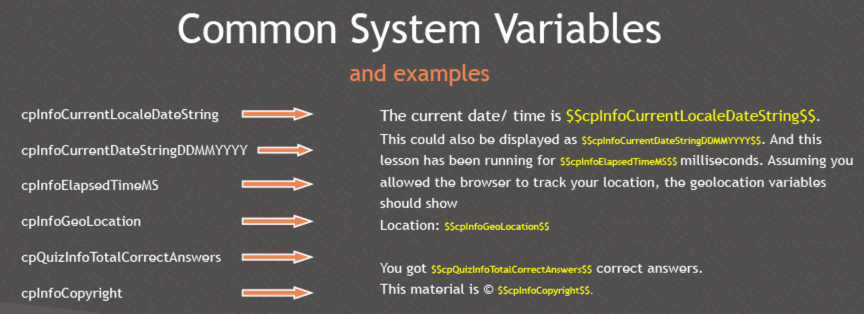
If one is working with a text caption, this might be what is observed when some of these variables are inserted. Obviously, your mileage should vary. On the right side of the screen capture below is a text caption area with the variables inserted. You can see the results when you open the example I provided (linked above as well).
There are potential issues in the use of System variables. For example, if you wish to include a location, you need to make certain GeoLocation is active when the Captivate file is published. You also need to encourage anyone using the results to allow location tracking via the browser. Many individuals often turn off this capability so you would net be able to see the details of their location.
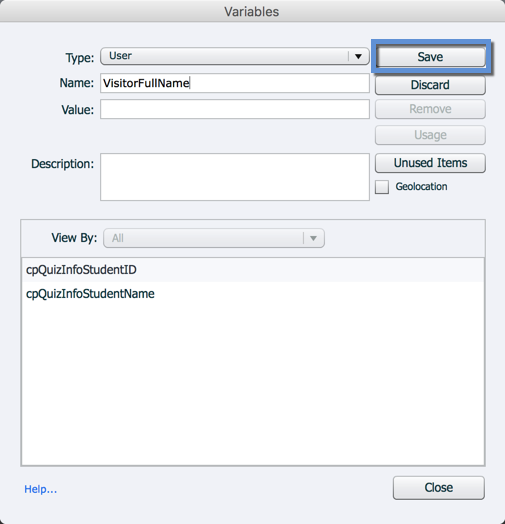
User variables can be created and used in a manner similar to System variables. Again, under the menu, select Project > Variables. Once you create a variable, you also need to save it. In the screen capture below, I have names a variable VisitorFullName. As you may suspect, it is never a good idea to try and include spaces in variable names. I typically limit the names to characters only and use some form of camelCase notation. These variables are case sensitive.
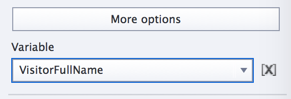
Once you have created a variable (and saved it), you also need to associate it with a text entry box (if you want to obtain information from the visitor). Highlight the text entry box and choose the proper variable to associate in the Properties panel. I have included a screen capture below [which is part of the Properties panel] (and the working file I provide also has this completed for you).
We have seen how we can use system variables and how we can create, associate, and use user variables. For those who would like to examine more closely, I recommend following the two links below:
- Working example using both system and user variables.
- Zip archive of .CPTX file so you can review and modify on your own. Captivate 2017 is needed to open this file properly.
Advanced Actions – As you may suspect, this is just a quick introduction to the use of variables. One can also employ advanced actions and do even more with these variables. While working in a Captivate project, we go to the menu and select Project > Advanced Actions. We would see a screen like the following. We first need to create a name for the action (which I have done in the screen capture below).
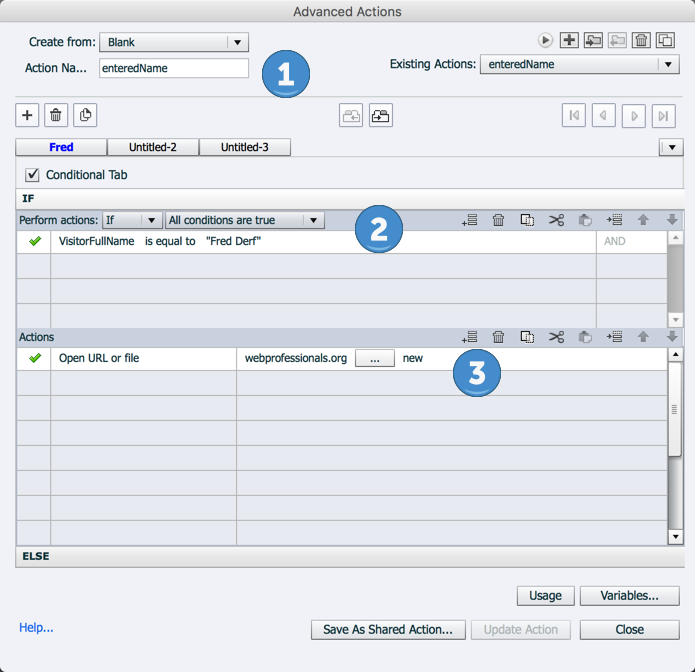
As you can see in the screen capture above, I set a conditional tab. If a visitor enters the name Fred Derf, a new browser tab will open and navigate to the WebProfessionals.org site. Think of this as a sort of “easter egg.” Yes, one can do a lot more with these actions; I am only scratching the surface.
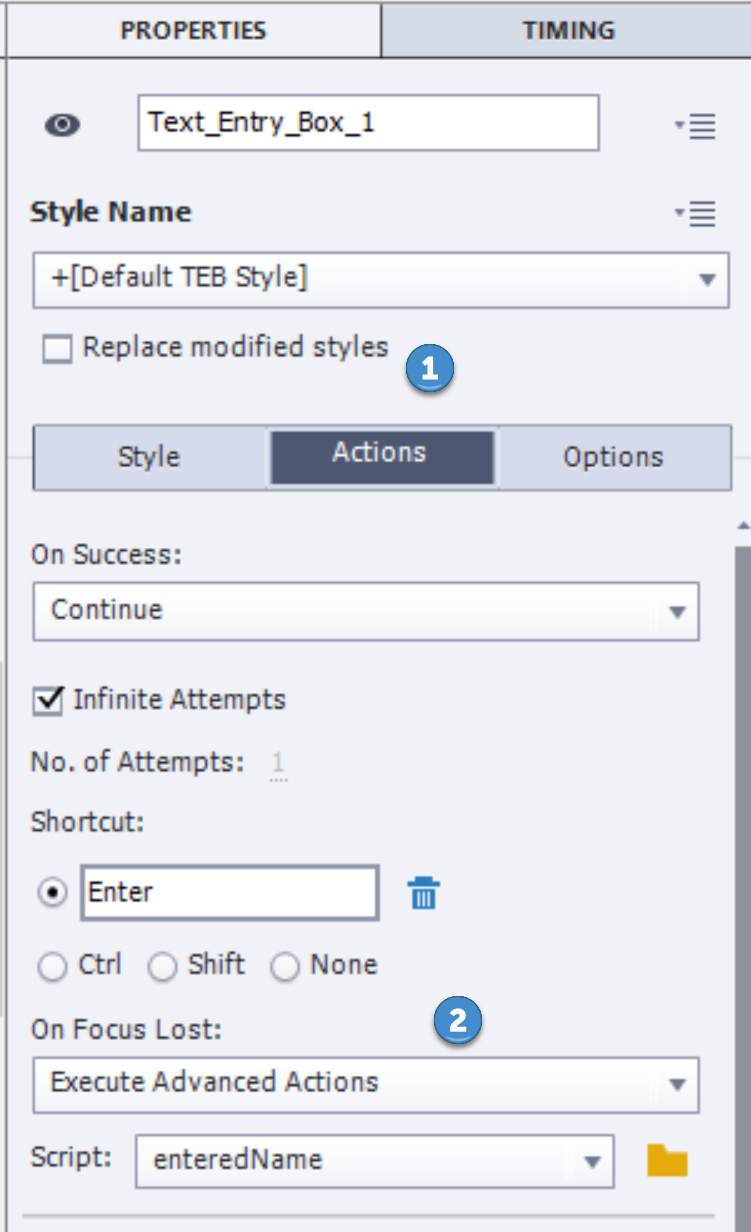
After creating (and saving) the action, we next need to associate it with an object. In this case, I chose to associate it with the text entry box where the visitor enters their name. When the focus is lost on the text entry box, I selected the option to Execute Advanced Actions and pointed to the action I previously created.
If you would like to review this (and try it out), I provide these two files as well.
- Advanced action working example (don’t forget to enter the name of Fred Derf).
- Example .CPTX file which was used to create the above example. Again, you will need Captivate 2017 to properly examine this file.
For those who were unable to participate in the webinar, here is the video.
I hope you found this information helpful and I look forward to your comments.