I have made a number of weblog posts on PhoneGap, PhoneGap Build and Dreamweaver in the past (just use the search box on this page and look for PhoneGap to see those entries). However, there have been a number of changes to the default templates with the release of Dreamweaver CC 2014. I have received several comments recently asking for updates as to how to build mobile apps using the latest version of Dreamweaver and PhoneGap Build. Therefore, I thought I would provide this overview.
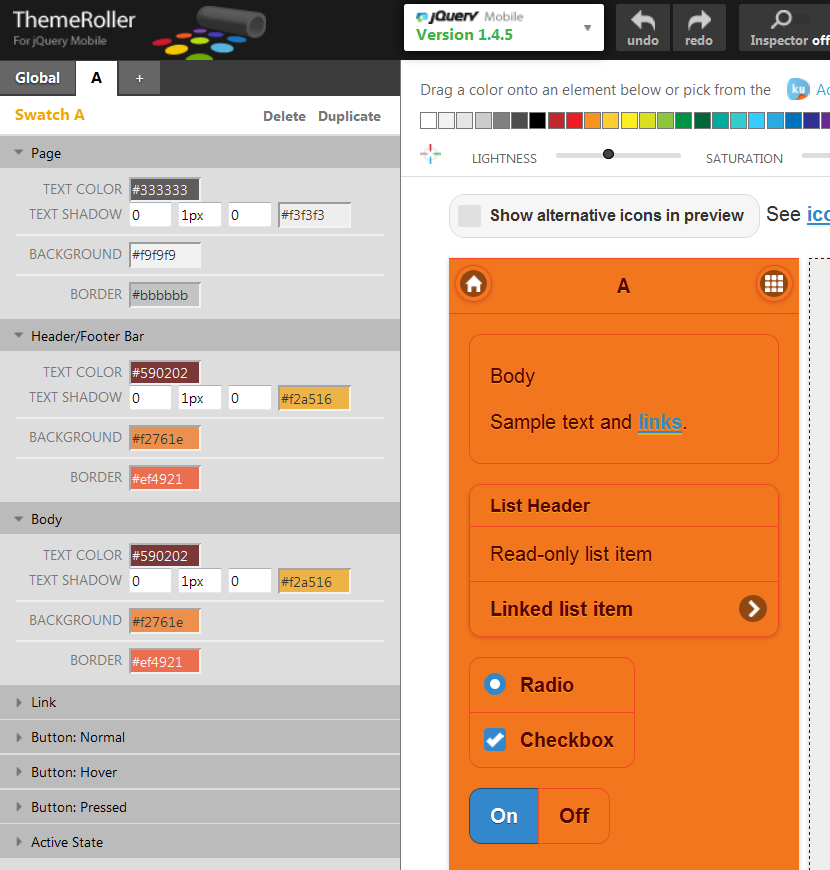
With the latest version of Dreamweaver CC, there are no starter templates using jQuery Mobile. However, all is not lost. One can still visit the jQuery Mobile site or jQuery Theme Roller Site and obtain starting files. For purposes of this discussion, I started with the jQuery Theme Roller site. Since I was preparing materials for a presentation on Halloween, I decided to create a custom theme. This is what is shown in the screen capture below. Yes, there si a heavy emphasis on orange – it was Halloween after all. [Note that you can always click ont he images to see a larger version.]
Once I was satisfied with the desired look of the theme, I chose to download the theme as a zip file. This also includes an index.html file in the zip archive which can be used as a starting point for further customization. Once I unpacked the zip archive, I examined the index.html page in Dreamweaver (shown below).
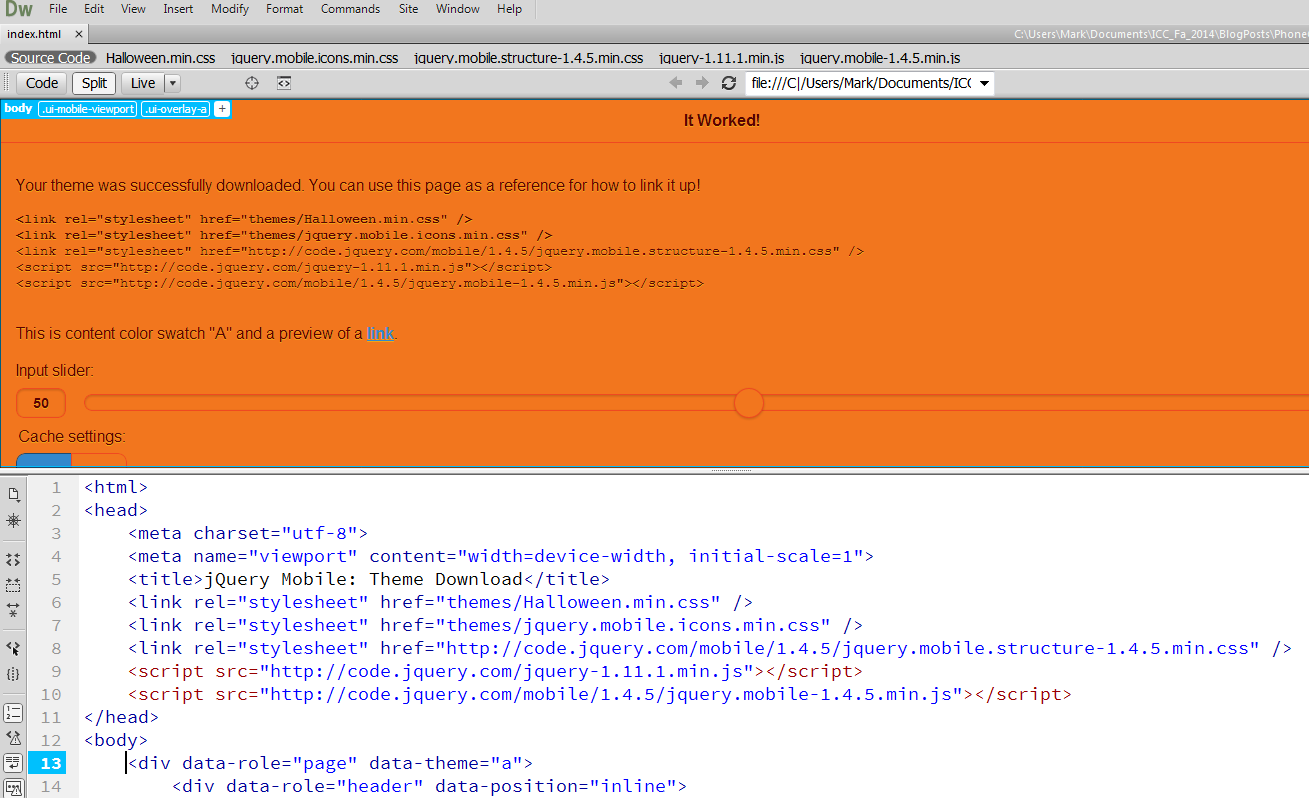
If you examine the starting code, you will see that it points to the custom theme (which I called “A” in this example). I next modified this code to include the desired code for the example to share with students at the event. My colleague, Shari Tripp, provided a number of images which we used during our respective presentations. We tested the code to make certain it worked similarly in most modern desktop browsers. I then used this code as a base to create the actual mobile app.
Before uploading materials to the PhoneGap Build site, it is important to provide additional supporting files. First, one needs a custom config.xml file which points to the version of PhoneGap desired along with locations of numerous icons to be used by the app. One needs a number of different sizes of images described in the appropriate documentation (this differs depending on which device you chose to target – iOS or Android). One can edit the config.xml file in Dreamweaver and make appropriate changes as needed. For sake of simplicity, I left all these at the root (same level as the index.html file). I show part of the config.xml file below. You might want to click on this image to make it larger in a new browser tab…
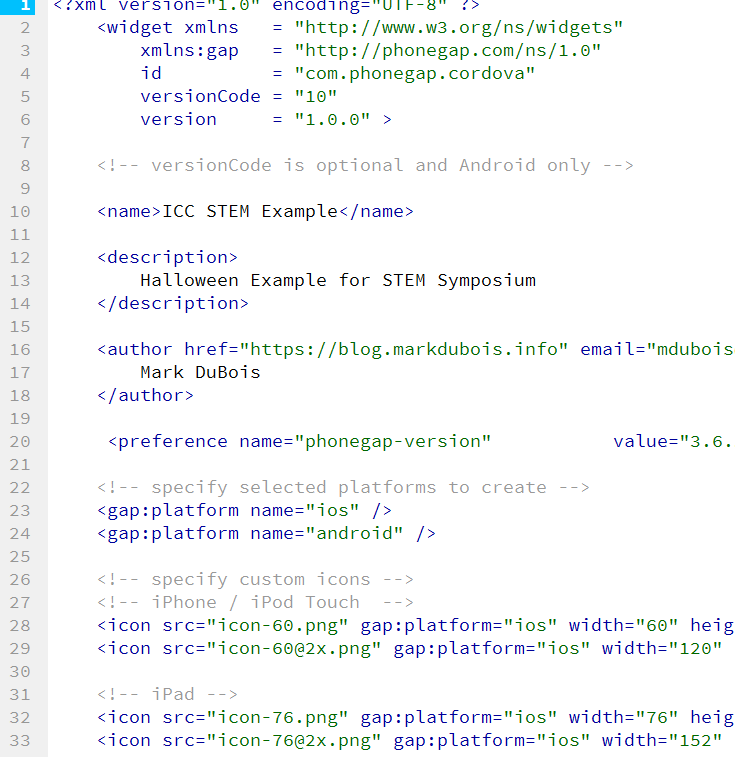
I tried to include a number of XML comments throughout the file to make it a bit easier to understand. You will note that I am targeting both iOS and Android devices. Based on the documentation, I reference the appropriate sized images (they must be named as depicted in the config.xml file for these devices as well.
Once I have created all the appropriate image sizes and named them accordingly and updated the config.xml file, I then created a zip archive which I will upload to the PhoneGap Build site. You will note I provide a link to that zip archive so you can download it and review the contents. I suspect many will want a copy of the config.xml file so they can modify it accordingly. Note that the images contained in the archive are copyrighted. I expect you to respect that license.
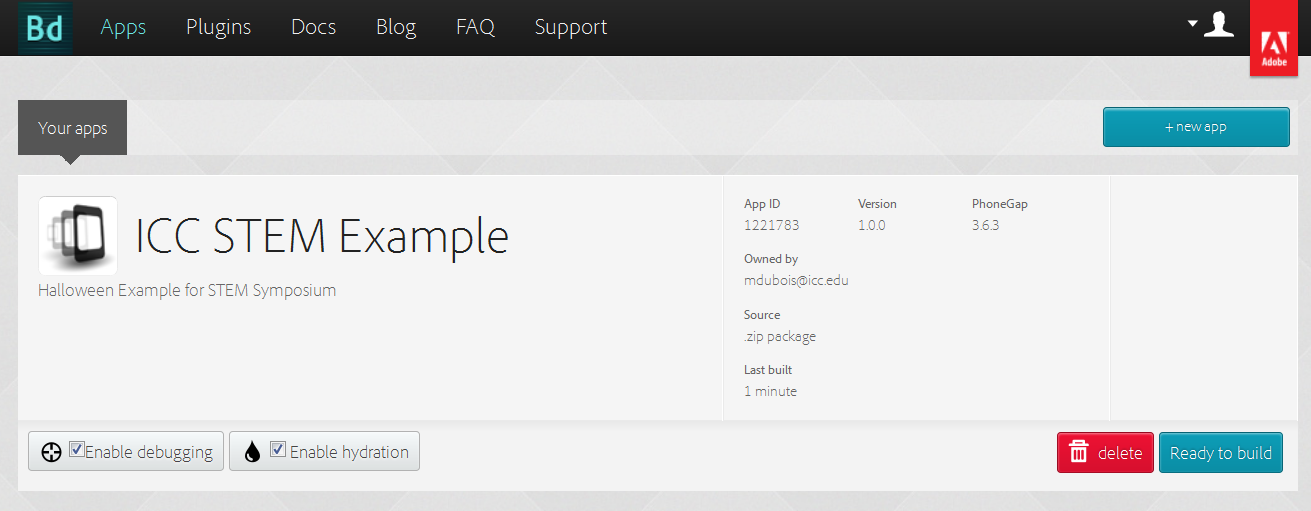
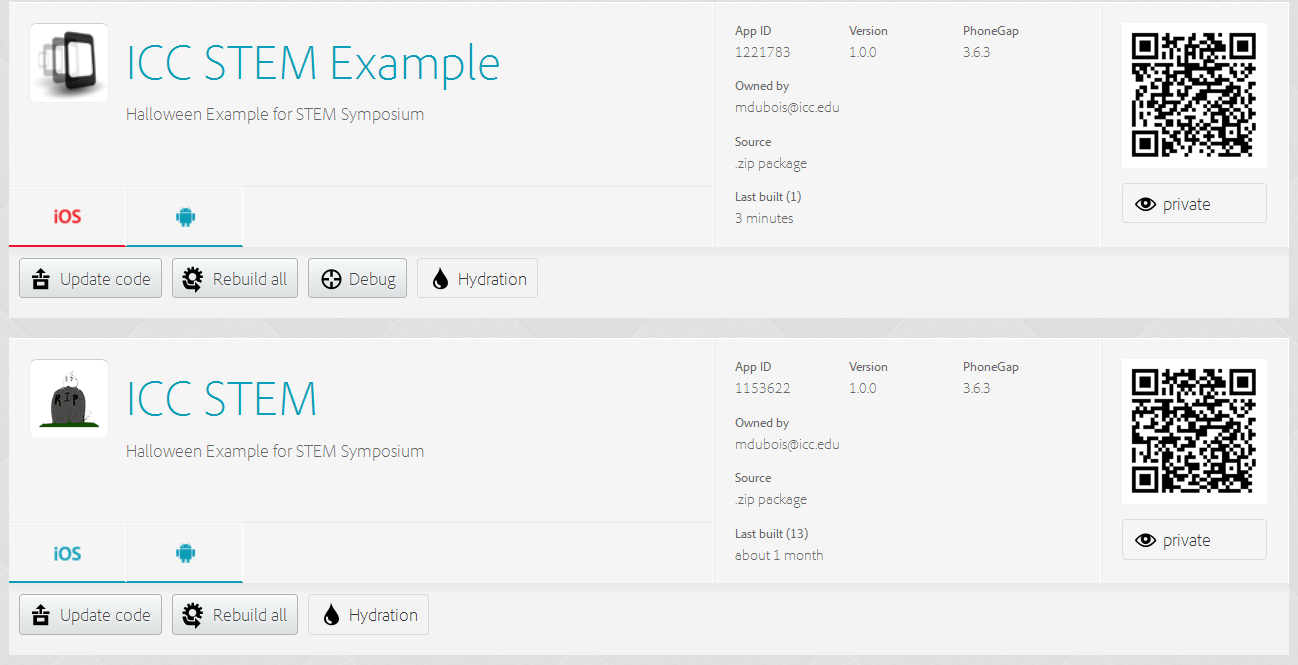
Now that all has been properly assembled, I visit the PhoneGap Build site and upload my file as a new app. There is a blue box on the right side of the image below. Once I have opened the next page, I am prompted to provide the zip archive (I can either point to a GitHub account or upload from my local computer).
I may need to unlock the appropriate iOS signing key. However, once all is finished, I should see a completed screen like that shown below. You you can click on the image to expand it. Keep in mind these are QR codes so you could scan and download the app. If you are uisng an iOS device, that won’t work because I have only included my devices in the signing key. Android devices are less picky. As long as you have specified that you want to install from untrusted sources, you could install the app. Note that I have one version with a working iOS key and one with a non-working key (the one with the red line under it). I do not recommend scanning these QR codes. There is no guarantee that this image is legitimate (you have been warned). I recommend using the provided zip archive and modifying the contents to meet your needs and then uploading and creating your own app. I take no responsibility if you choose to install a test app I have created. Again, you have been warned.
I do hope you find this post helpful. I am curious as to your thoughts whether this approach works for you. As always, I look forward to your comments.