Google announced Material Design in June, 2014. The main goals are discussed in the Material Design specification. Essentially, there are two goals (below copied directly from above link).
“Create a visual language that synthesizes classic principles of good design with the innovation and possibility of technology and science.”
“Develop a single underlying system that allows for a unified experience across platforms and device sizes. Mobile precepts are fundamental, but touch, voice, mouse, and keyboard are all ?rst-class input methods.”
The key is the idea of a “unified experience across platforms and device sizes.” This has been implemented in a large part on Android applications, Google Drive, Google Docs (and related), and gMail. There are a number of tutorials on working with the basics of Material Design. There are sites where you can download icons (like Material Design Icons) and themes (such as Material Design Themes) and widgets (such as Material Design Widgets). There are free and paid versions of many of these objects.
With the release of Adobe Experience Design (and the associated Material Design UI Kit), I have found it much easier to understand (and get started working with Material Design). I thought it would be appropriate for students to better understand what comes with this UI Kit (and how it can be utilized in your designs).
I recommend reviewing the set of documents provided by Google to better understand the goals and implementation of Material Design before developing your first Material Design prototype using the Adobe Experience Design app.
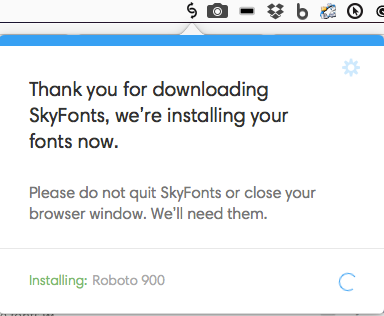
Also, it is important to have the necessary Google fonts installed on your operating system. One of the problems when working with fonts is they may be automatically updated on your website, but that is usually not the case on your operating system. Remember that Experience Design presently only works on the Mac; however, there is a free application – Skyfonts – which allows you to install and manage fonts in your operating system (Mac or Windows 7+). Unless you enjoy periodically updating fonts (when newer versions become available), I recommend using such a tool. Here is what it looks like on a Mac.
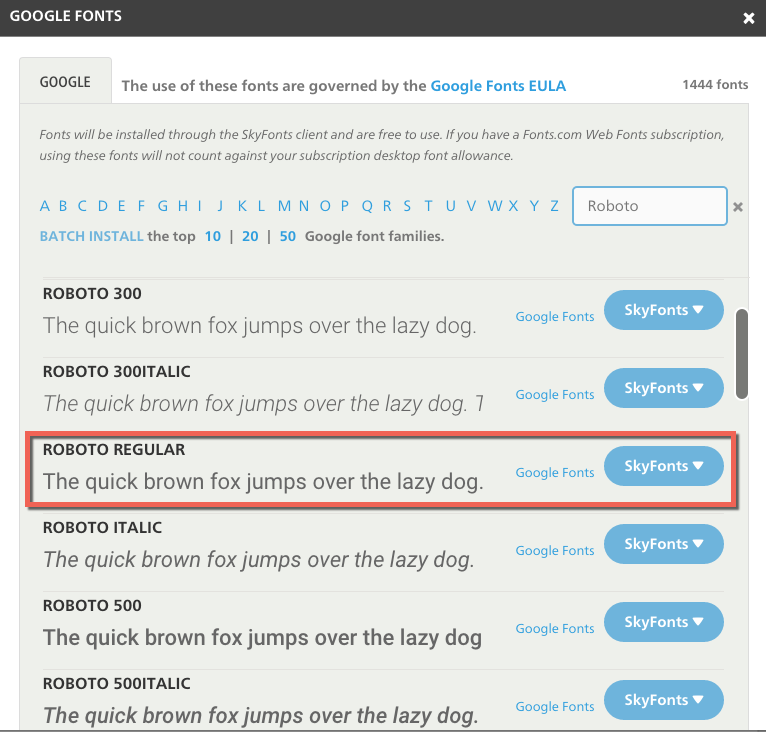
Once installed, you can then obtain the necessary fonts (I did this in one step above), but here are the font sets you will need to work with the UI Kit provided in Experience Design. You only need to select one of the font sets (Roboto Regular in this case) and all related fonts will also be installed in your operating system.
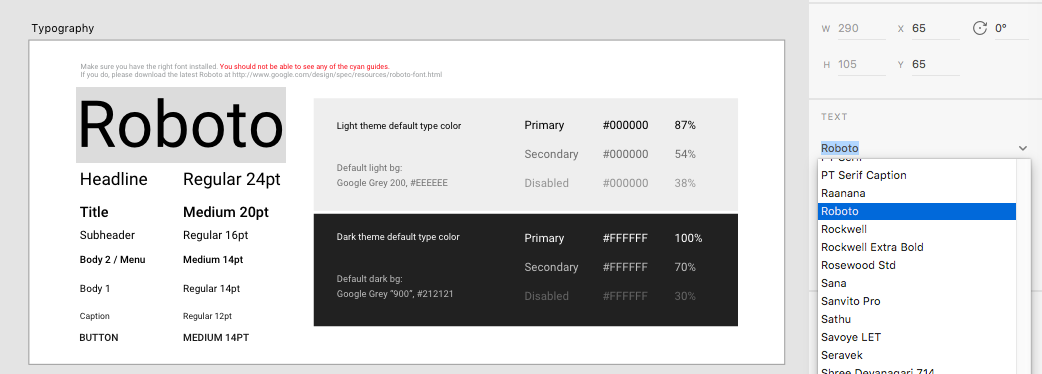
To confirm that you have the font installed, you will no longer see cyan “lines” around the font when you open the Material Design UI Kit in Experience Design. You should also see the particular font in the Properties panel. I highlighted Roboto below (in the fonts selected).
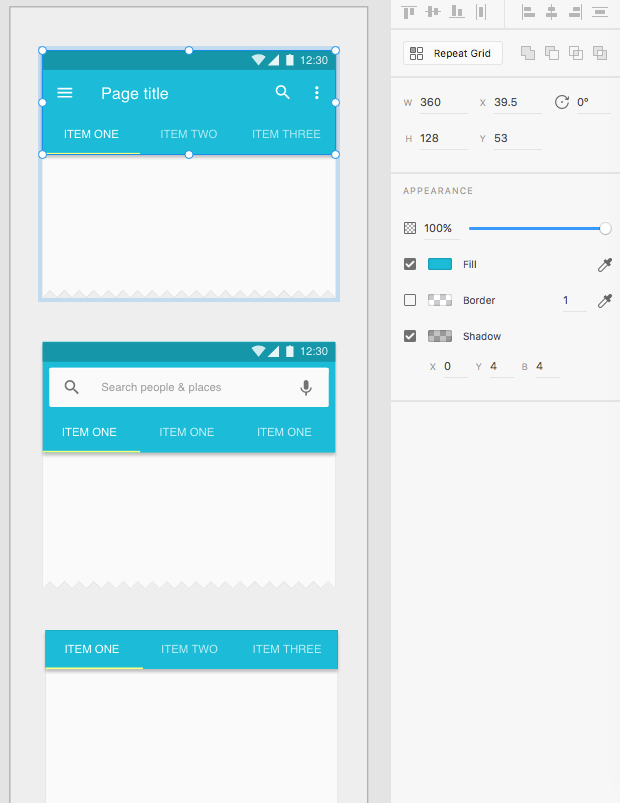
Once you have the fonts installed, you can then work with the Experience Design tool (and copy and paste specific items) and incorporate Material Design into your initial comps. Of course, you can change the colors as needed to reflect the project you are working with. However, aspects (like shadows) are properly configured to adhere to the principles of Material Design (so you can focus on developing a prototype for your client). In the screen capture below, I have highlighted the color and could then change it in the properties panel.
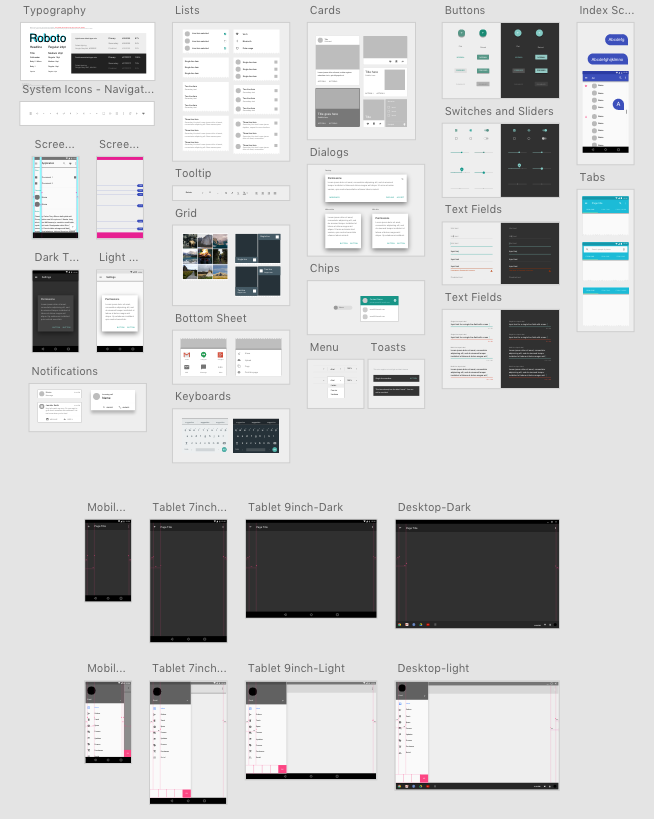
The main advantage of the Material Design UI kit is that it already provides a starting point for most objects you would use in a mobile app or a web page. Here is a quick overview of what is provided (you would zoom in using the tool to see specifics).
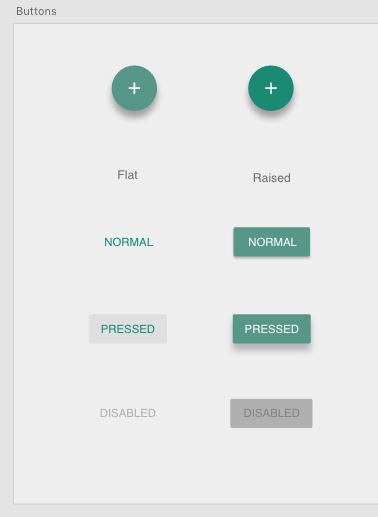
I highlighted the buttons artboard to show some of the details. If you look closely, you will see that the shadows are depicted as outlined in the Material Design specification.
Personally, I find this saves me a lot of time when designing (using the mobile first philosophy, of course). I can copy and paste (and change colors as appropriate). Of course, animations and other interactivity may not be fully represented in the initial prototype, but you would have a definite starting point.
I recommend students who have a Mac try out the Experience Design tool and develop a starting understanding of what Material Design is all about. I look forward to your comments.