Those who know me will recognize that I have been promoting the use of mobile devices for quite some time. In my opinion, tablets and smartphones are content creation devices as well as content consumption devices. I have been recently working with Adobe Lightroom Mobile on my iPad. In order to use this, one needs to have a Creative Cloud account and have Lightroom 5 installed on a desktop or laptop computer. One can then synch collections between your desktop computer and iPad. The really impressive part is that you can make non-destructive changes to images on the iPad and they will appear on your desktop (or vice versa). Since they are non-destructive, you can always revert to the original.
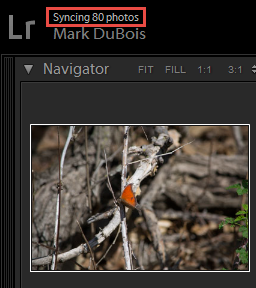
Assuming that you already have Lightroom 5 installed on your computer and have Lightroom Mobile installed on your iPad (the latter is a free app available in the Apple AppStore), you will need to create one or more collections within Lightroom. Once you have added images to your collection, you need to synch that collection. This is not overly intuitive (which is why I highlighted the necessary icon below).
![]()
It does take a little time to synch the collection (depending on the number of images). You can see the progress in the upper left corner of the Lightroom app (the file number represents the remaining items to synch).
If you then open the Lightroom mobile app on the iPad, you see something like the following. As with all these larger images, you can always click on them to see a larger view/ magnification.
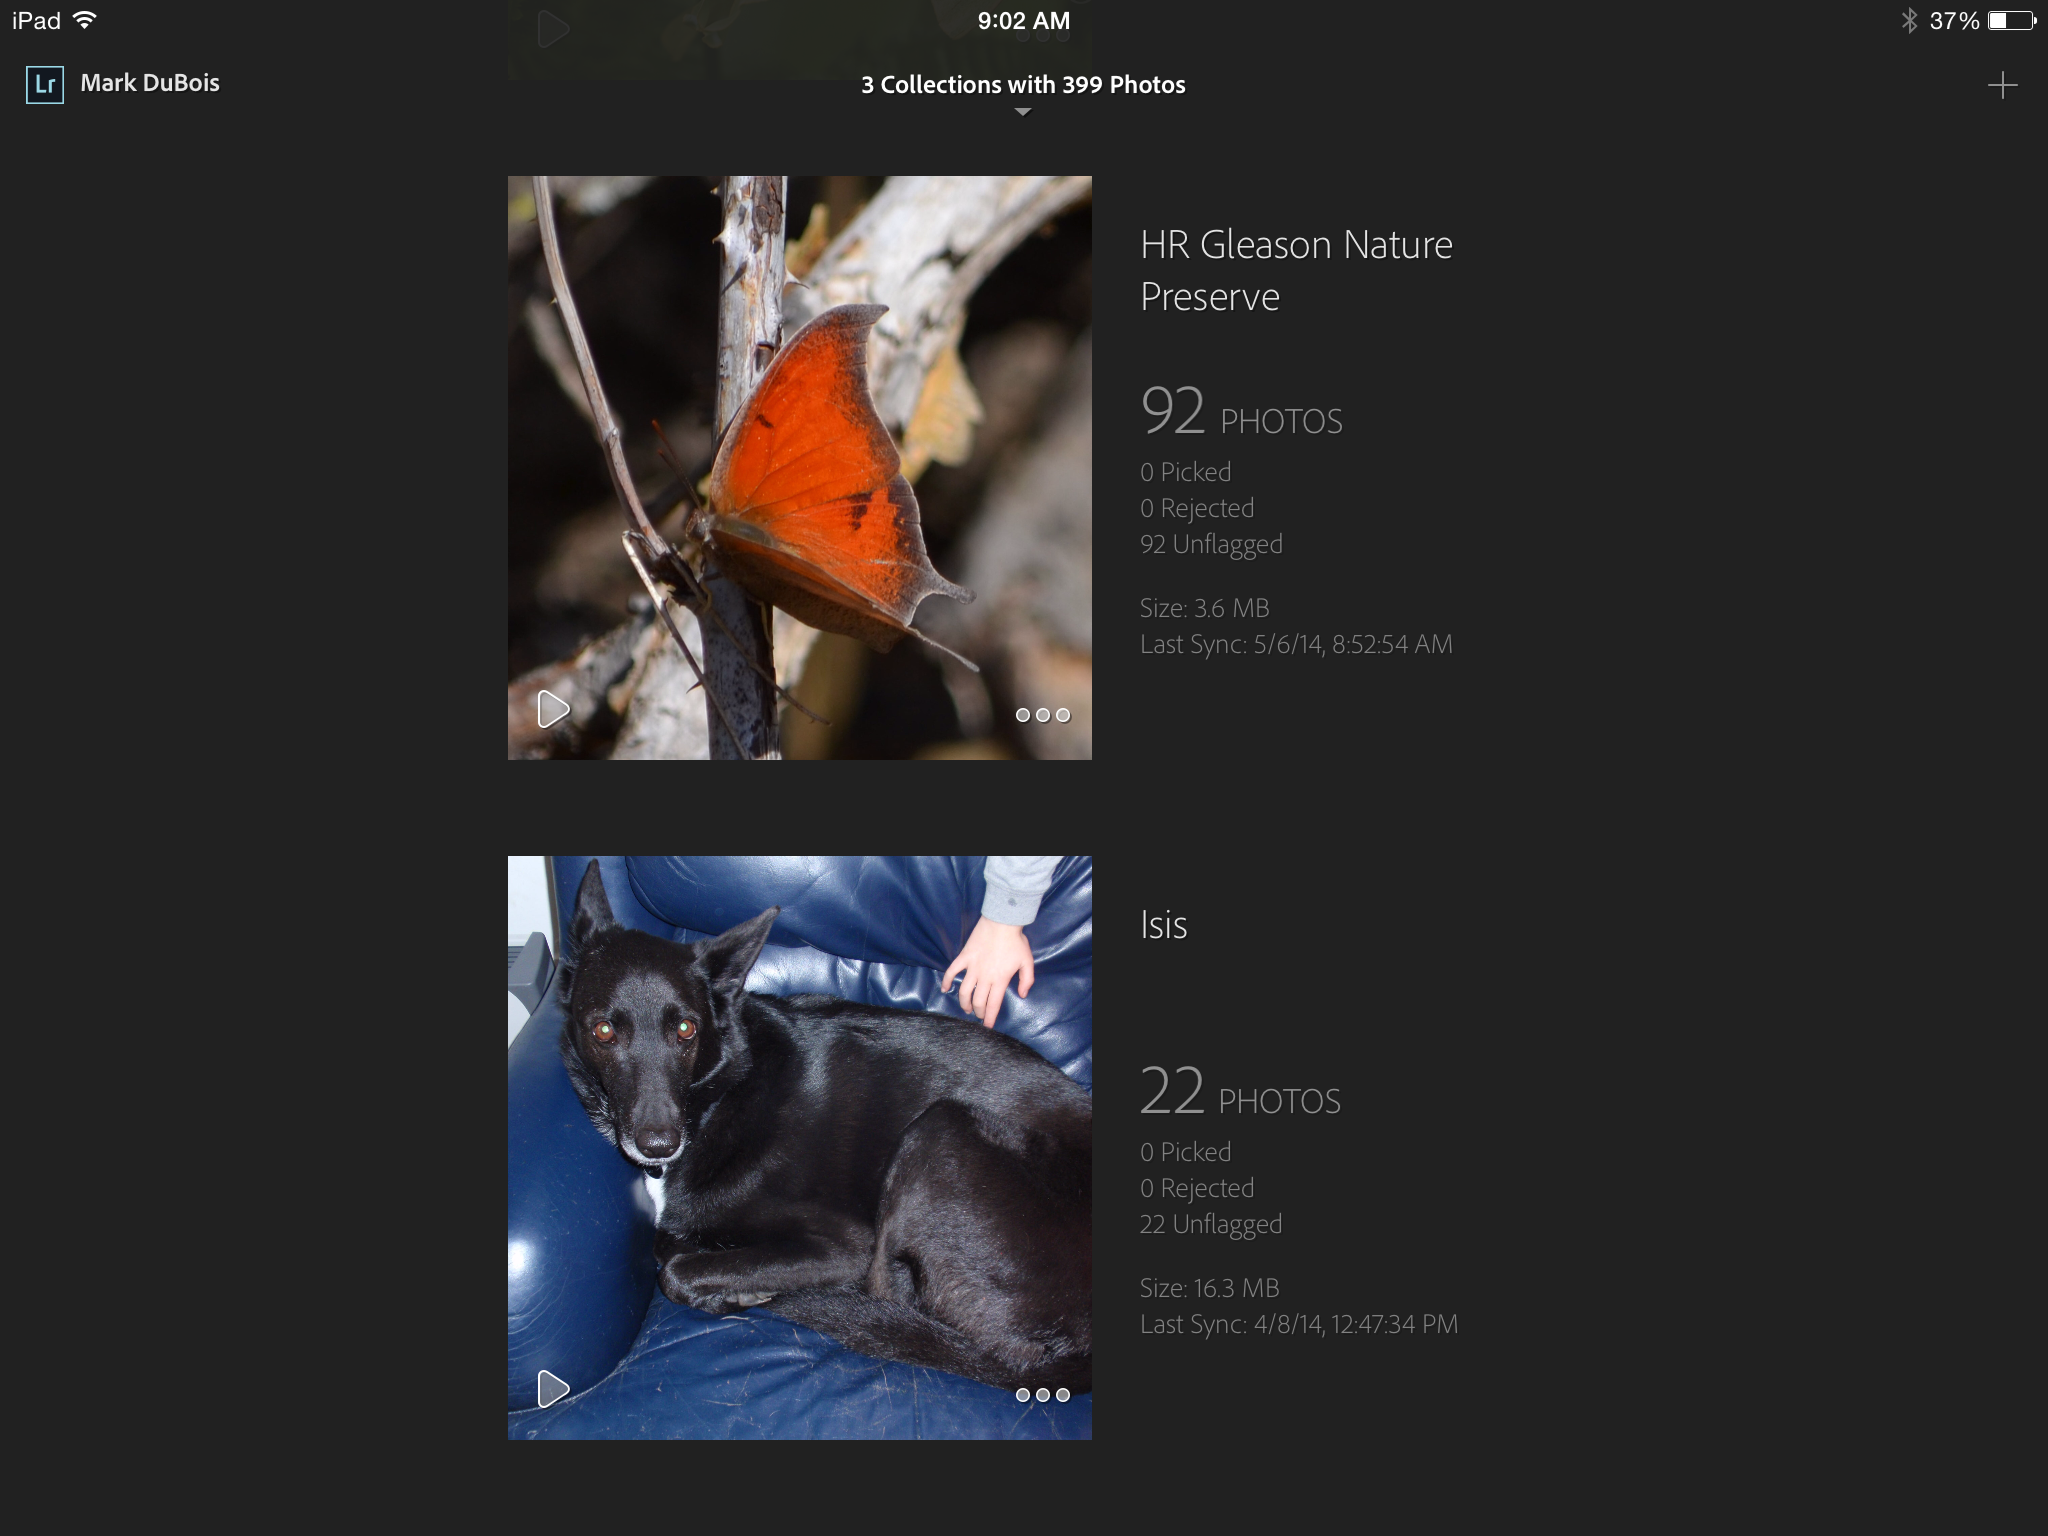
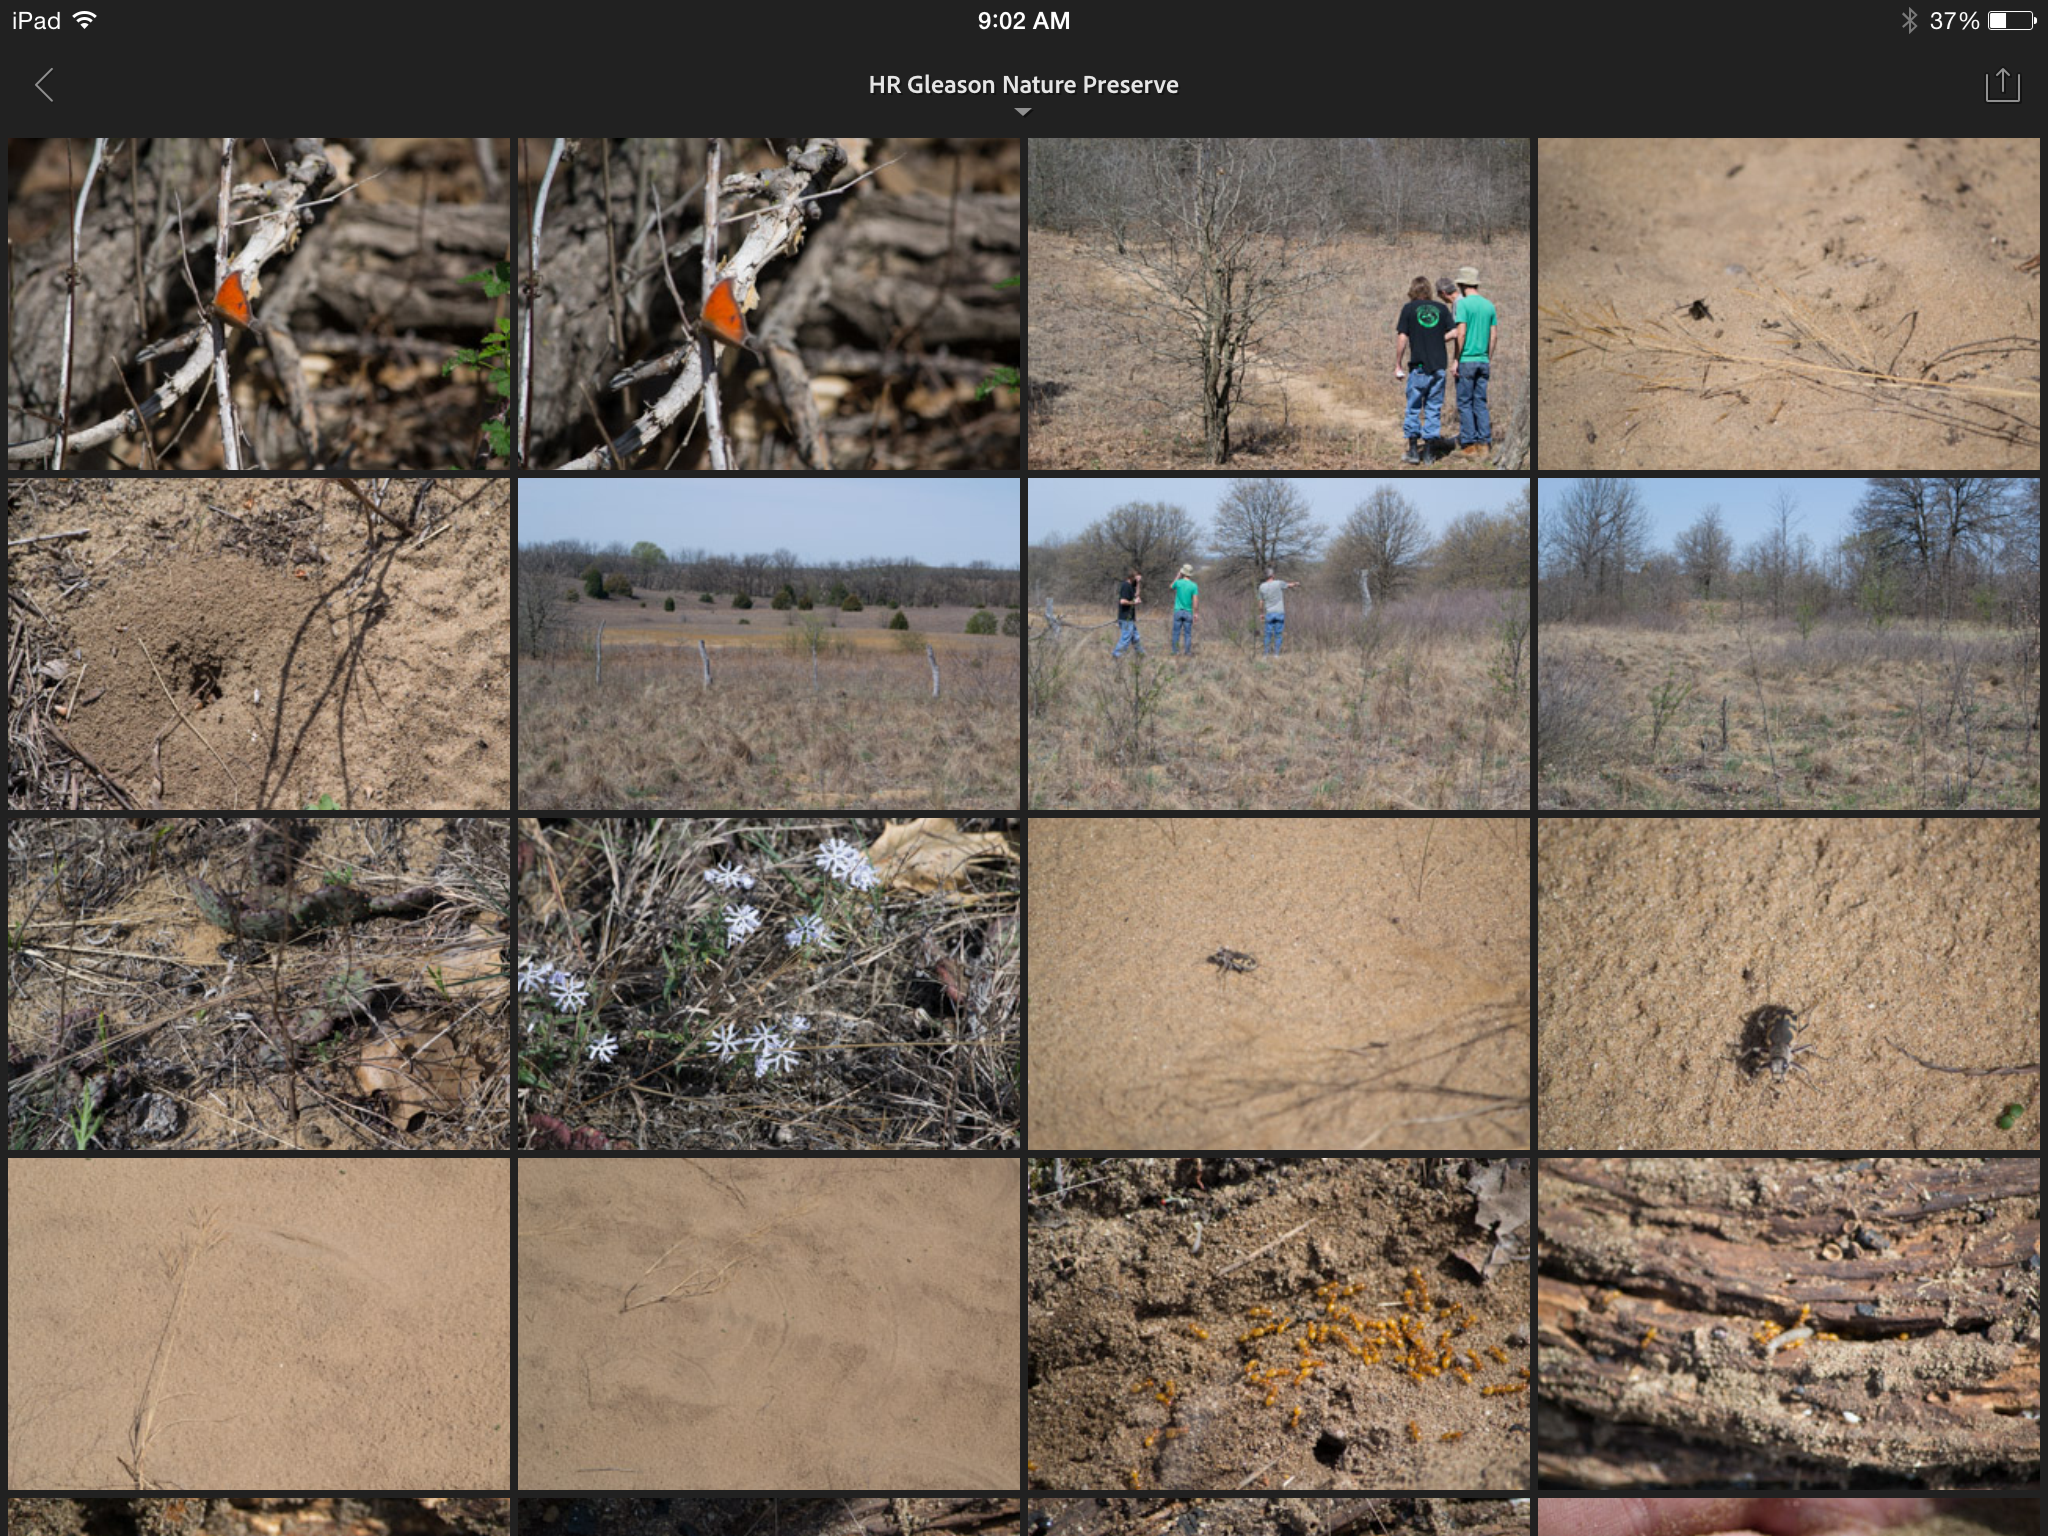
One can open a collection on the iPad and will see something like the following. Note that your desktop/ laptop computer could be turned off at this point as you will be making the changes on your iPad. This view is similar to the filmstrip view in Lightroom 5.
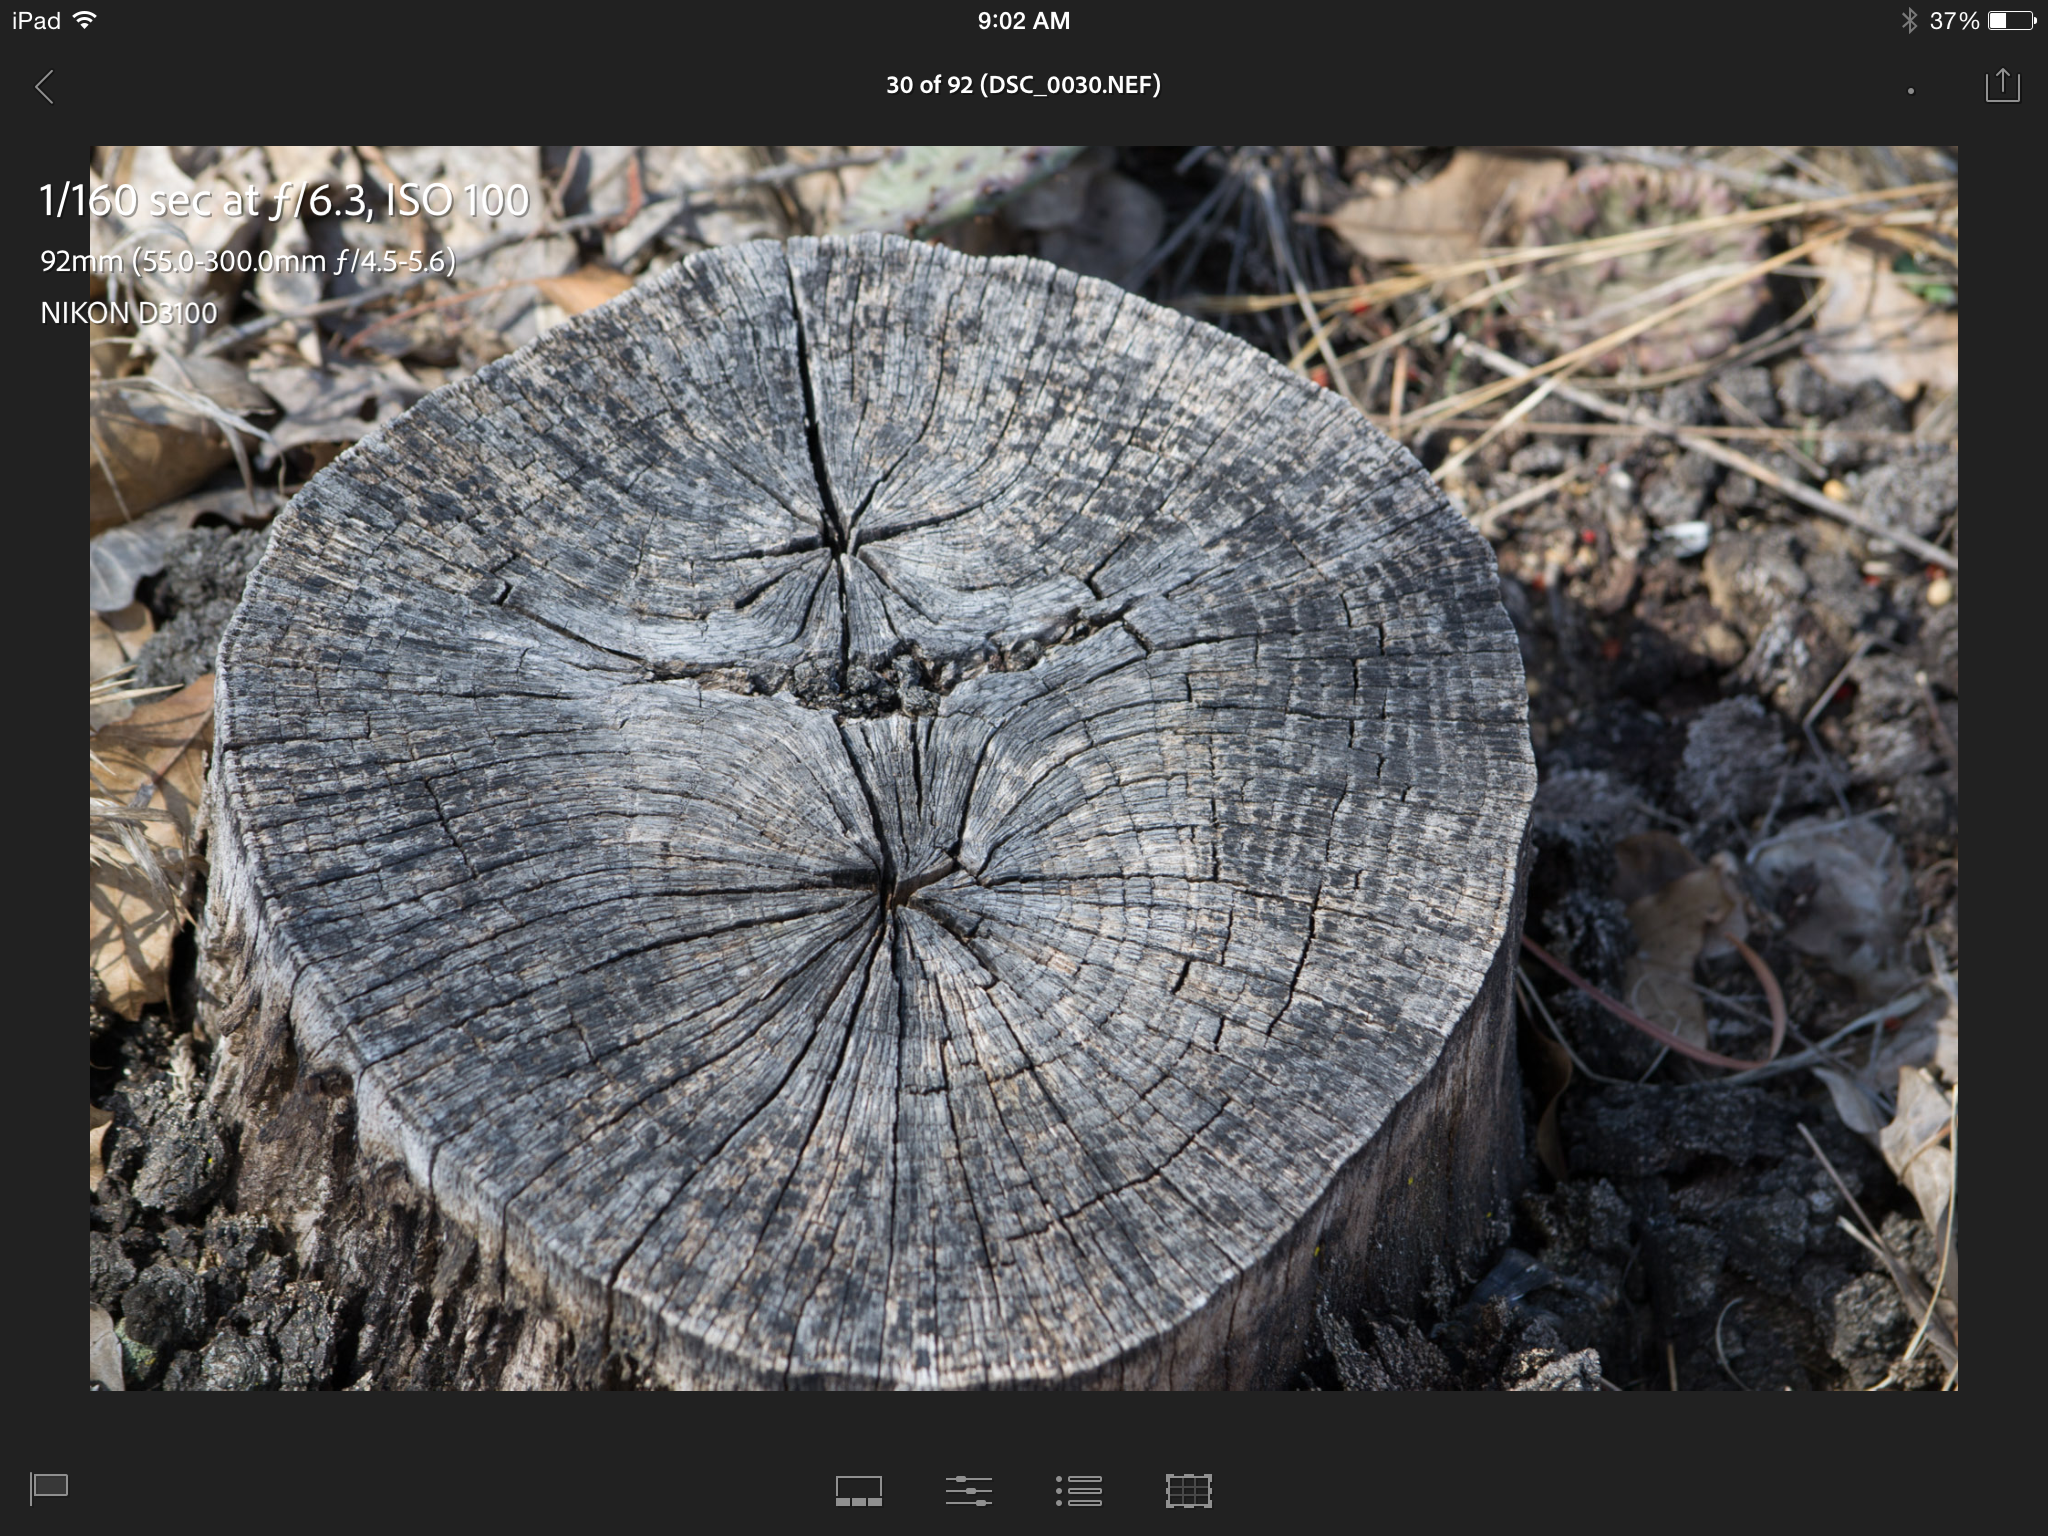
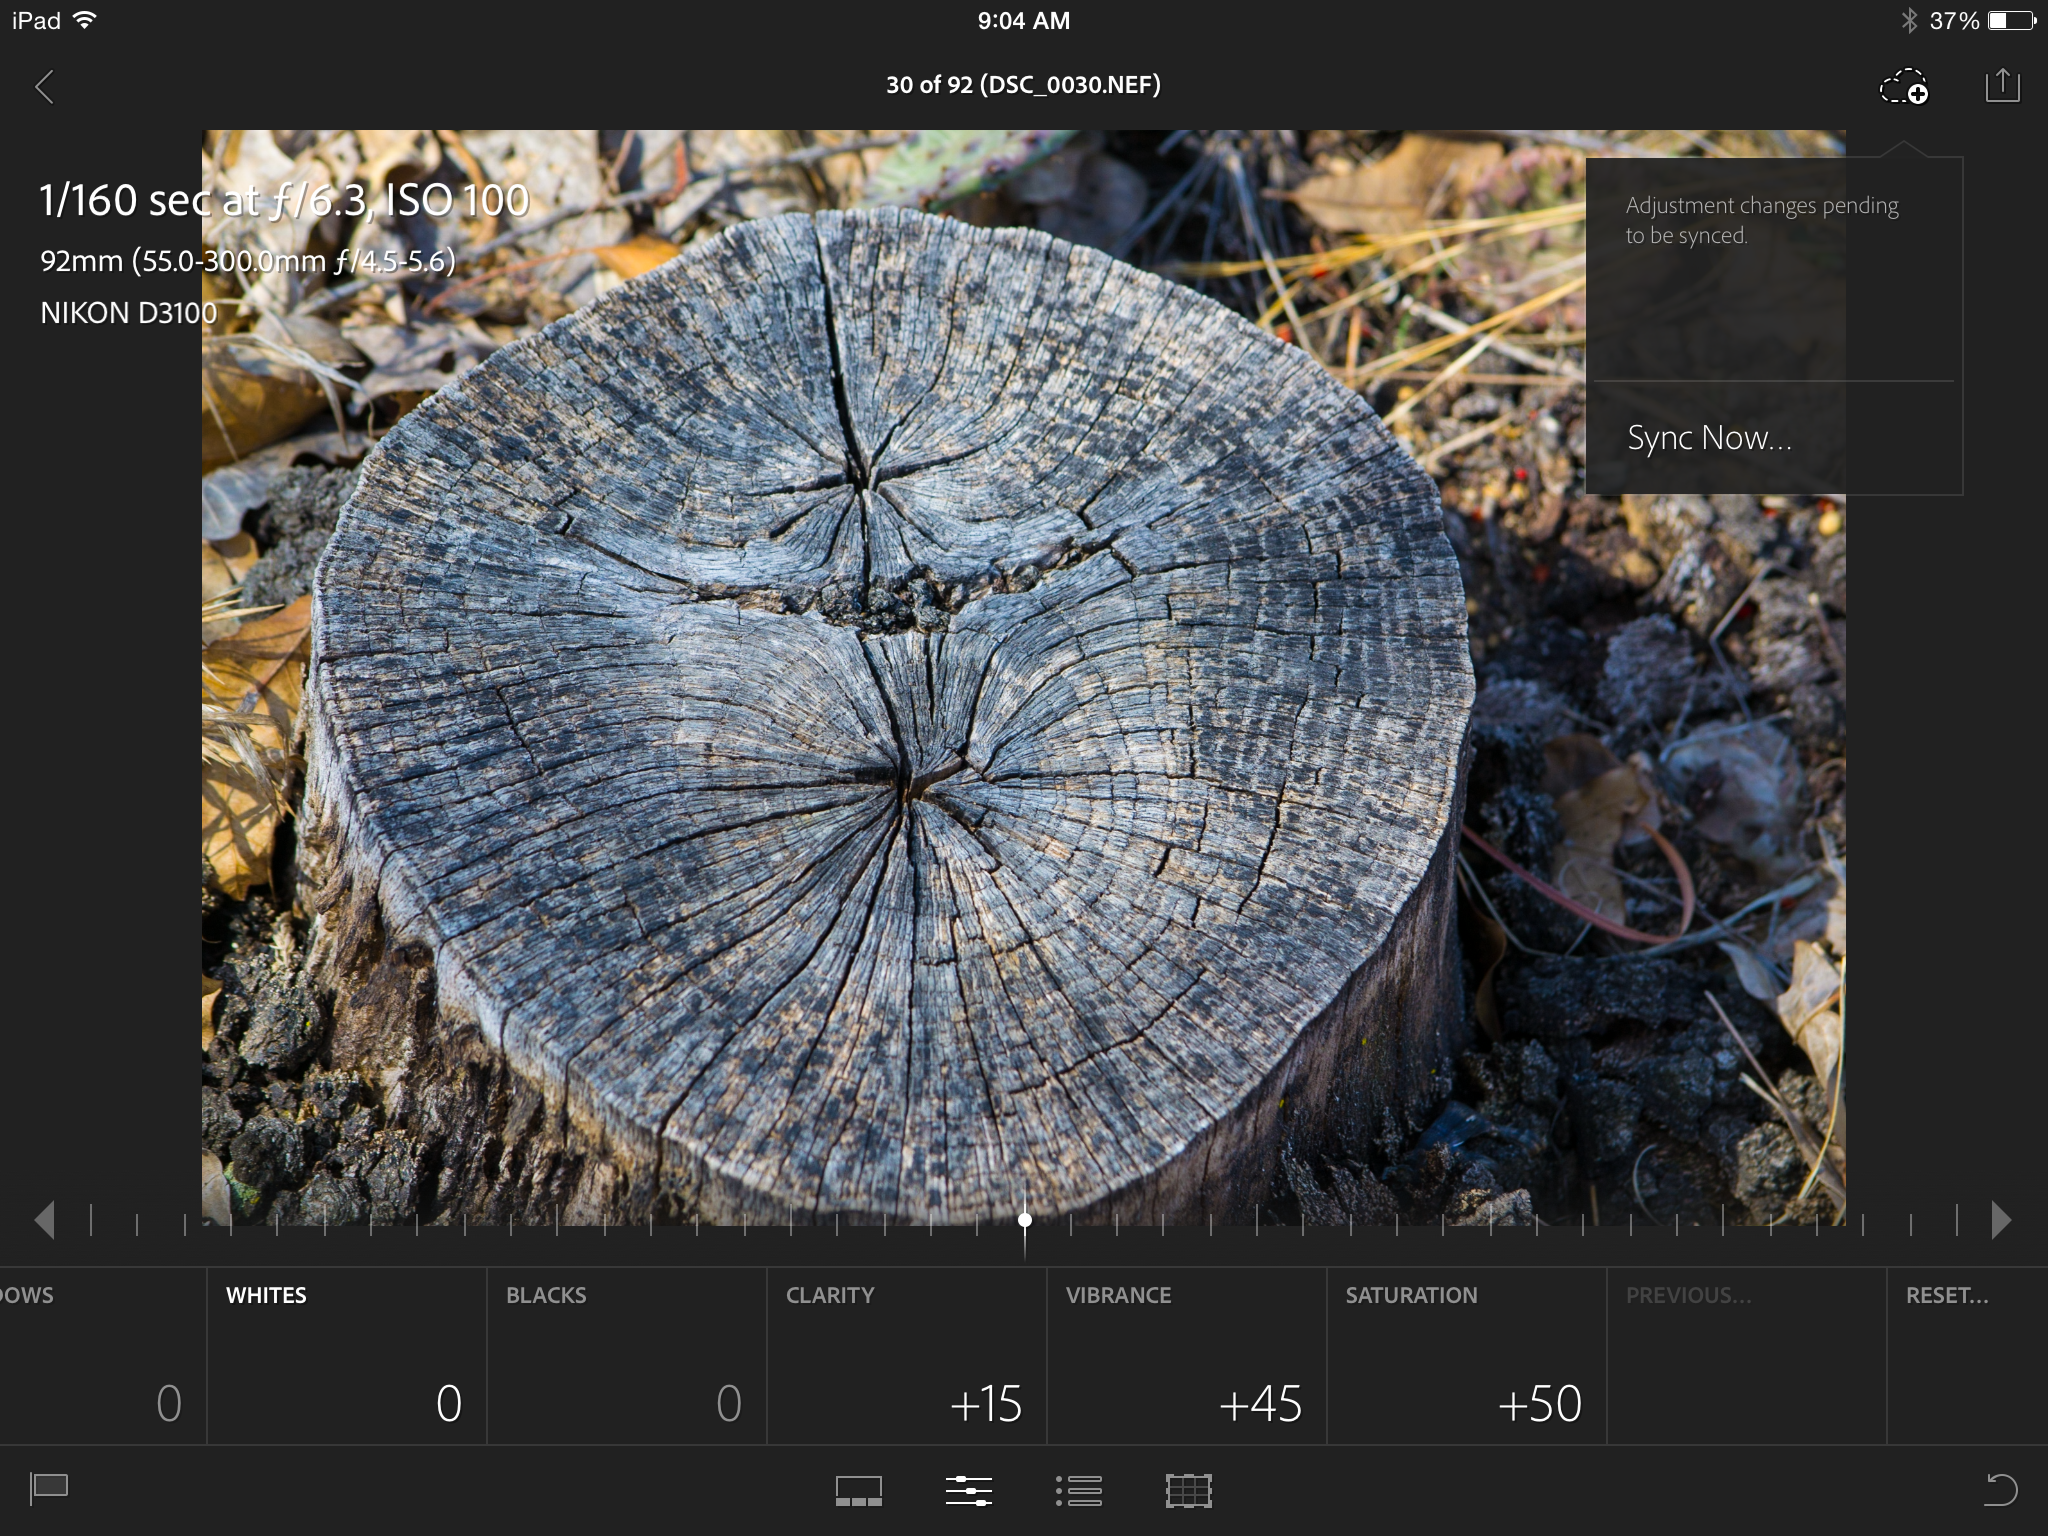
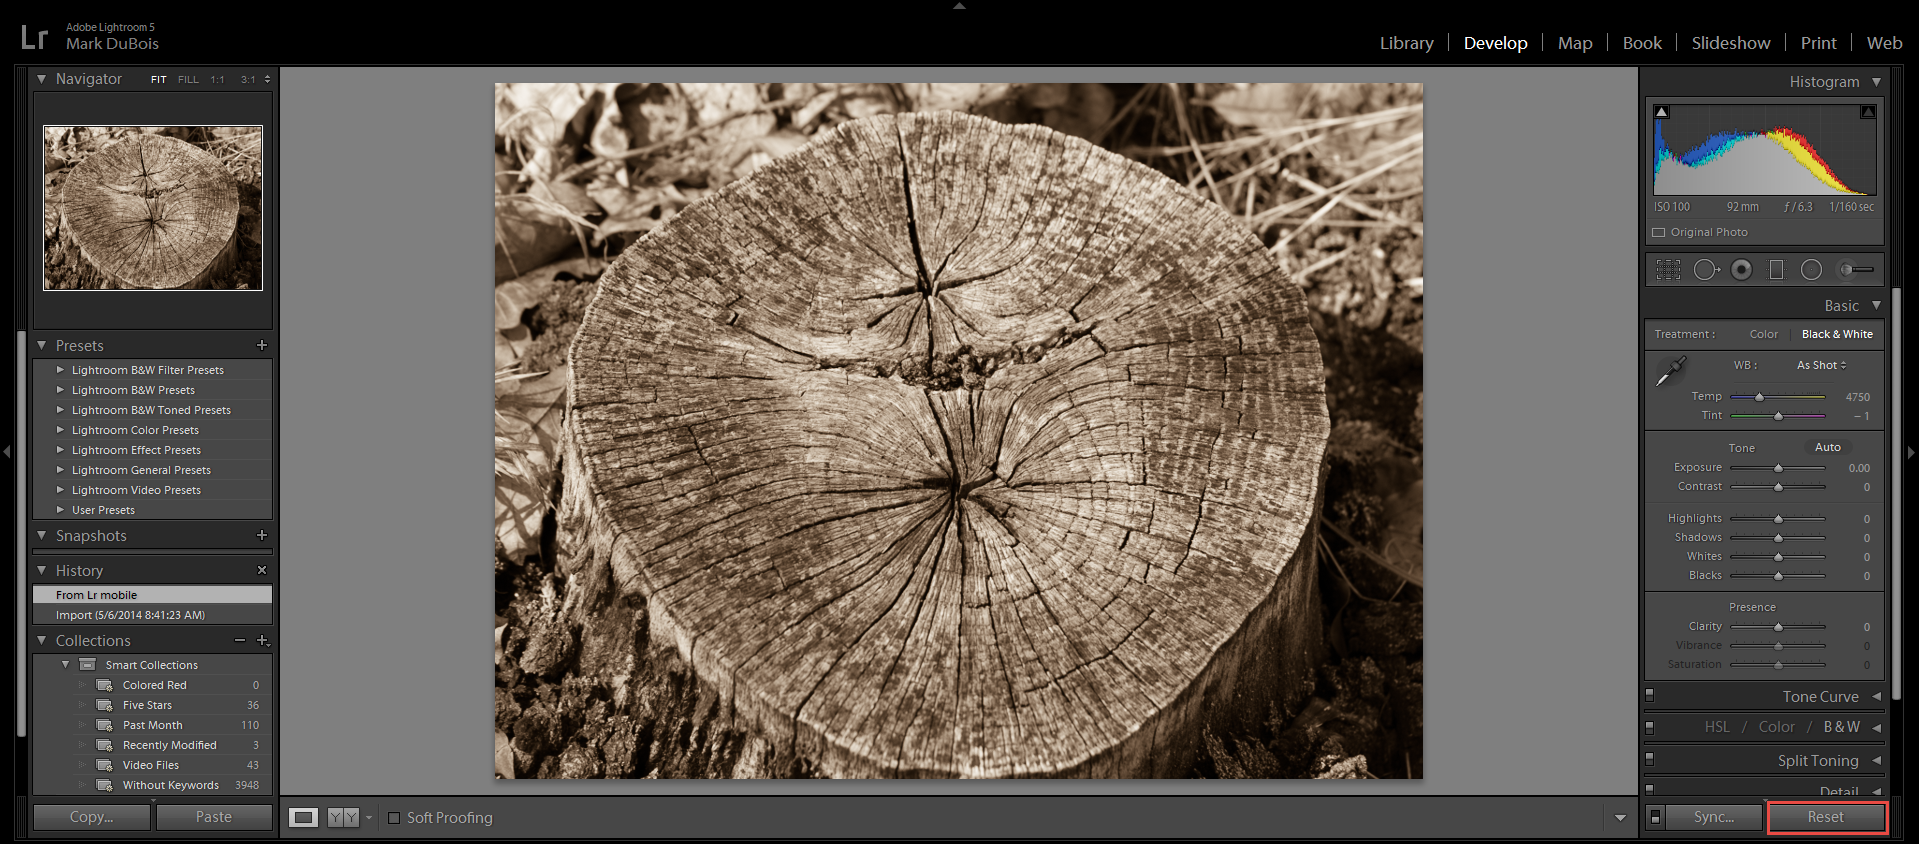
I tapped on one image to select it. This tree stump caught my eye because it is really two tree stumps in one. Note the pattern in the growth rings. They tell quite the story. The tree in the lower part of the image grew next to the tree in the upper part of the image for a number of years. Eventually, the tree on the bottom engulfed the upper tree and they grew as one tree until they were eventually harvested. You can also see the meta information (and exif data) in the upper left of the image below.
Since I want to experiment with non-destructive changes to this image, I can select from the various controls at the bottom of Lightroom Mobile. You will note there are 4 main controls. Starting with the control on the right, I can crop the image on my tablet.
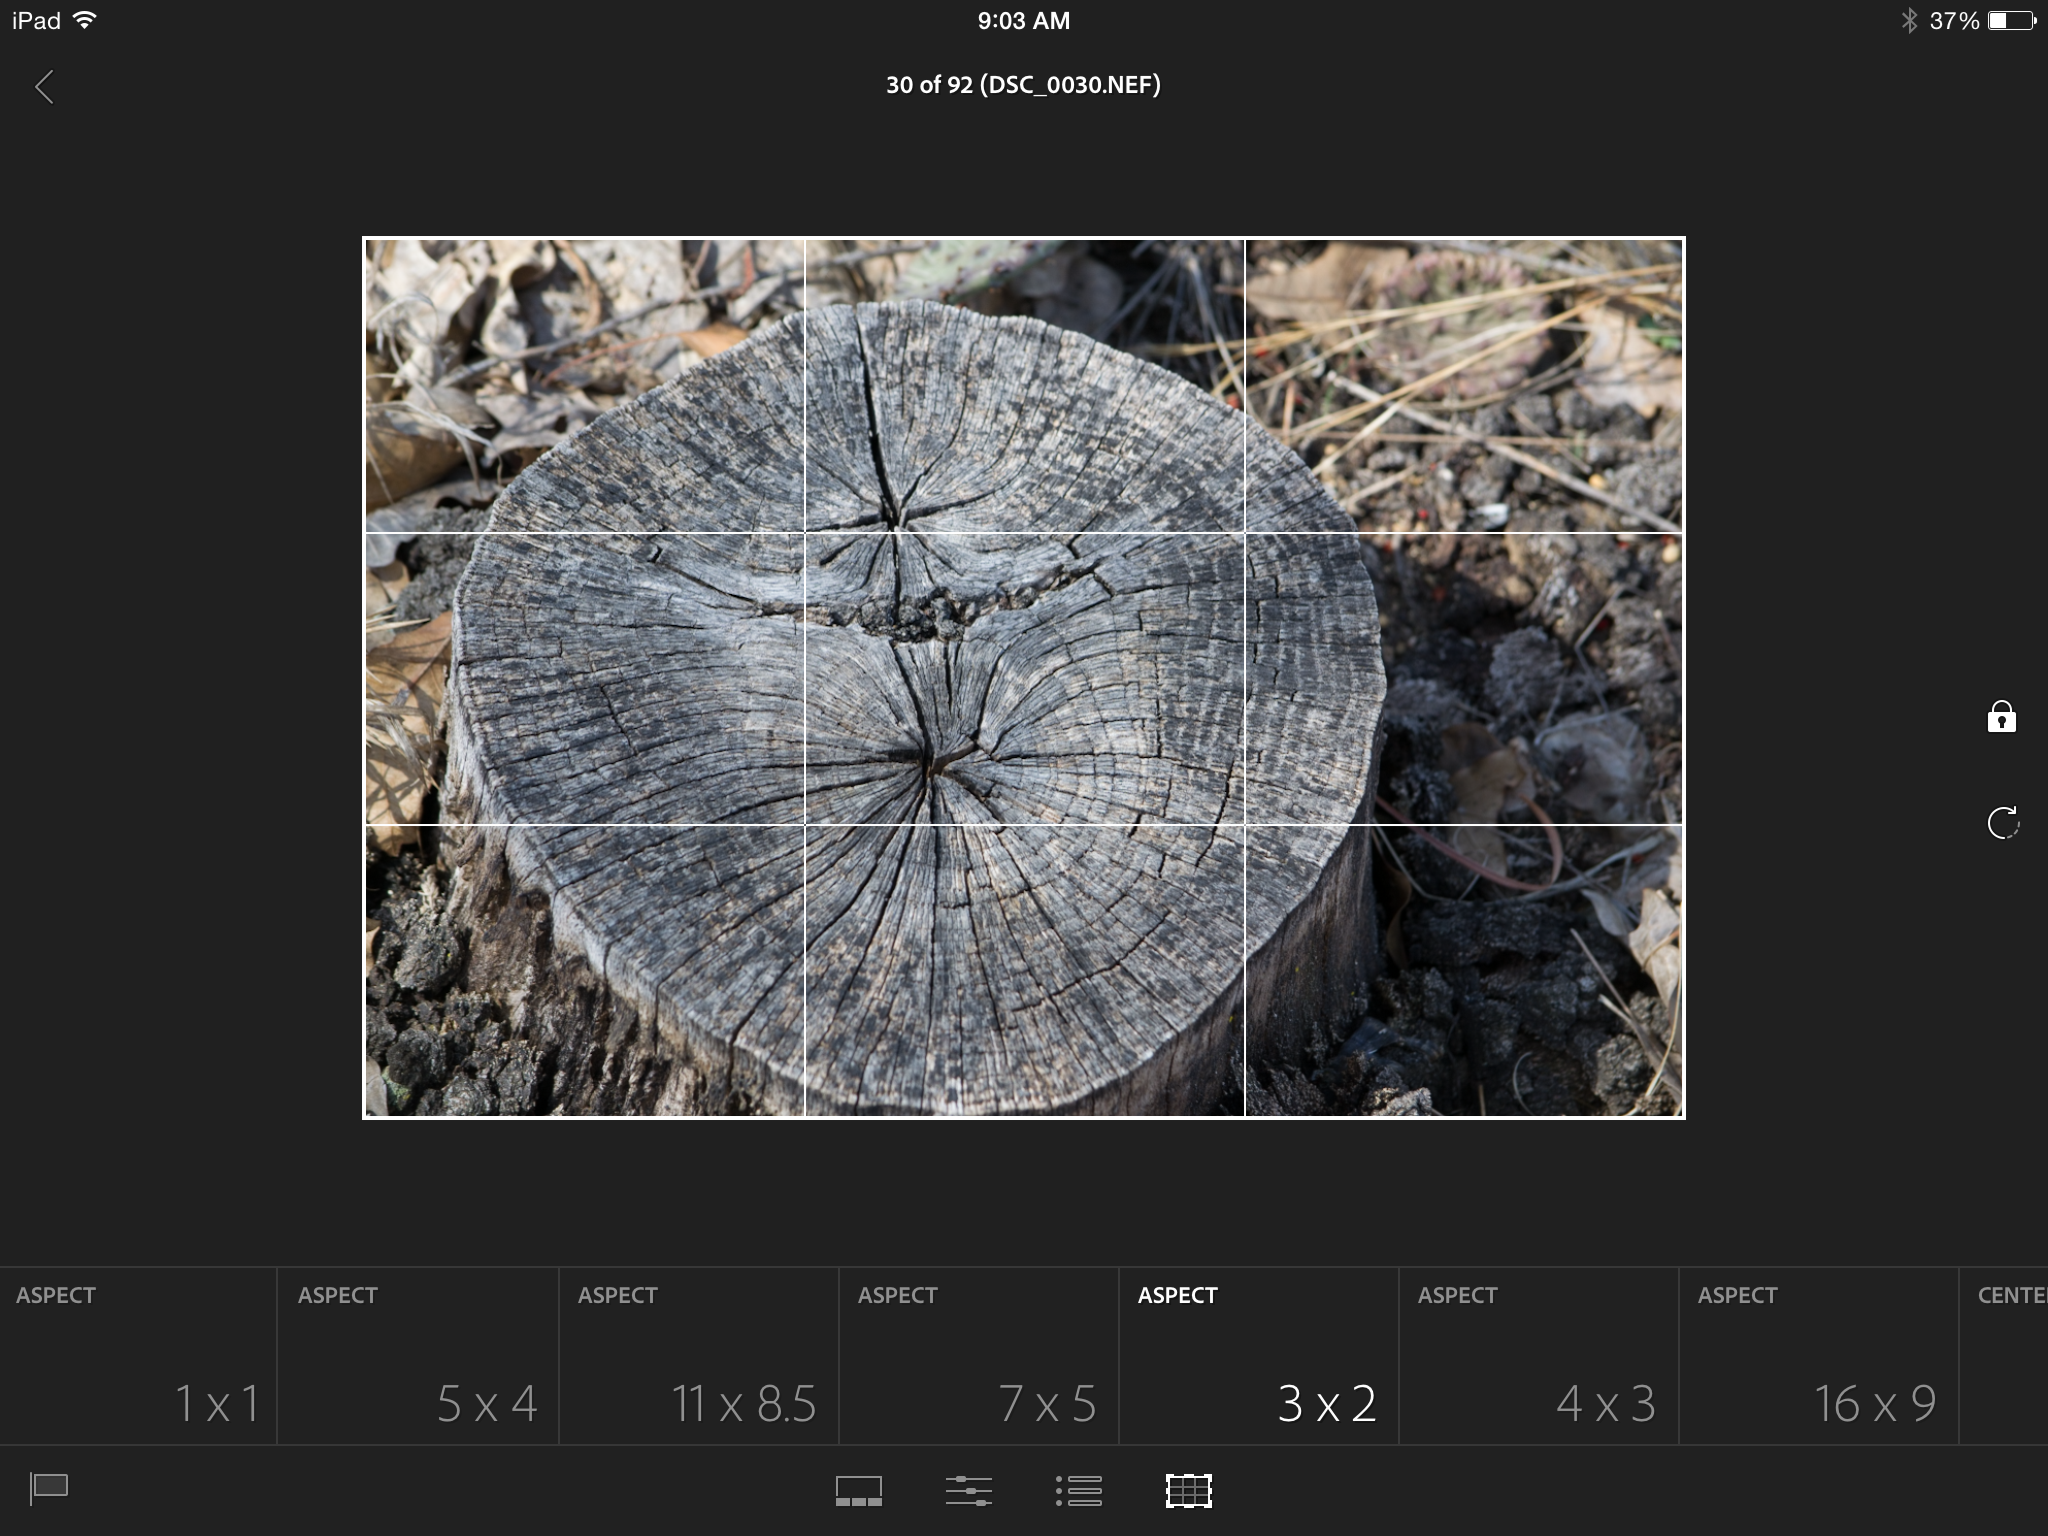
I can choose from a number of preset values (such as 16 x 9 or 5 x 4 and so forth). I can move the image around to position it as desired.
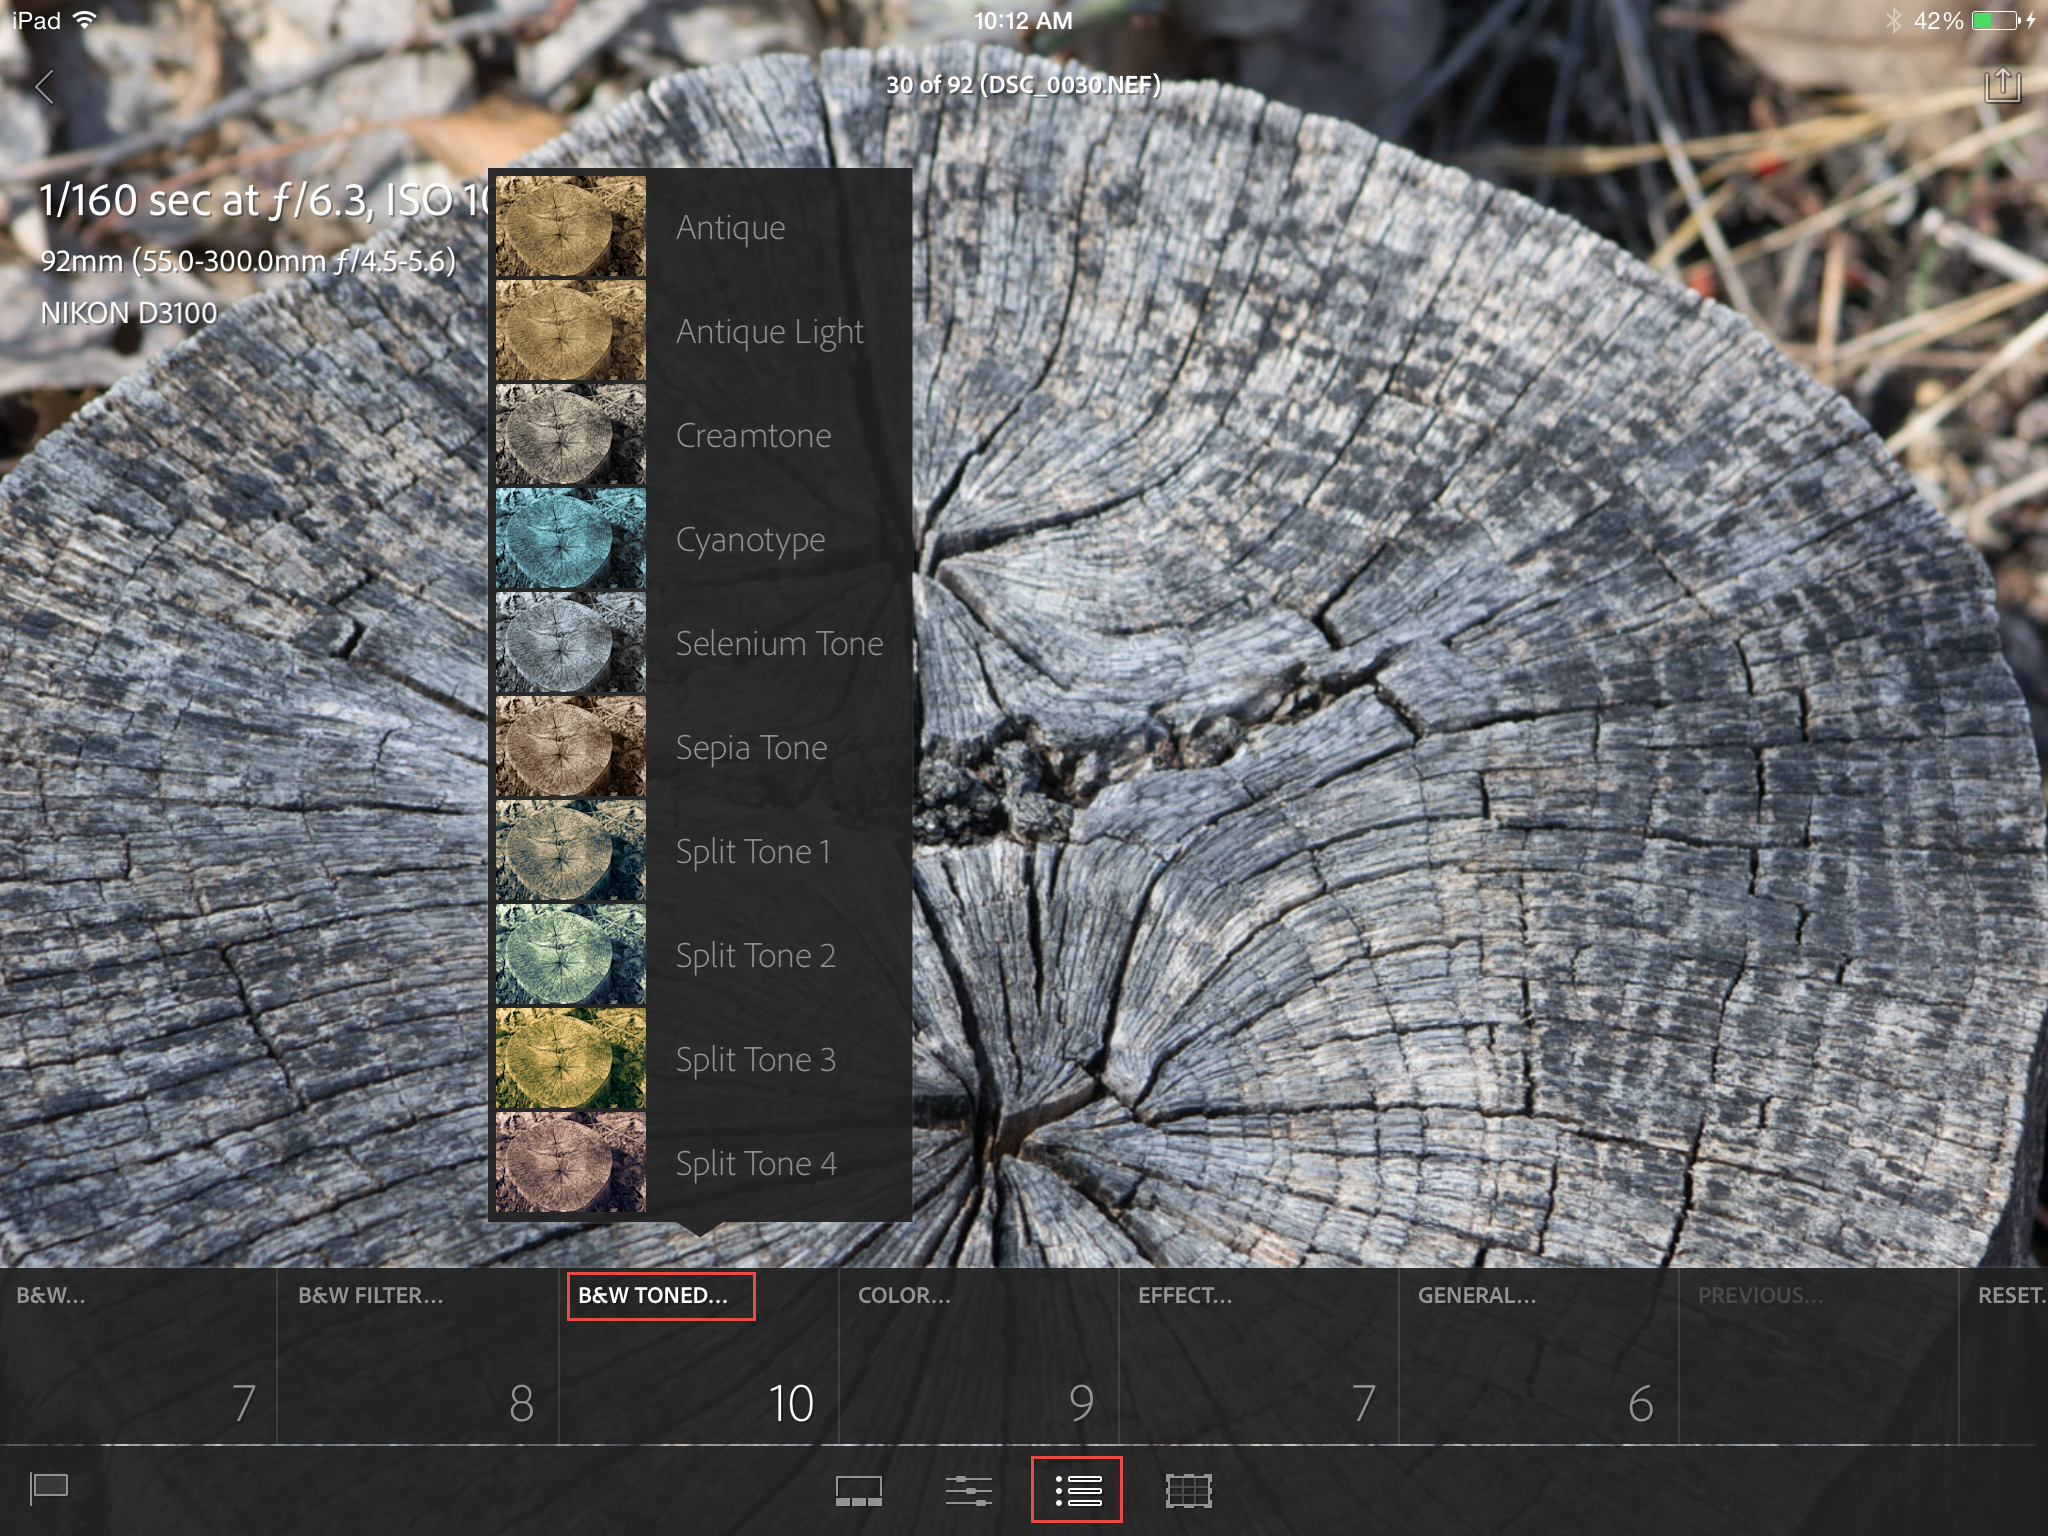
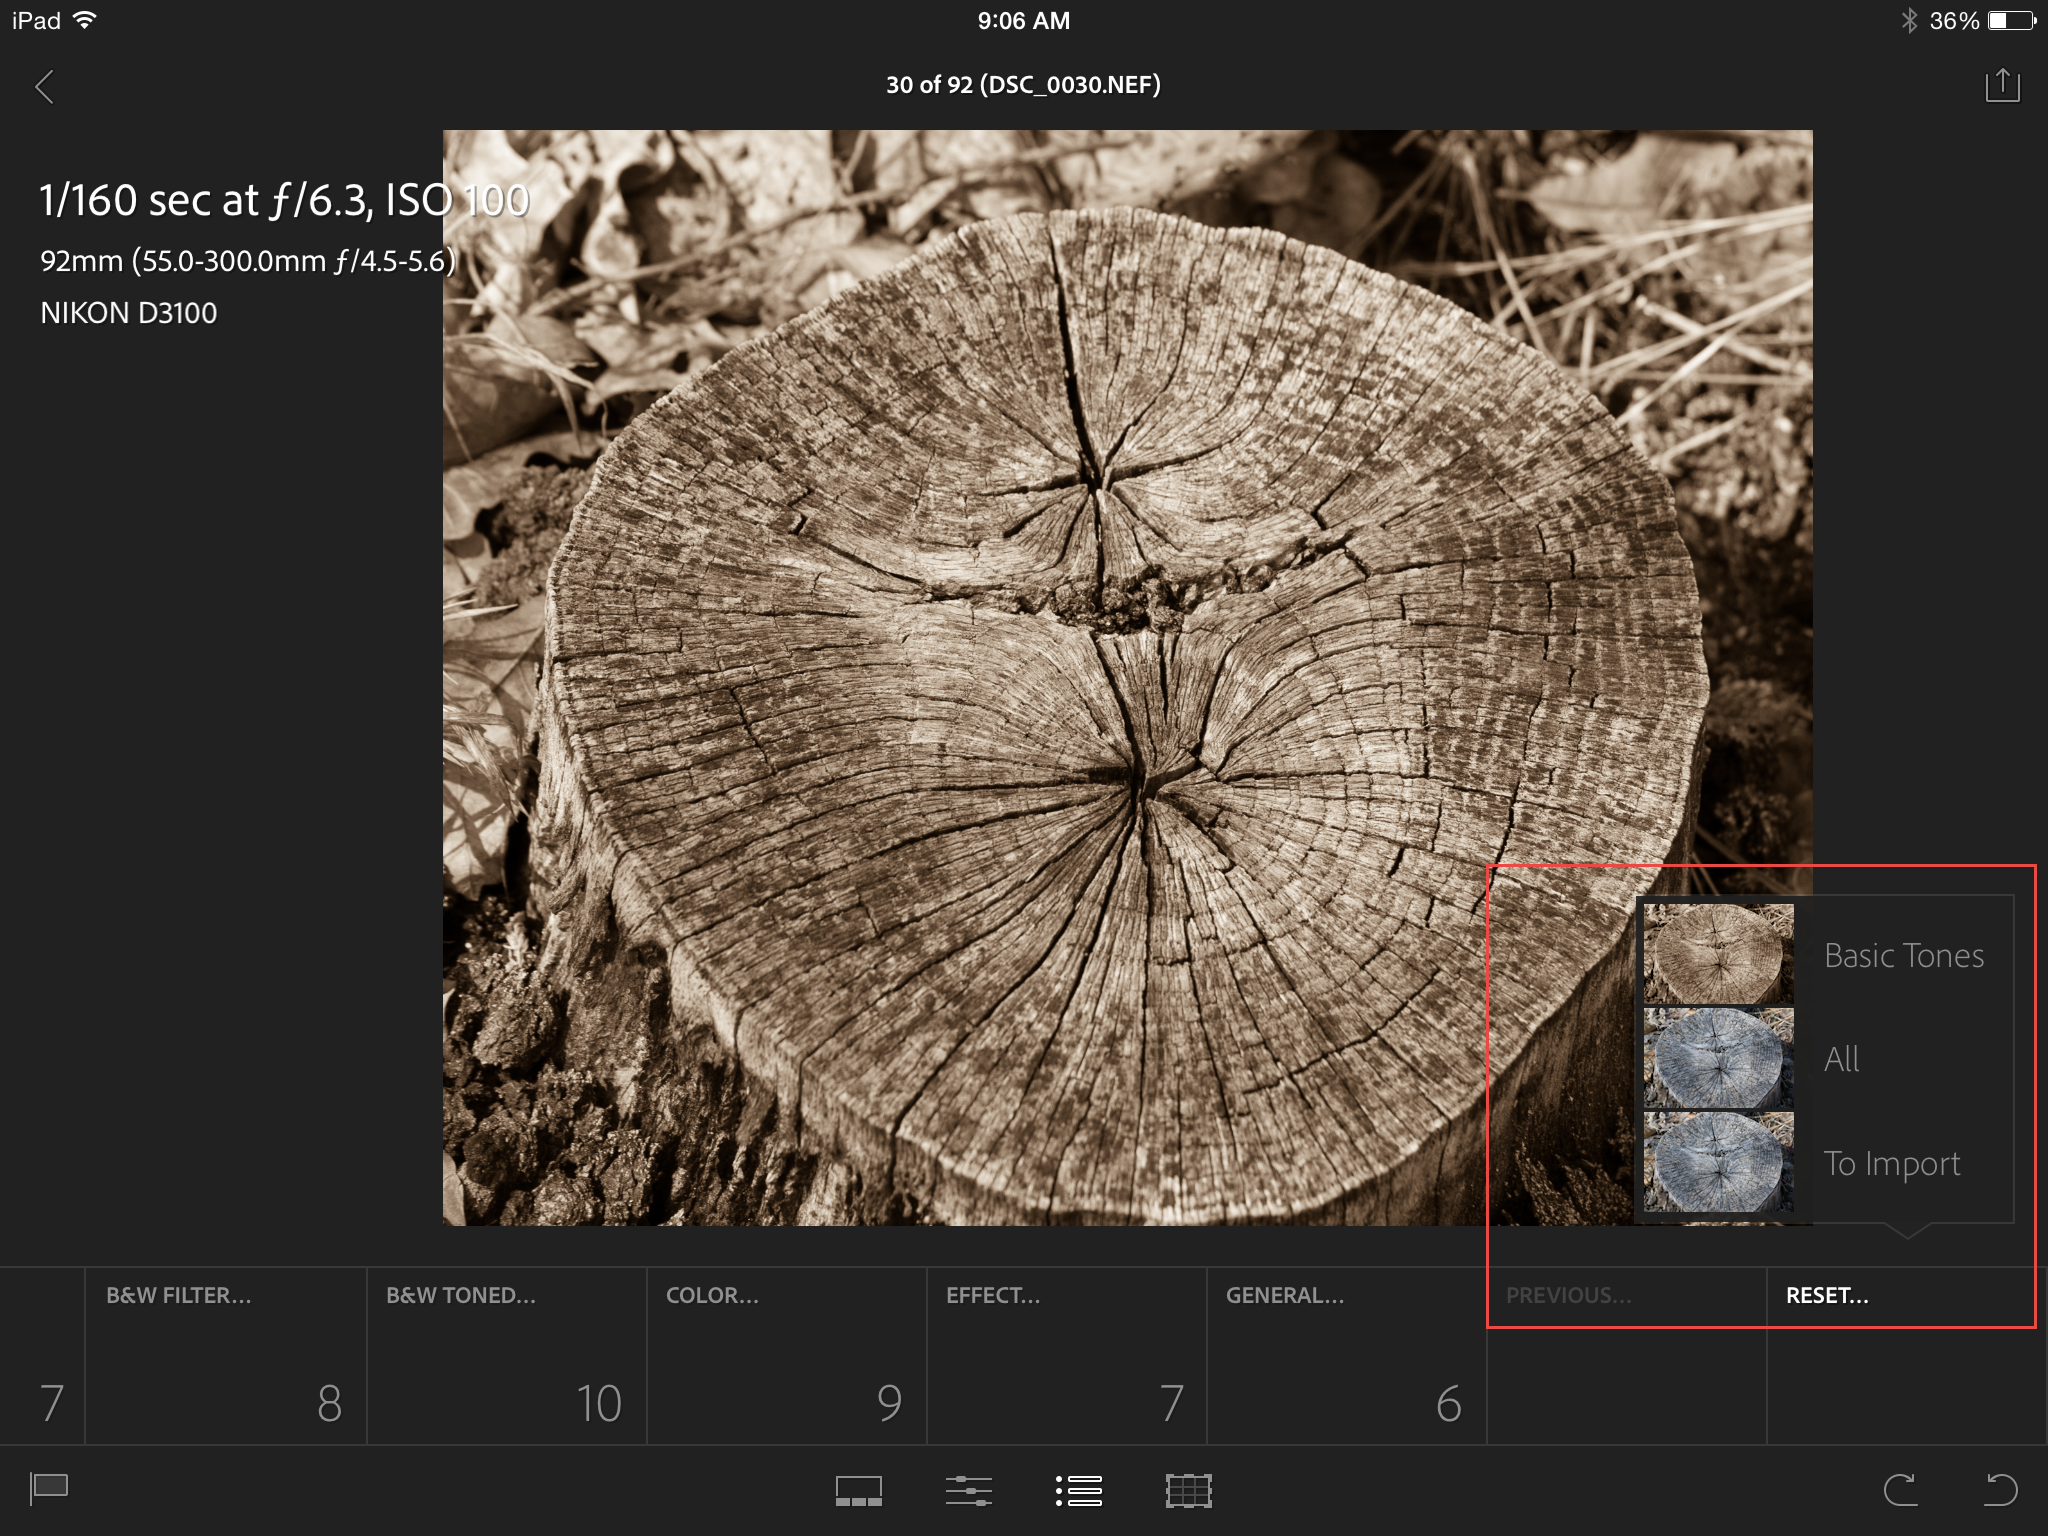
I can also apply a number of different effects. These are found in the set of tools to the left of the crop tool. I highlighted that set in the screen capture below.
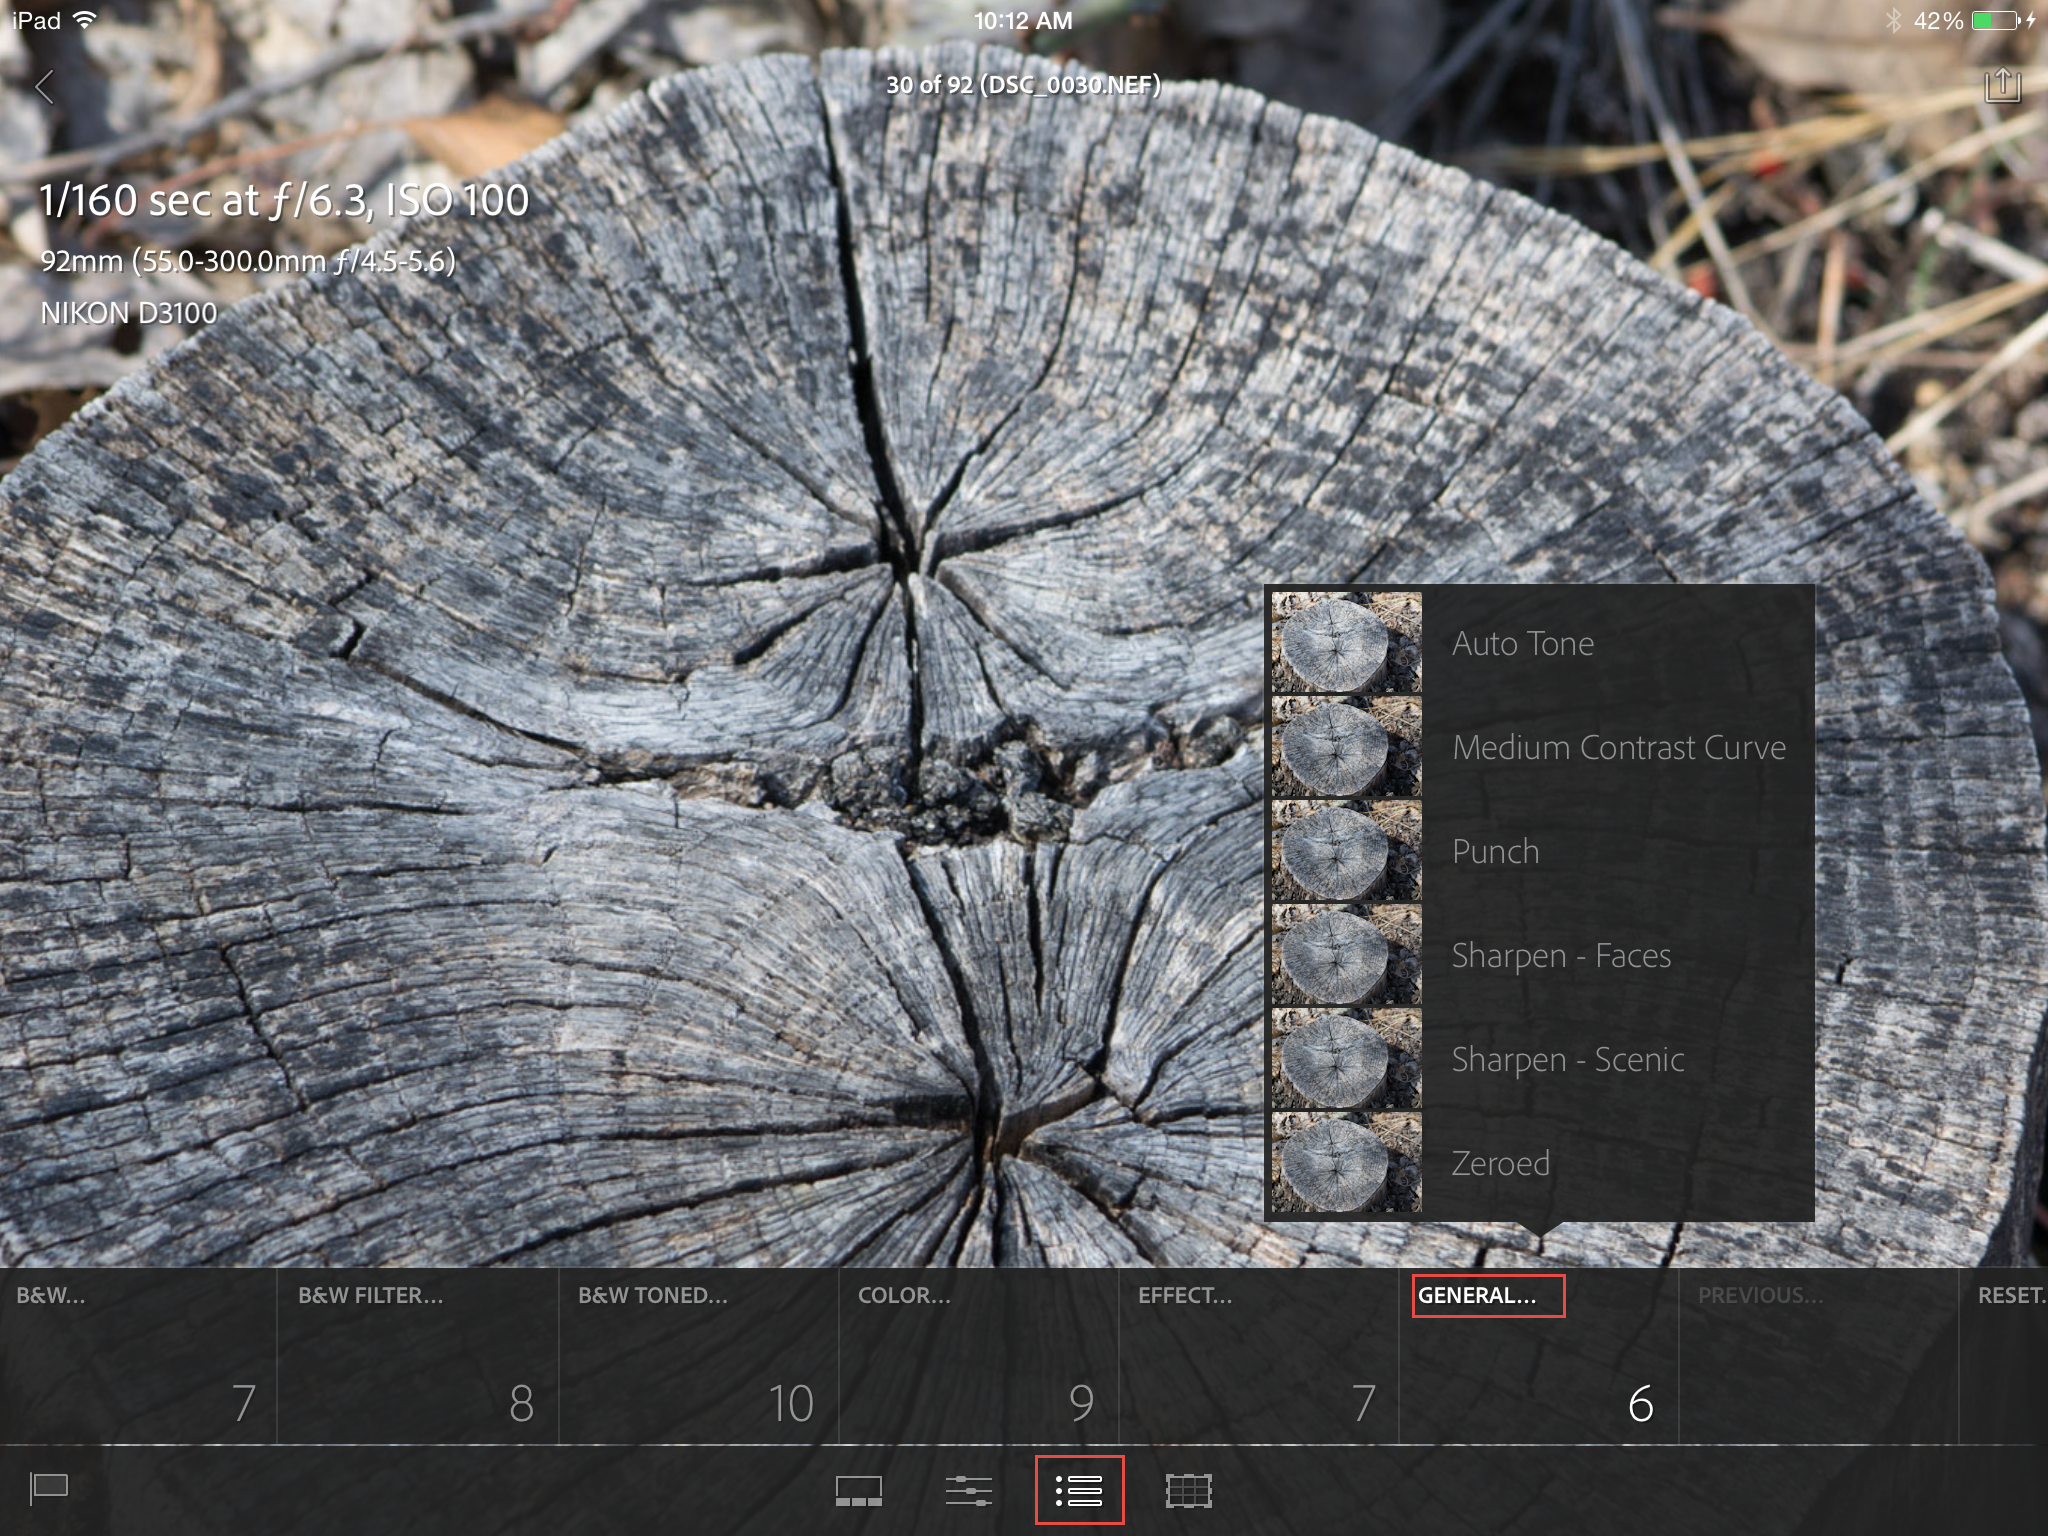
There are a number of effects (like sepia tones) which one will also find in these tools.
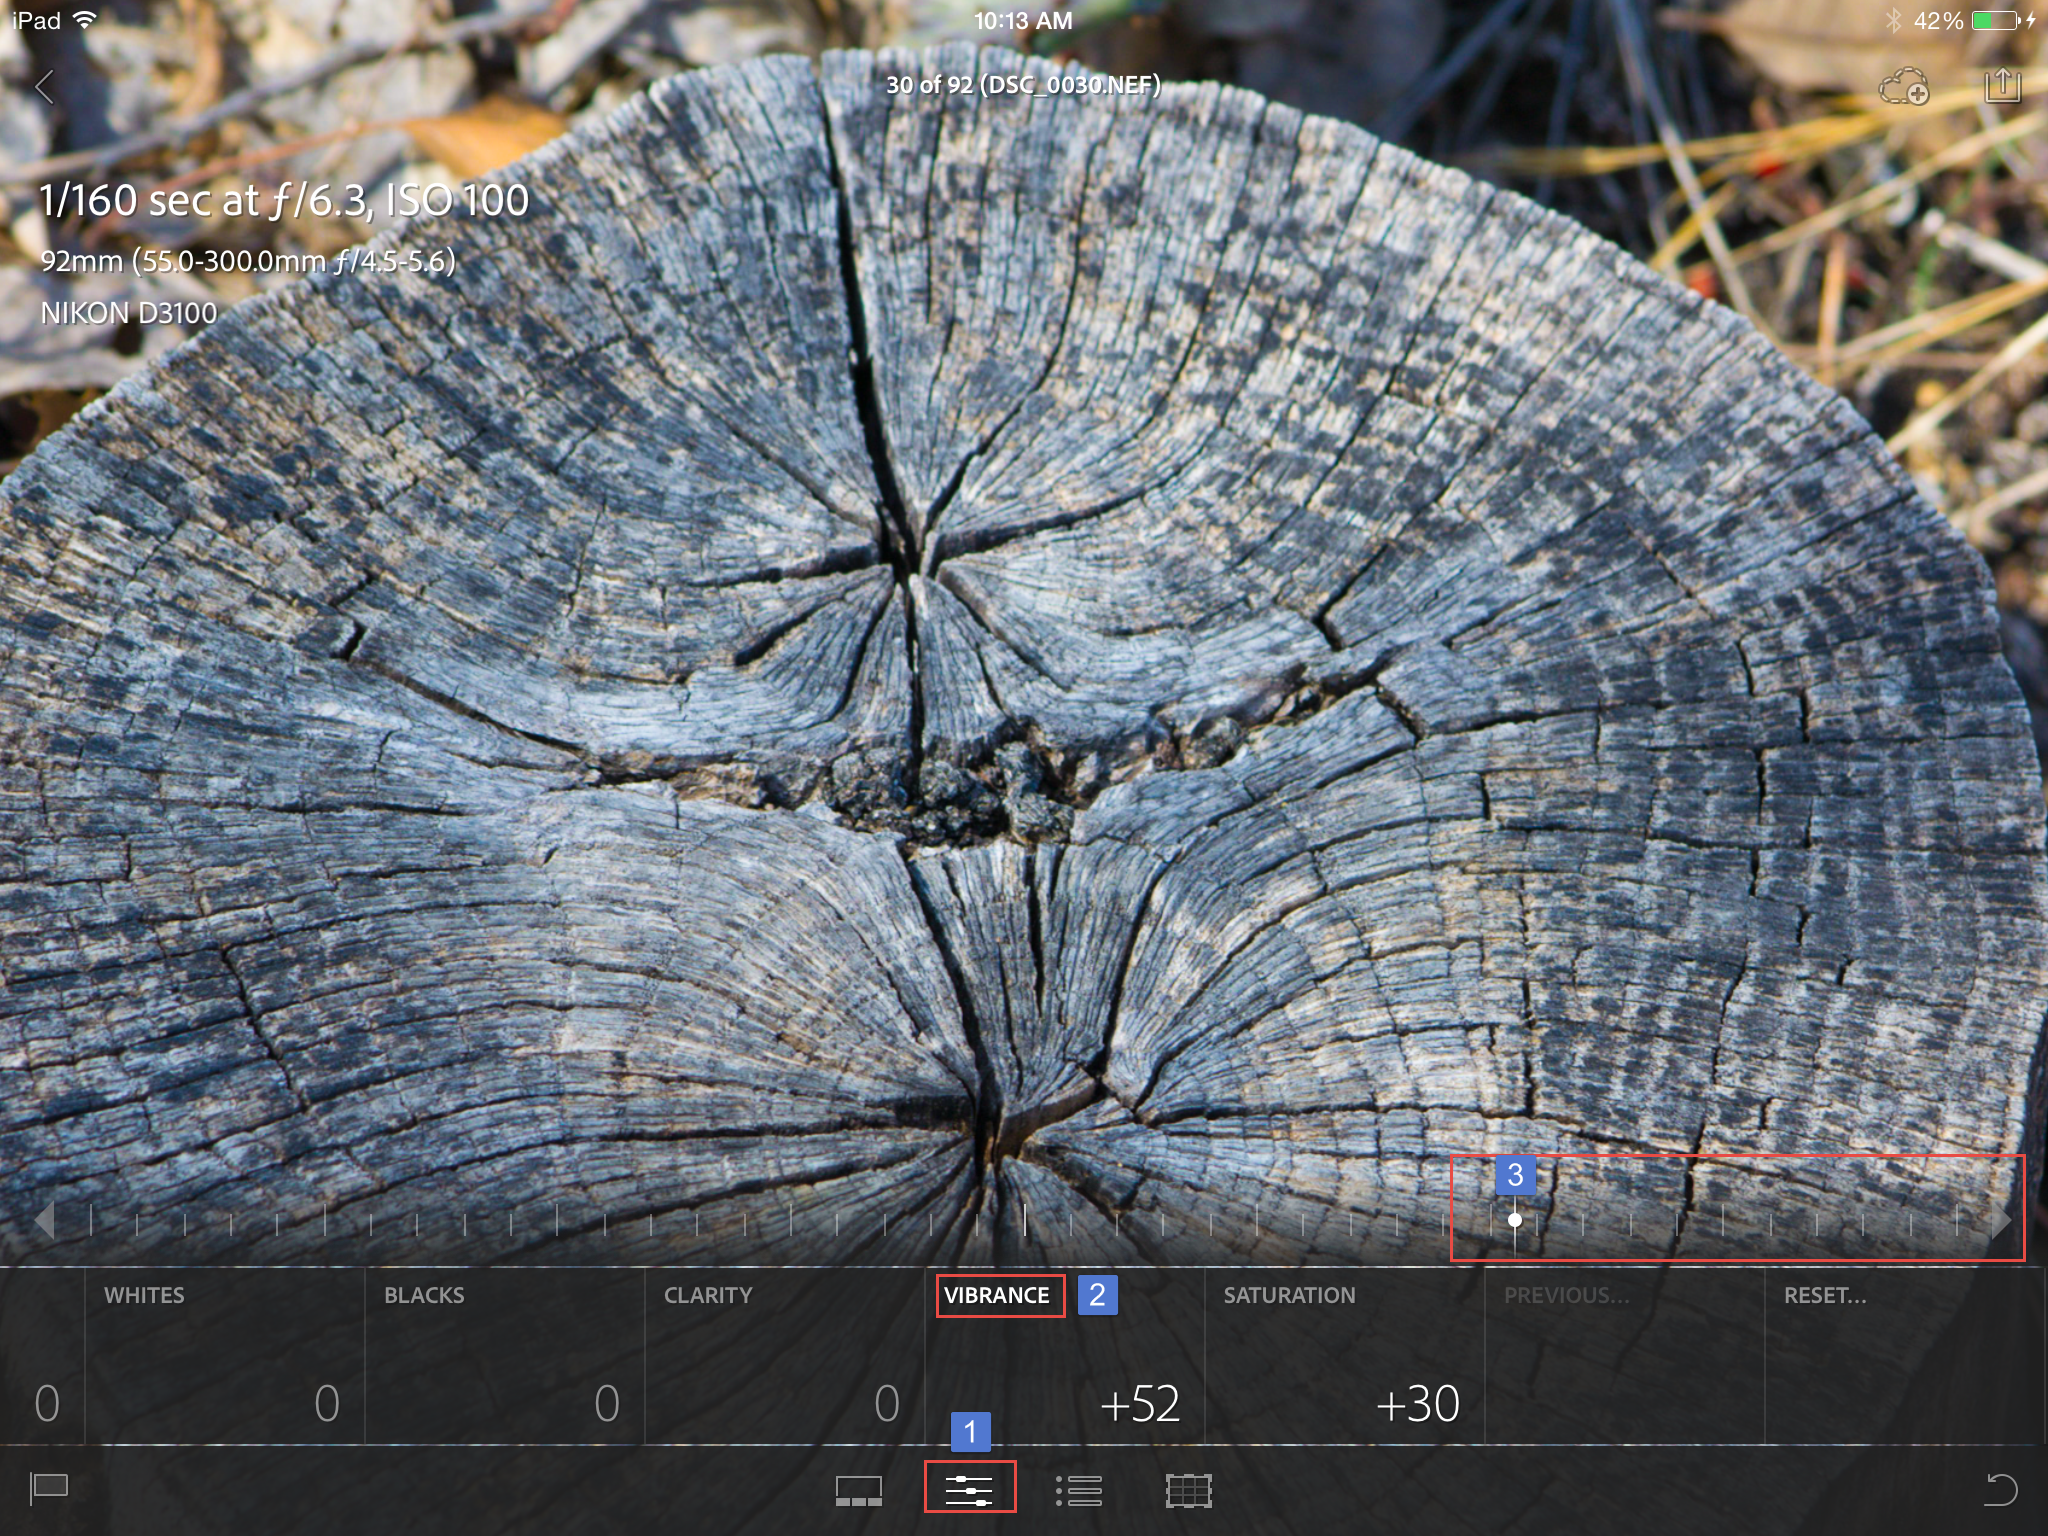
Additionally, one can change the colors, vibrance, saturation and more with the remaining tools (item 1 in the screen capture below). One selects the desired option (item 2), and then adjusts the values with the thumb slider (item 3).
After one has made desired changes to the photo, one can wait for the photo to synch on its own or one can force the issue. Note the upper right in the screen capture below.
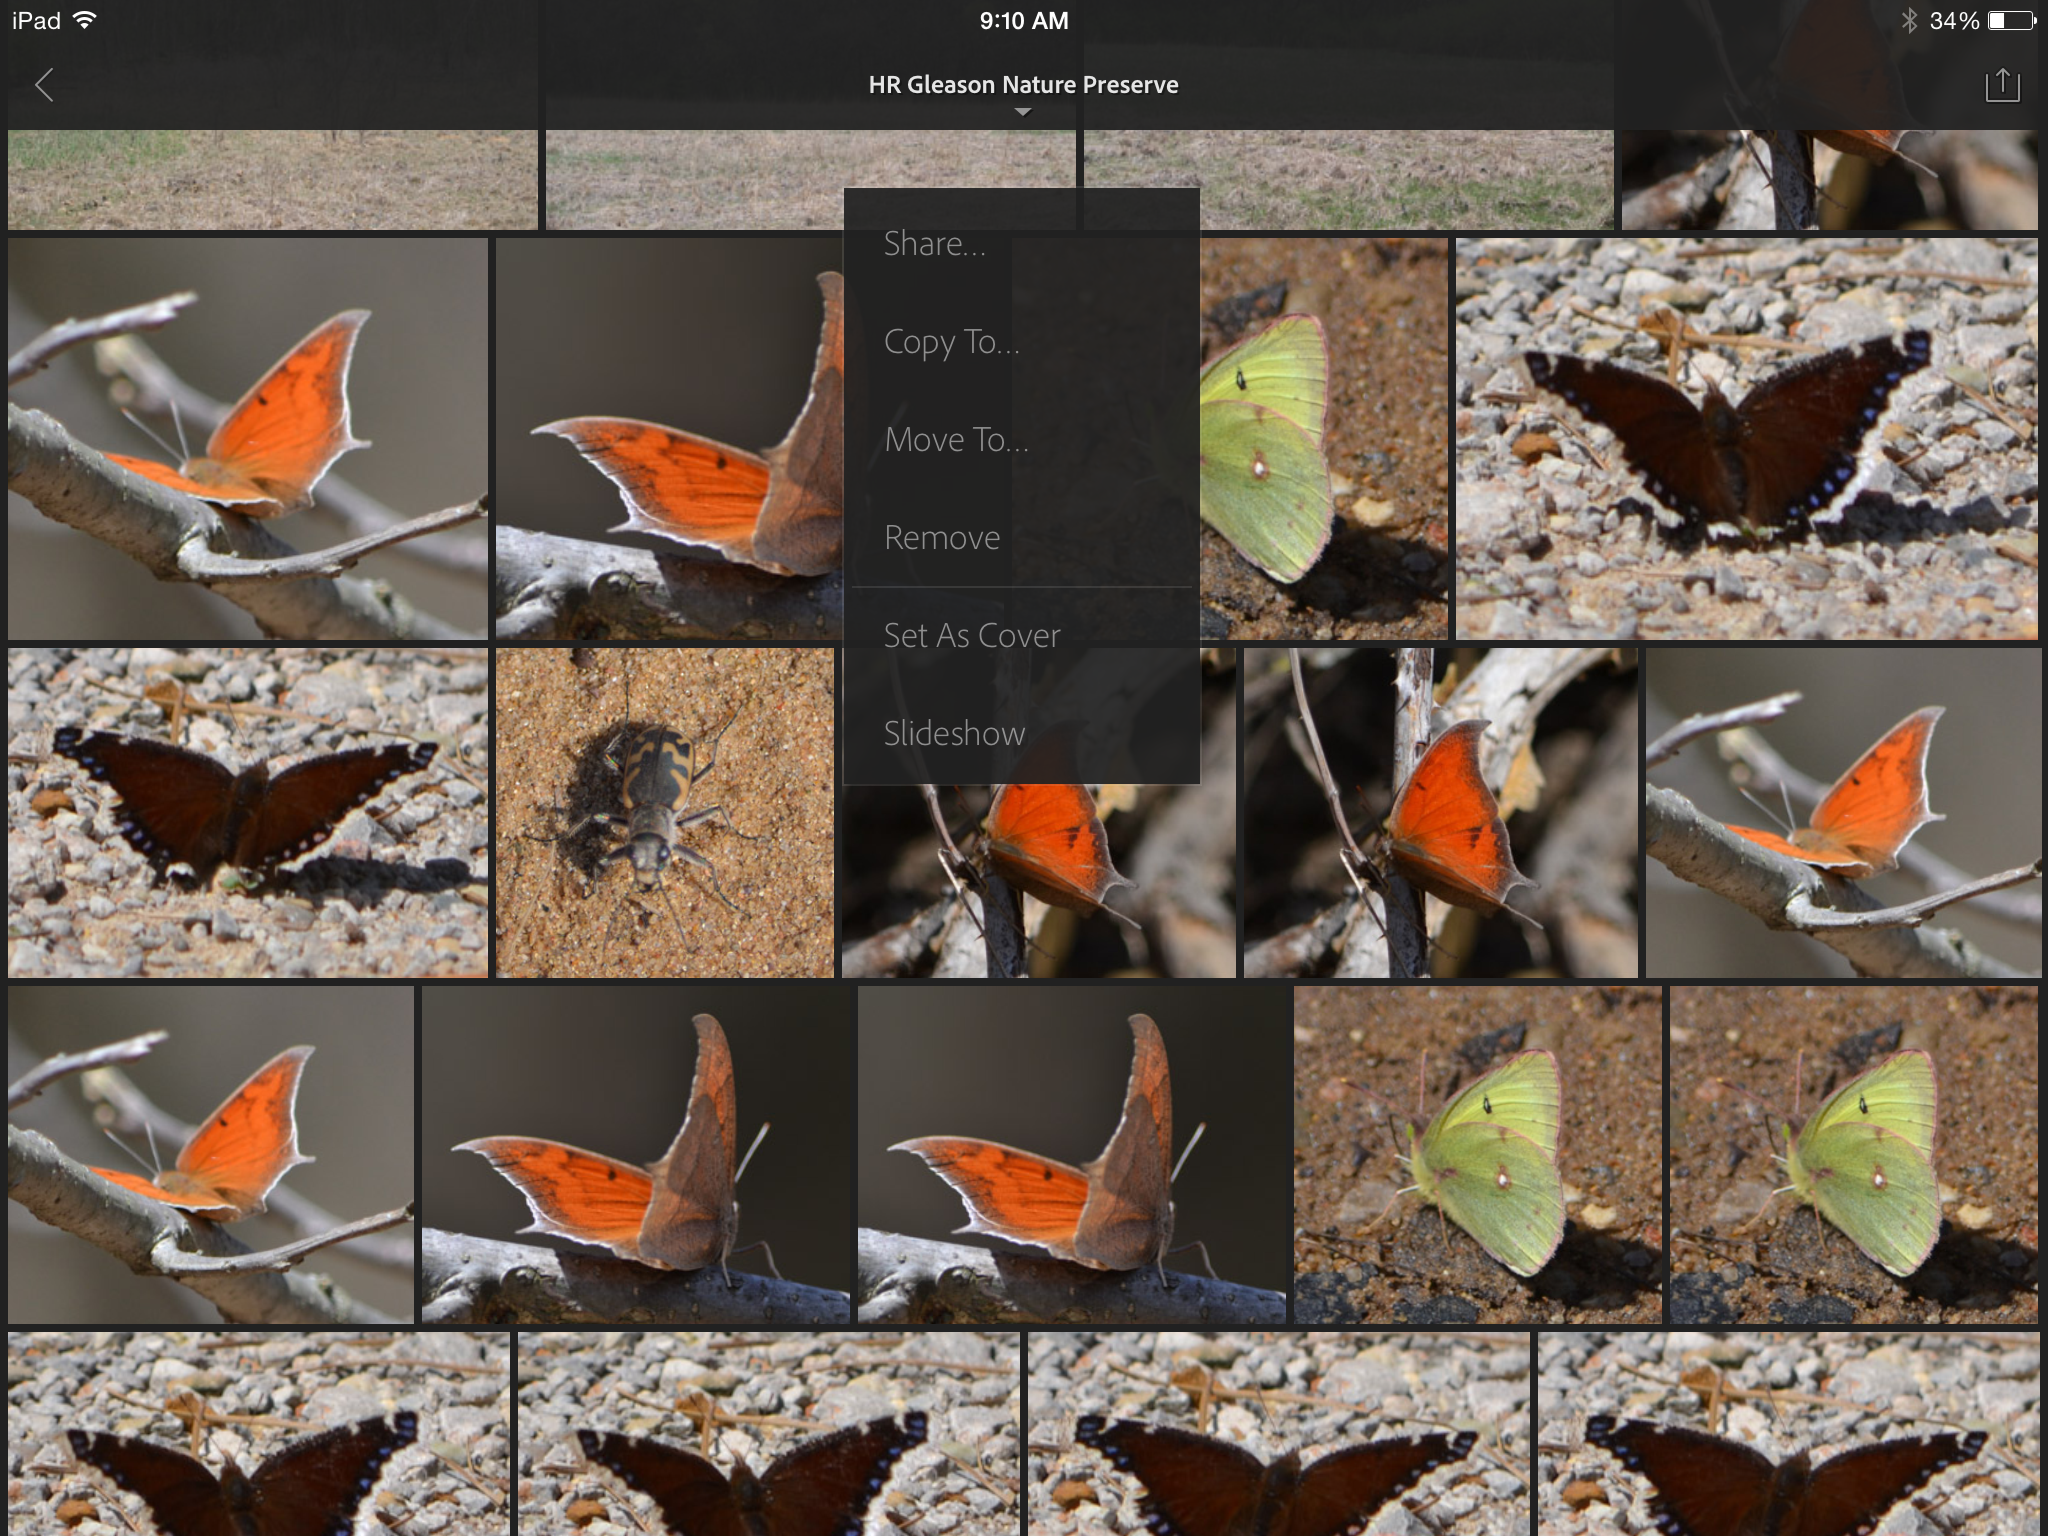
While working with Lightroom Mobile, I noted that you can also make some changes to the collection (such as setting a default cover image or running a slideshow). Just long tap on the selected image to see the options shown below.
Of course, you can always revert to the original image or undo selected changes. You can accomplish this on either the Lightroom Mobile app or the desktop application.
In Lightroom Mobile, the options are shown below. I highlighted these with the outline in the lower right.
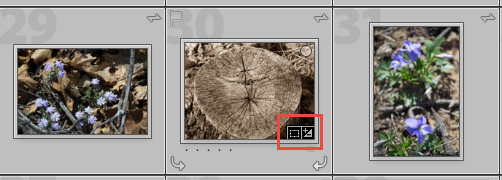
In Lightroom, you see the changes once the file has synched. If you hover the cursor over the highlighted icons in Lightroom, you will see what has changed.
You view the image in the desktop application Lightroom and make additional changes as desired.

You can also undo/ reset changes made to the image on the iPad from the desktop application.
Personally, I like the ability to work on photos on the iPad and know that my changes will synch when I am connected to wifi. It is also nice to know that I can reset these in either the mobile or desktop versions. The workflow between devices is nearly seamless.
I am curious about your thoughts on these tools. Have you used the mobile version? What did you like best? What issues did you encounter?
Hi, thanks for the article.
I think the iPad is a more intimate way to edit and curate photography. I am using Lightroom Mobile and it’s okay but a bit limited at the moment.
The issue I am having is not being able to re-sequence photos in collections from the iPad in Lightroom.
Have you found a way to do this?
Apple iPhoto for iPad makes this task simple by just dragging the thumbnail to do so. I would have thought Adobe would implement such an intuitive function but it seems it’s nit there.
Thanks again.
Good point about the re-sequencing. Frankly, I hadn’t tried that and see what you mean. Perhaps this will be fixed in a future update?
Best always,
Mark