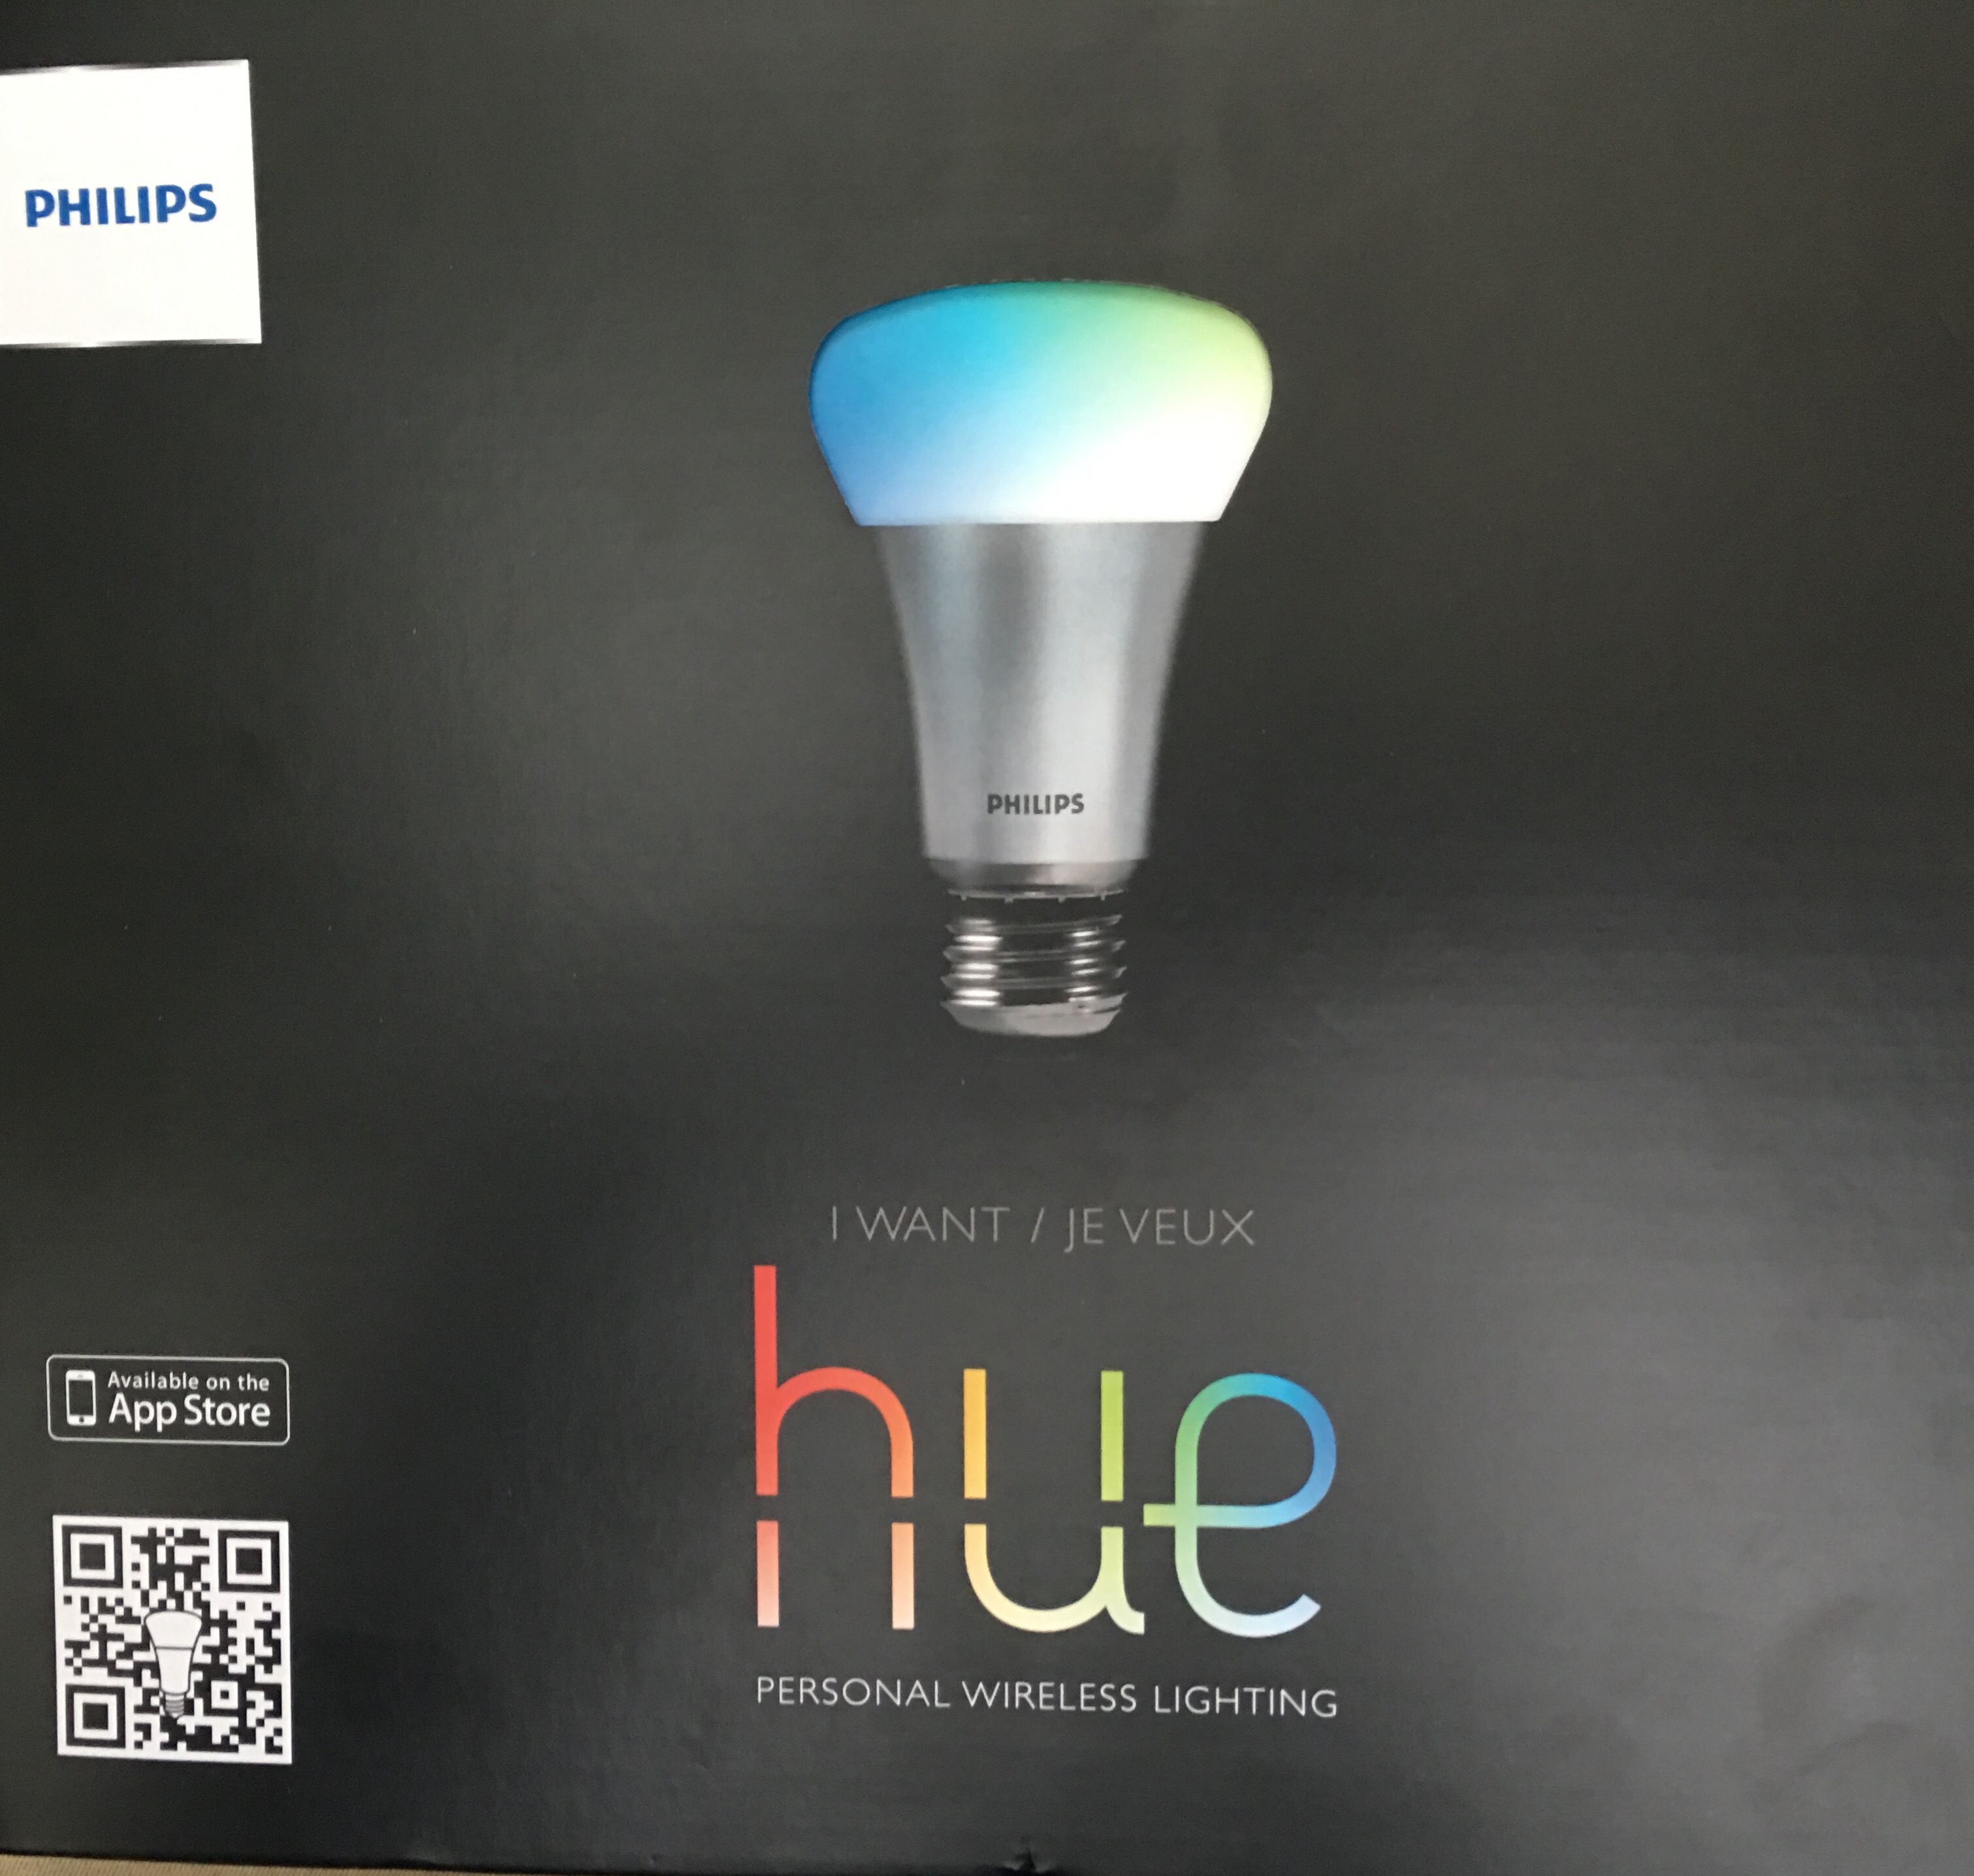
One of the presents I received over the holidays was a Philips Hue starter kit. [Thanks again, Ben and Lindsay.] I had been thinking about getting one of these myself. As you may suspect, I am always keen to learn new technologies and approaches. For those who may not be aware, the Philips Hue lighting system allows you to connect your home lights to the Internet. You can then control them from anywhere. Yes, security is one of those features I plan to investigate. Essentially, you get a bridge (which you connect to your router) and 3 light bulbs (these are expensive as each contains a wifi connection).
Here is what I unwrapped.
Set up was a breeze. I installed the bulbs into various lamps and switched the lamps on. I then connected the bridge to my router and supplied power. Lastly, I downloaded an app to control the devices. Note, there are many different apps one can use with this lighting system (some are free, some cost). Some allow for interesting effects (like fireworks).
Each light bulb communicates with the bridge via a mesh network using an open standards protocol called ZigBee Light Link. [Hey, I didn’t name this]. Within the Hue Bridge, there is an API. Essentially this is a RESTful interface (over http). I like it already. You use JavaScript to access and control this environment. [As I tweeted recently, I am beginning to wonder why one needs to know any other language besides JavaScript to work with the Internet of Things – ok, it was a bit “tongue in cheek”.]
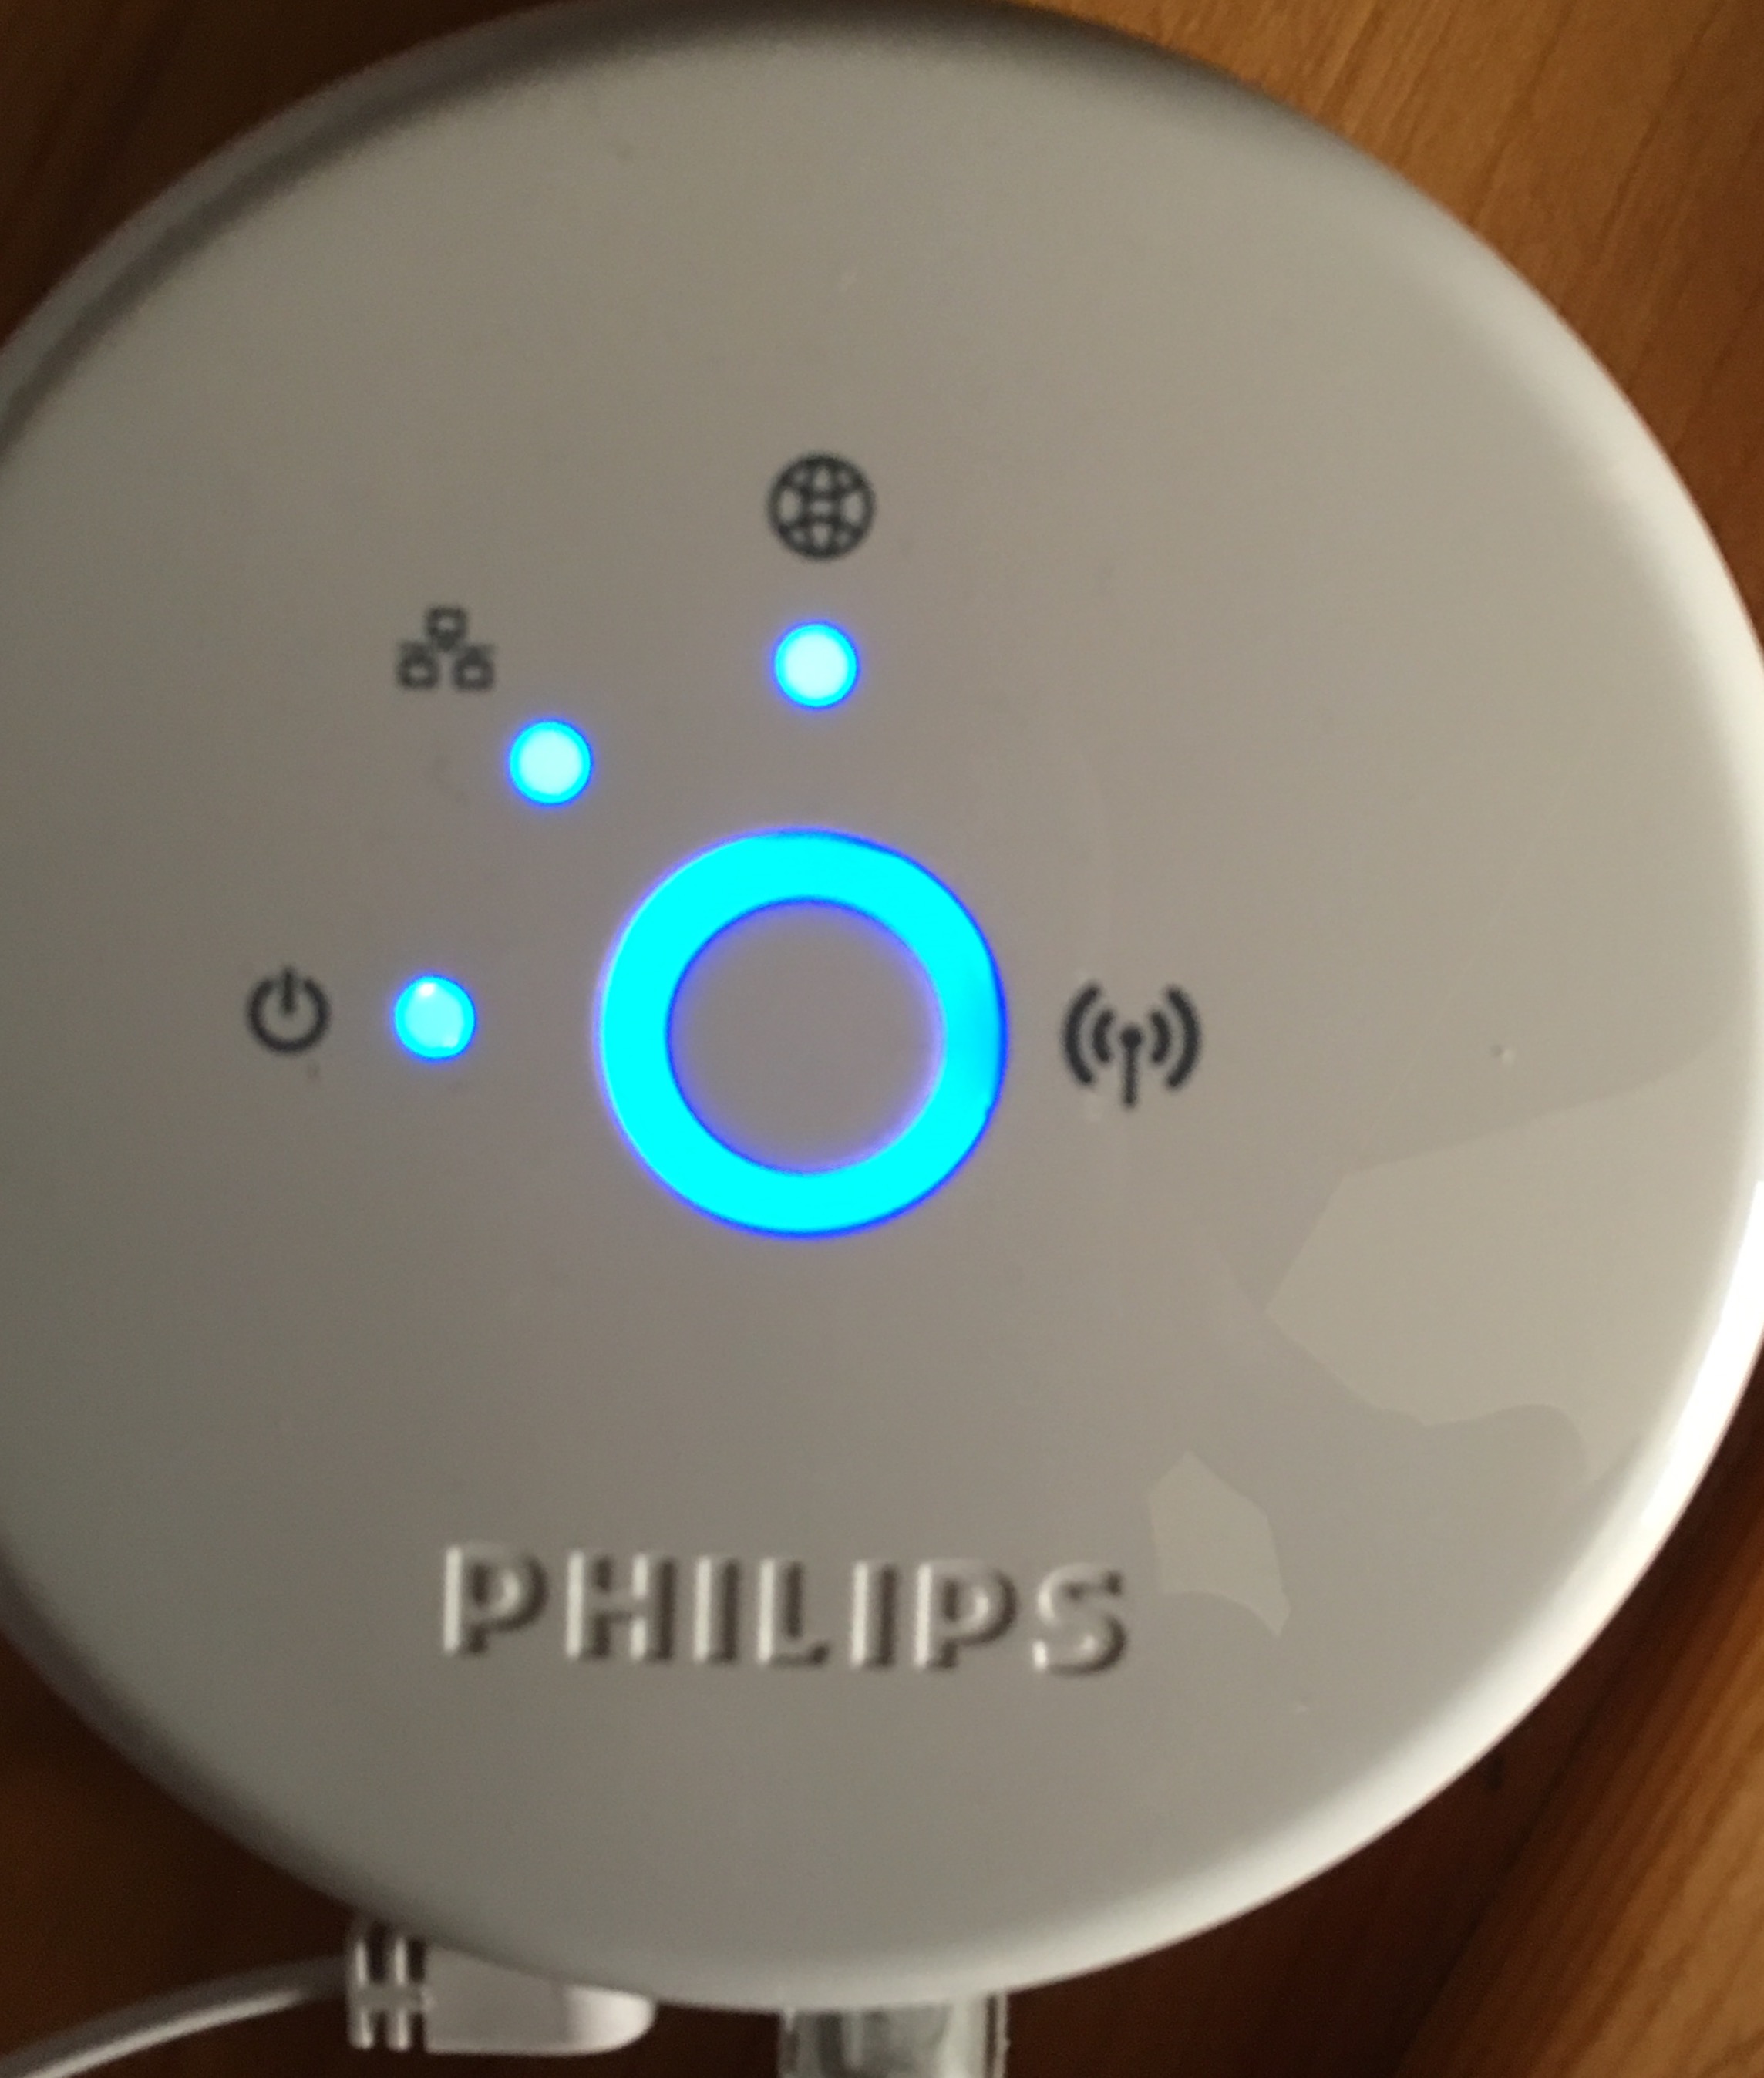
Here is what the bridge looks like. It is presently powered. There is a central button [blue ring around it] you need to press (more on that later). That is all there is to the bridge.
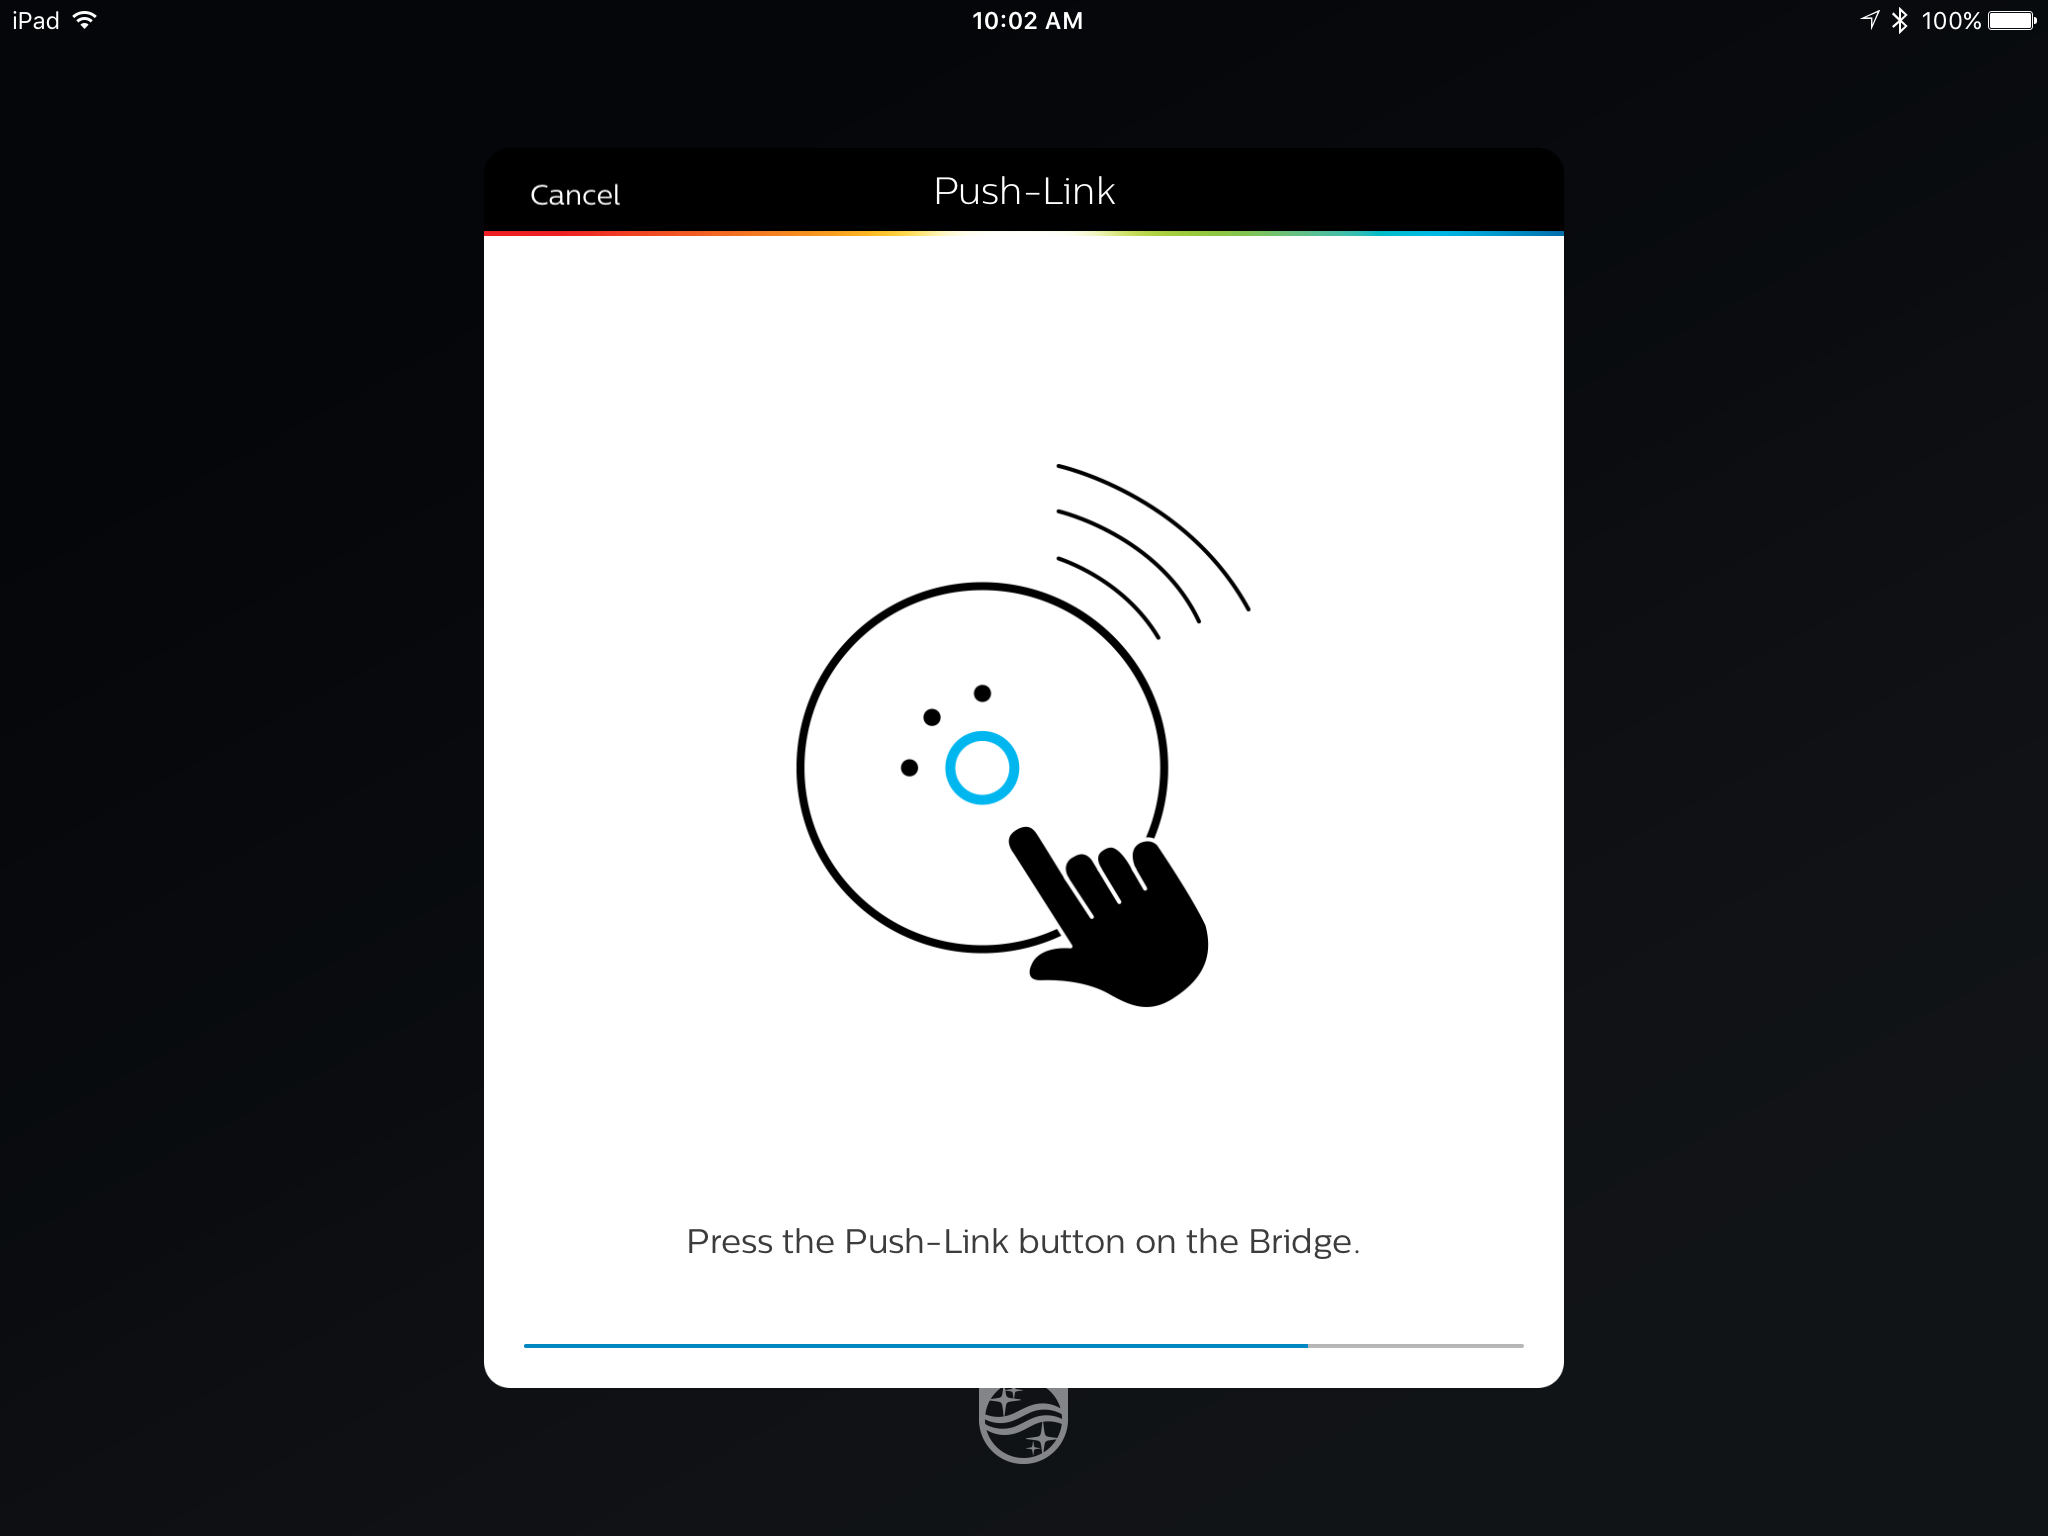
The next component one needs if the app (on your smartphone or tablet). I am using iOS devices (these apps are also available for Android). In order to allow for the app to communicate with the bridge, you must physically tap the button on the bridge. This is a nice security feature as you must be able to physically touch the device (implying you are authorized). There is also a small time window during which you must accomplish this task. Once you have completed this step, you can then access the bridge with the app.
This brings me to one improvement I would like to see – if you have both a phone and tablet, it would be nice for all the settings to synchronize by default across connected devices. At the moment, timer and alarm settings do transfer, but that seems to be the extent.
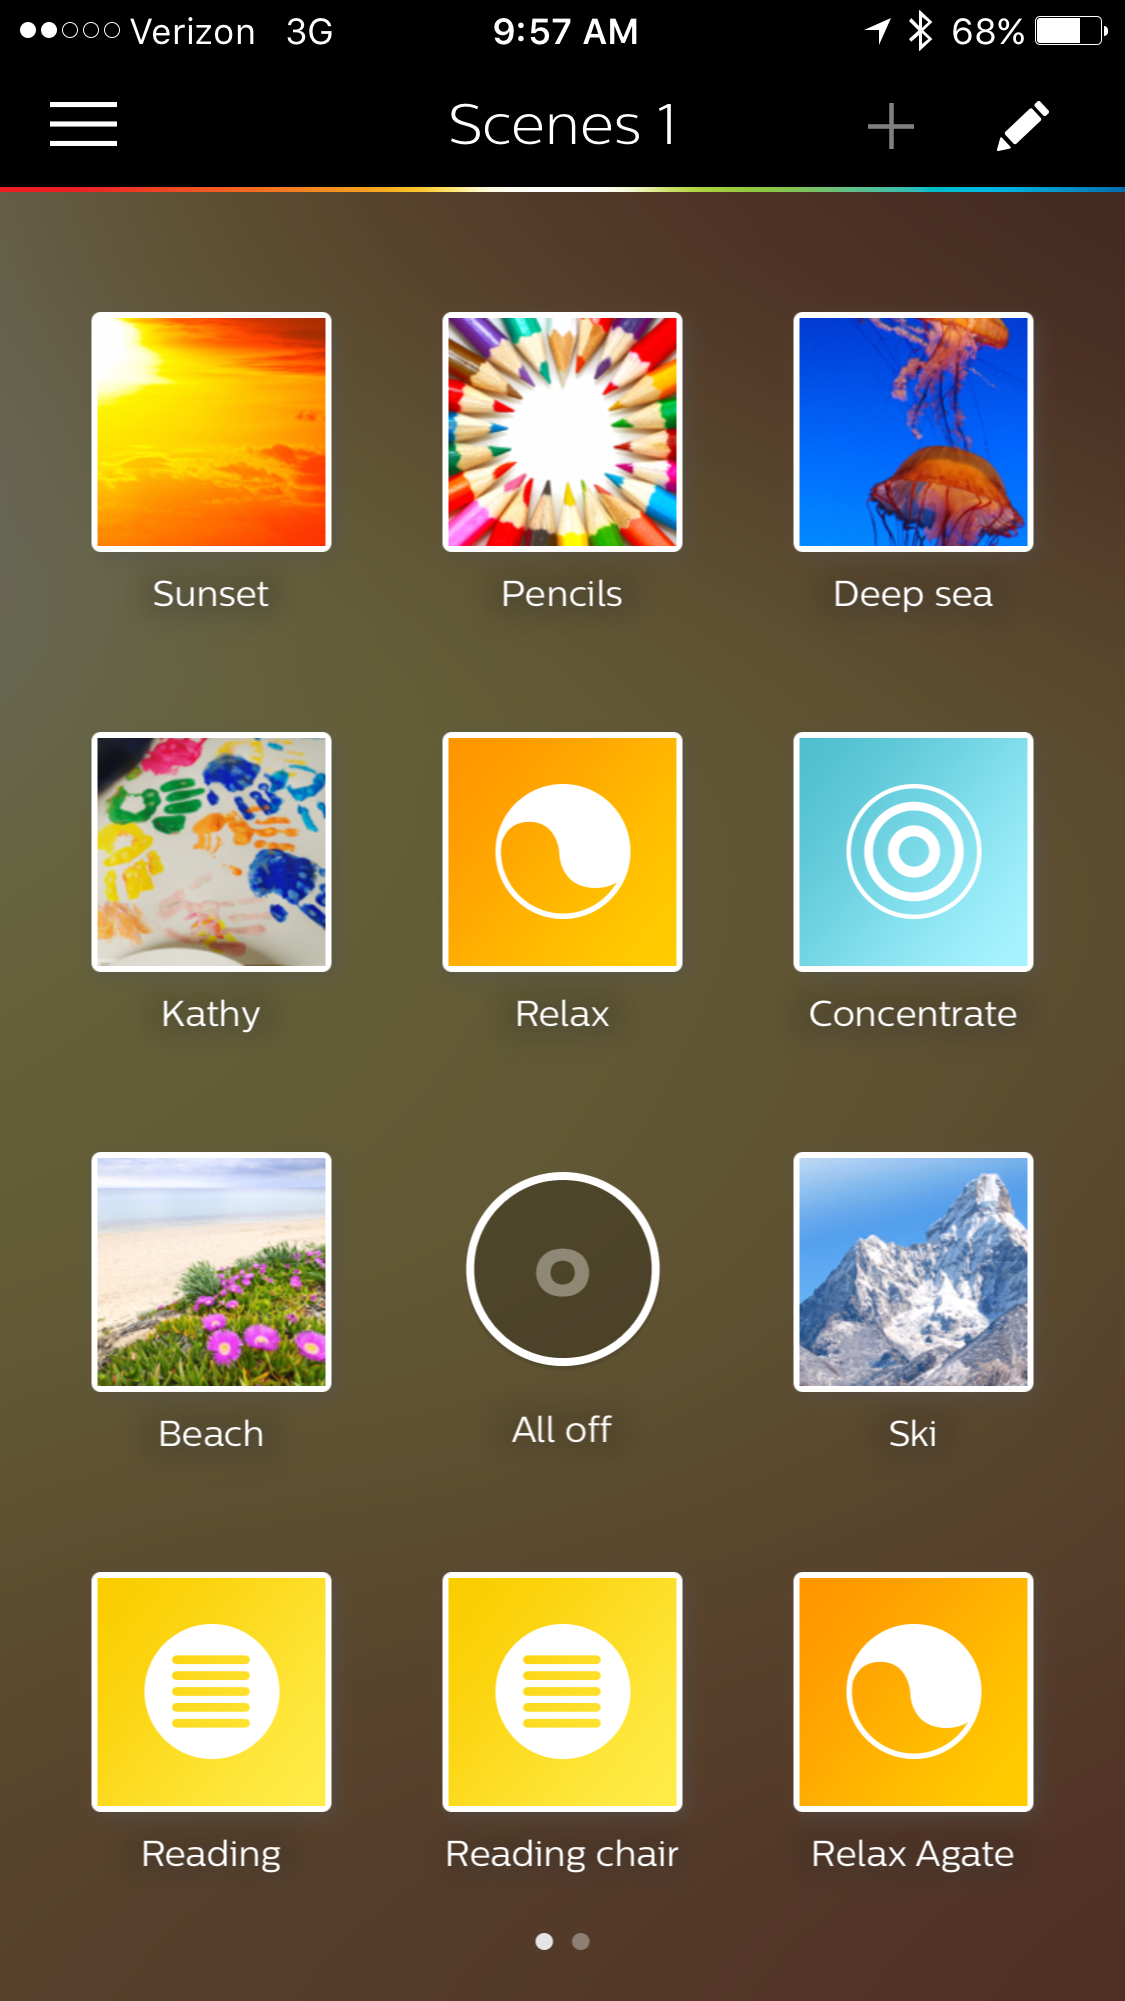
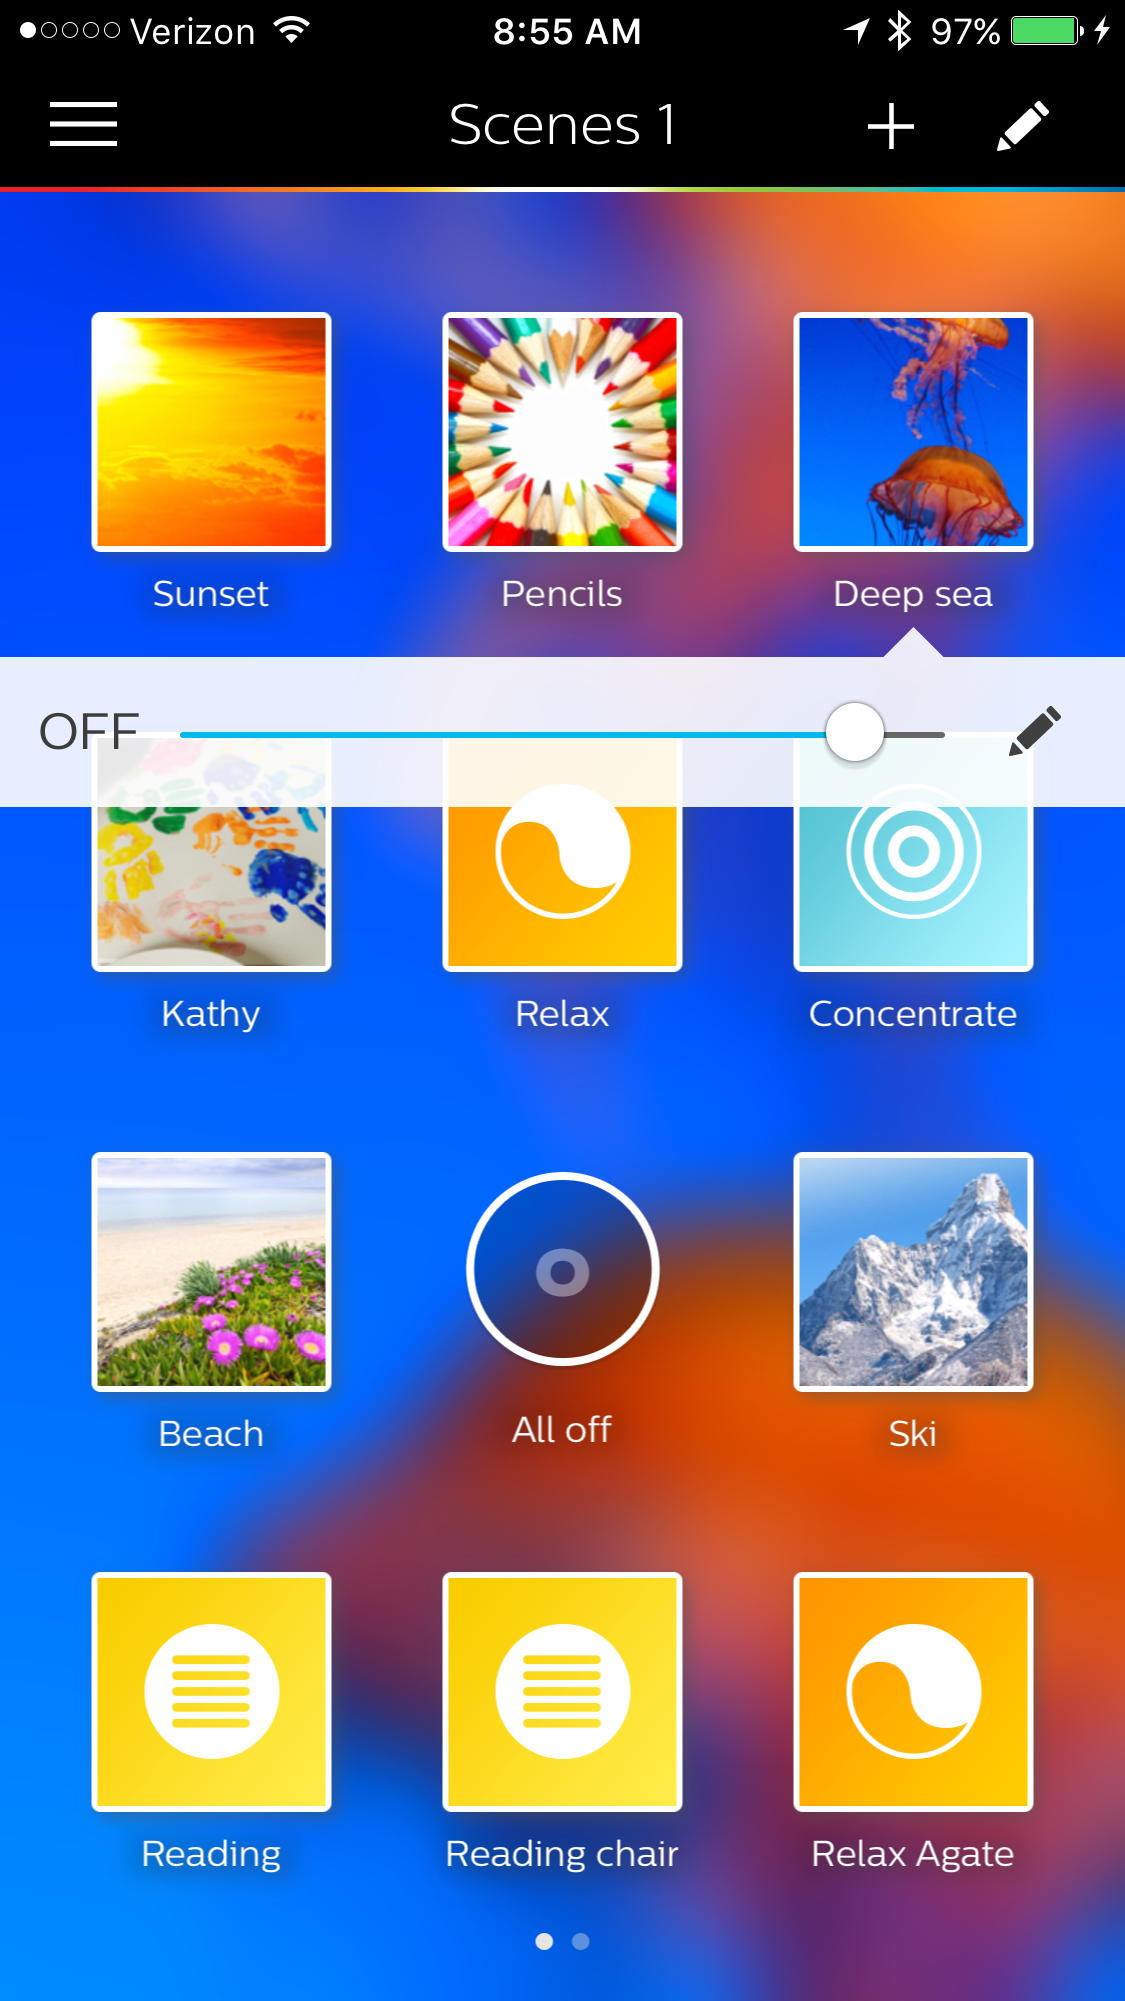
Once the app is installed and communicating, one can use existing scenes (or customize them). For example, I may want intense light while reading, but more diffuse light while watching TV. There are a number of existing scenes (which control all your lights). The background gives a hint as to which scene is being used. For example, when all lights are powered off, this is what the selection of scenes looks like. Note the dark background.
If I have lights active, this is what the same screen looks like. Since I just tapped on the “Deep Sea” scene, I can also edit the light settings.
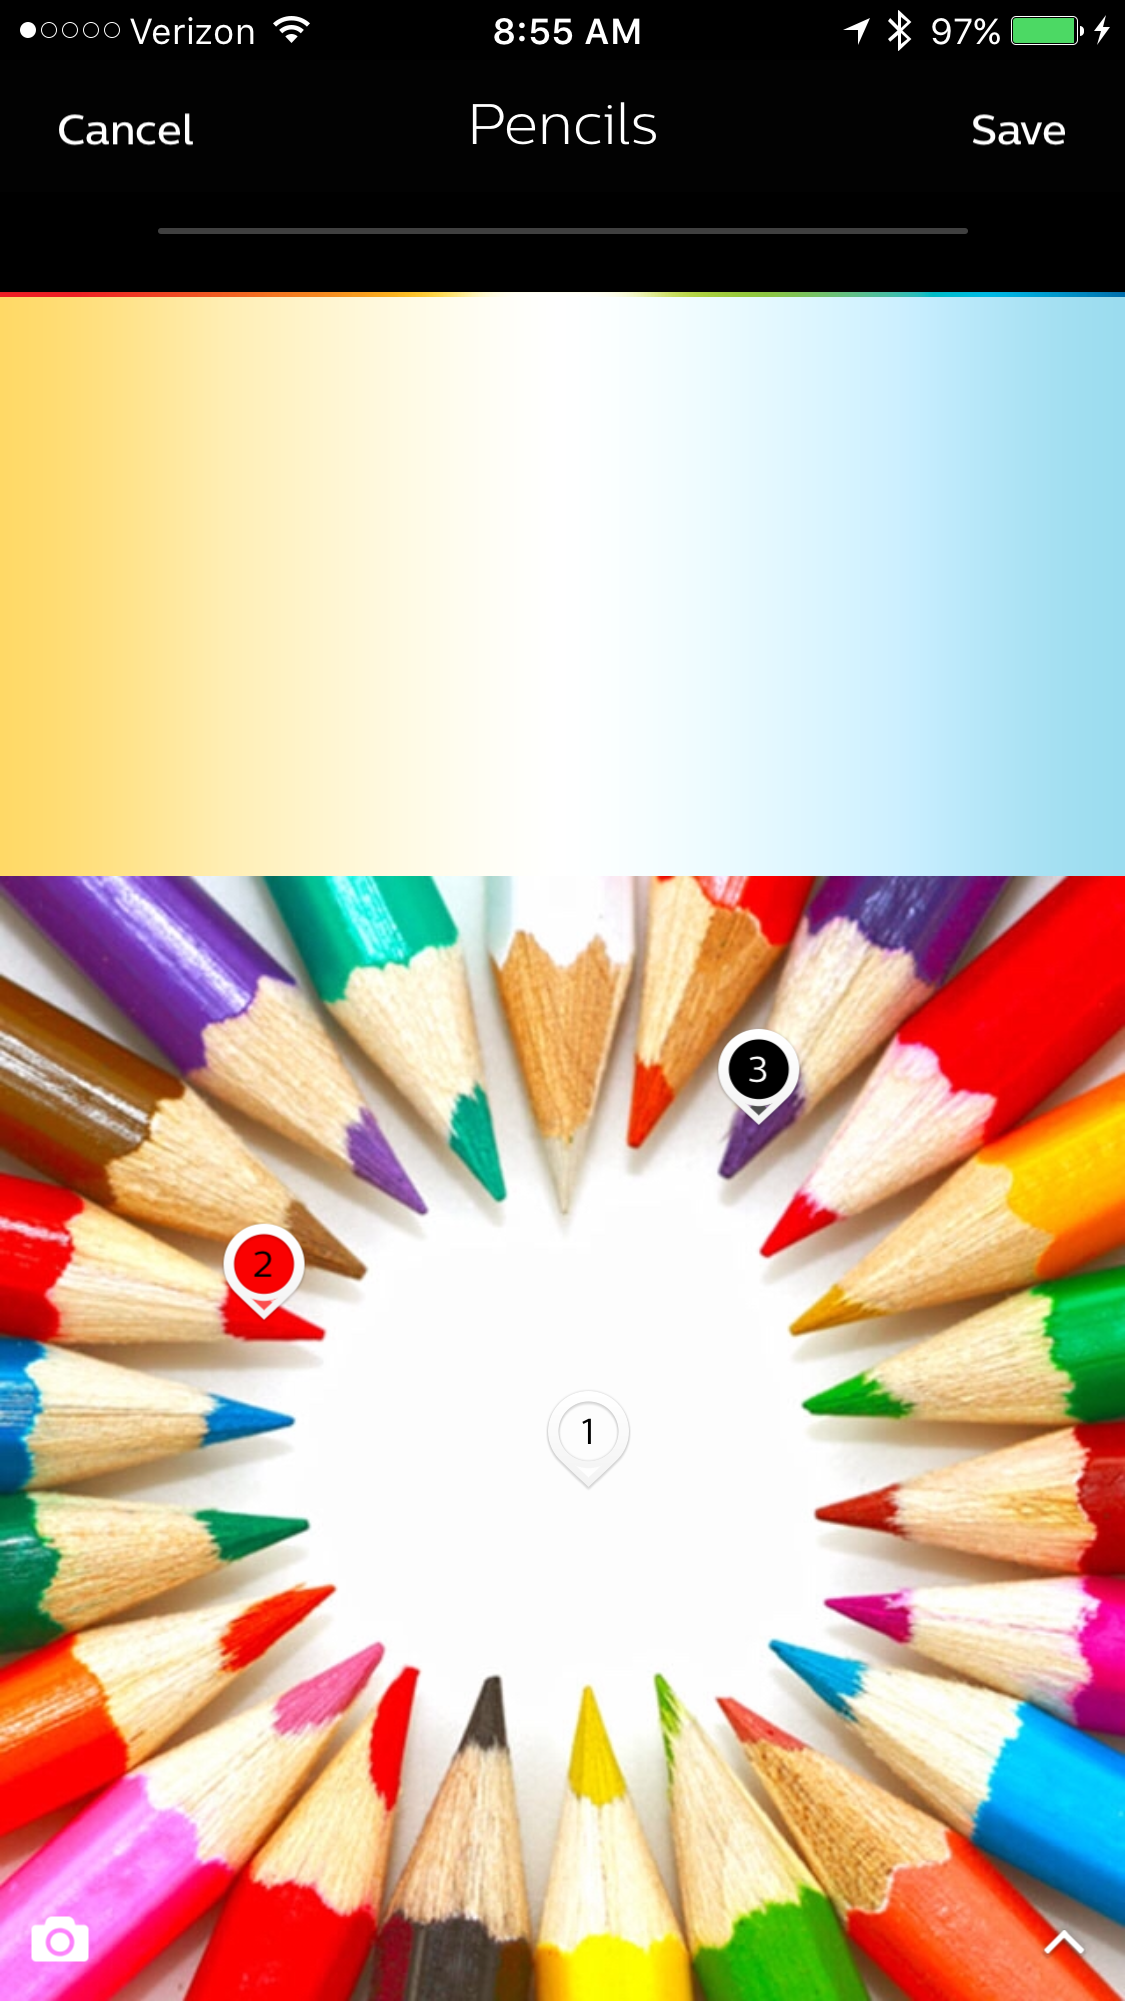
In the screen capture below, I am editing the “Pencils” scene. Each light has a unique number. Yes, you can label each light, but the labels do not seem to follow into the scene editing. I can control the individual intensity and color of each light. Note that once I have the app enabled and have dealt with geofencing, I can do this from any spot on the planet that I have an Internet connection. Nice feature (but I am always thinking about security so I set geofencing relatively tight). I tap on each of the numbers to control the color and intensity. As you see, light number 1 is white, number 2 is red and number 3 is off (black). Yes, number 3 is pointing to a color, but the intensity of that color is set to null.
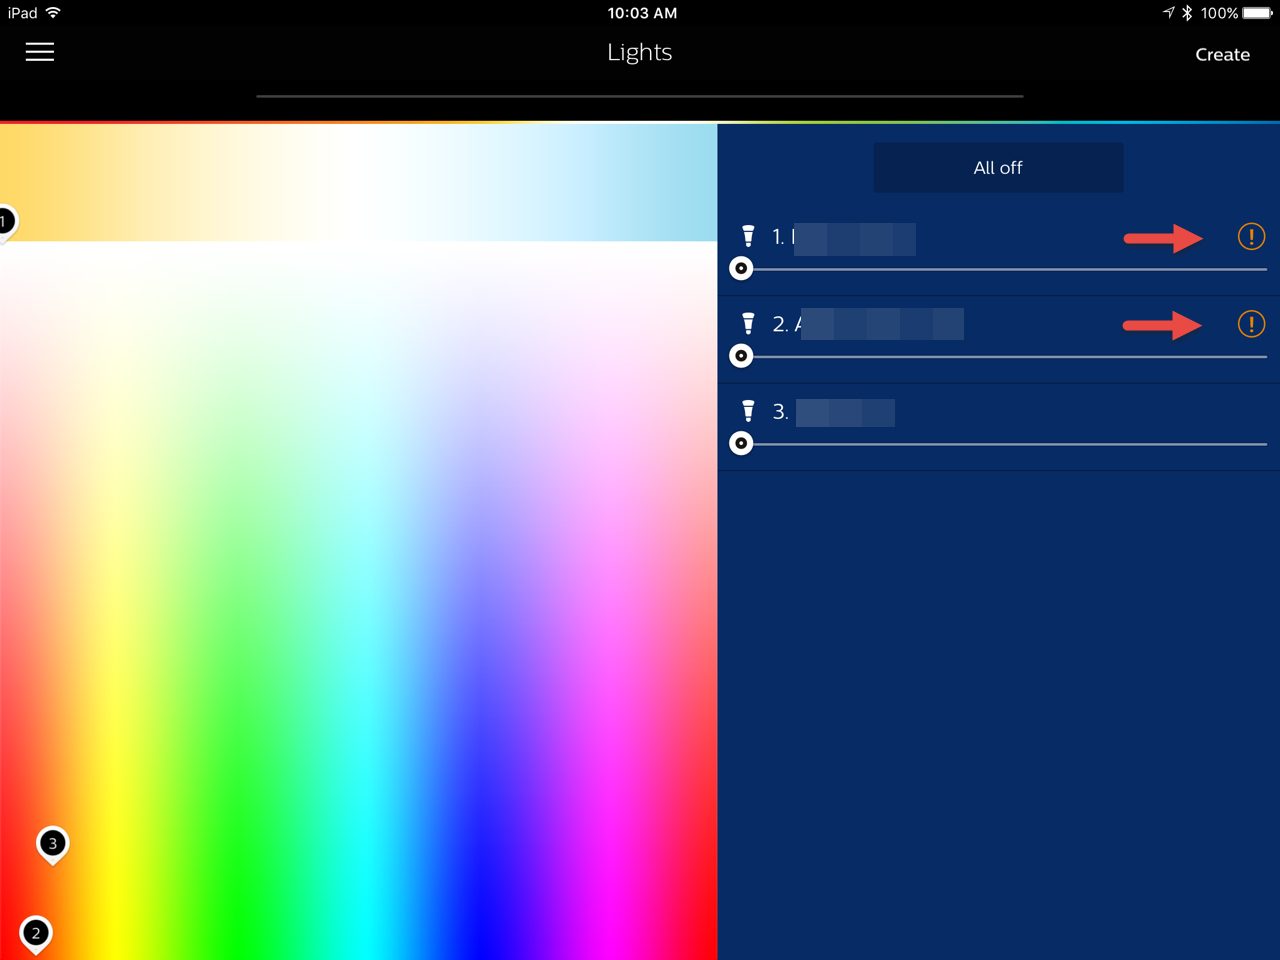
In addition to scenes, I can also work with individual lights. I have named each light. Because lights are connected via the open standard light link, they may not initially be accessible (this is indicated by the exclamation points on the far right in the screen capture below). The slider is set to off (this is how you control the intensity). I can also choose from any of the colors available in the screen capture below.
You can also set alarms and timers.
 You can also randomize when a light comes on (and set parameters – such as turn on light at 6 p.m. within 30 minutes). If you are not home, this is a nice security feature.
All told, I like the ability to access lights via an app. It opens a number of options that I hadn’t even considered. For example, one can set lights to display a “mood” based on the movie you are watching on your television.
I also like the ability to access the details via a RESTful interface. More on that in a future weblog post. I am curious if you have tried the Hue or a similar technology. I look forward to your comments.
Have you been able to connevt it to and control it with your echo? If so, how does it work?
Within the Alexa app, you go to Settings > Connected Home > Discover Devices. You need to tap the button on the Hue Bridge just before tapping Discover Devices. It takes about 20 seconds to find all the devices. I understand there is a limit to 18 Hue bulbs that can be discovered in the present version. Once discovered, you can then tell Amazon Echo to turn the lights on or off individually or dim or brighten them. You can also use IFTTT (I have not had a chance to go that far yet). Yes, my wife gets aggravated as lights go on and off seemingly at random *grin*.
Best always,
Mark