If you are a student in our CMWEB program, you have access to the MS Dreamspark website for MS software you can use for academic purposes. Each semester (a few weeks after the semester begins), you receive an email notification with details on how you can access this resource. One of these resources is MS Azure.
MS Azure is a cloud based computing environment. Essentially this means you use Internet based protocols to communicate with servers to perform various tasks. You may end up doing a lot of work in your browser as opposed to a more traditional desktop application.
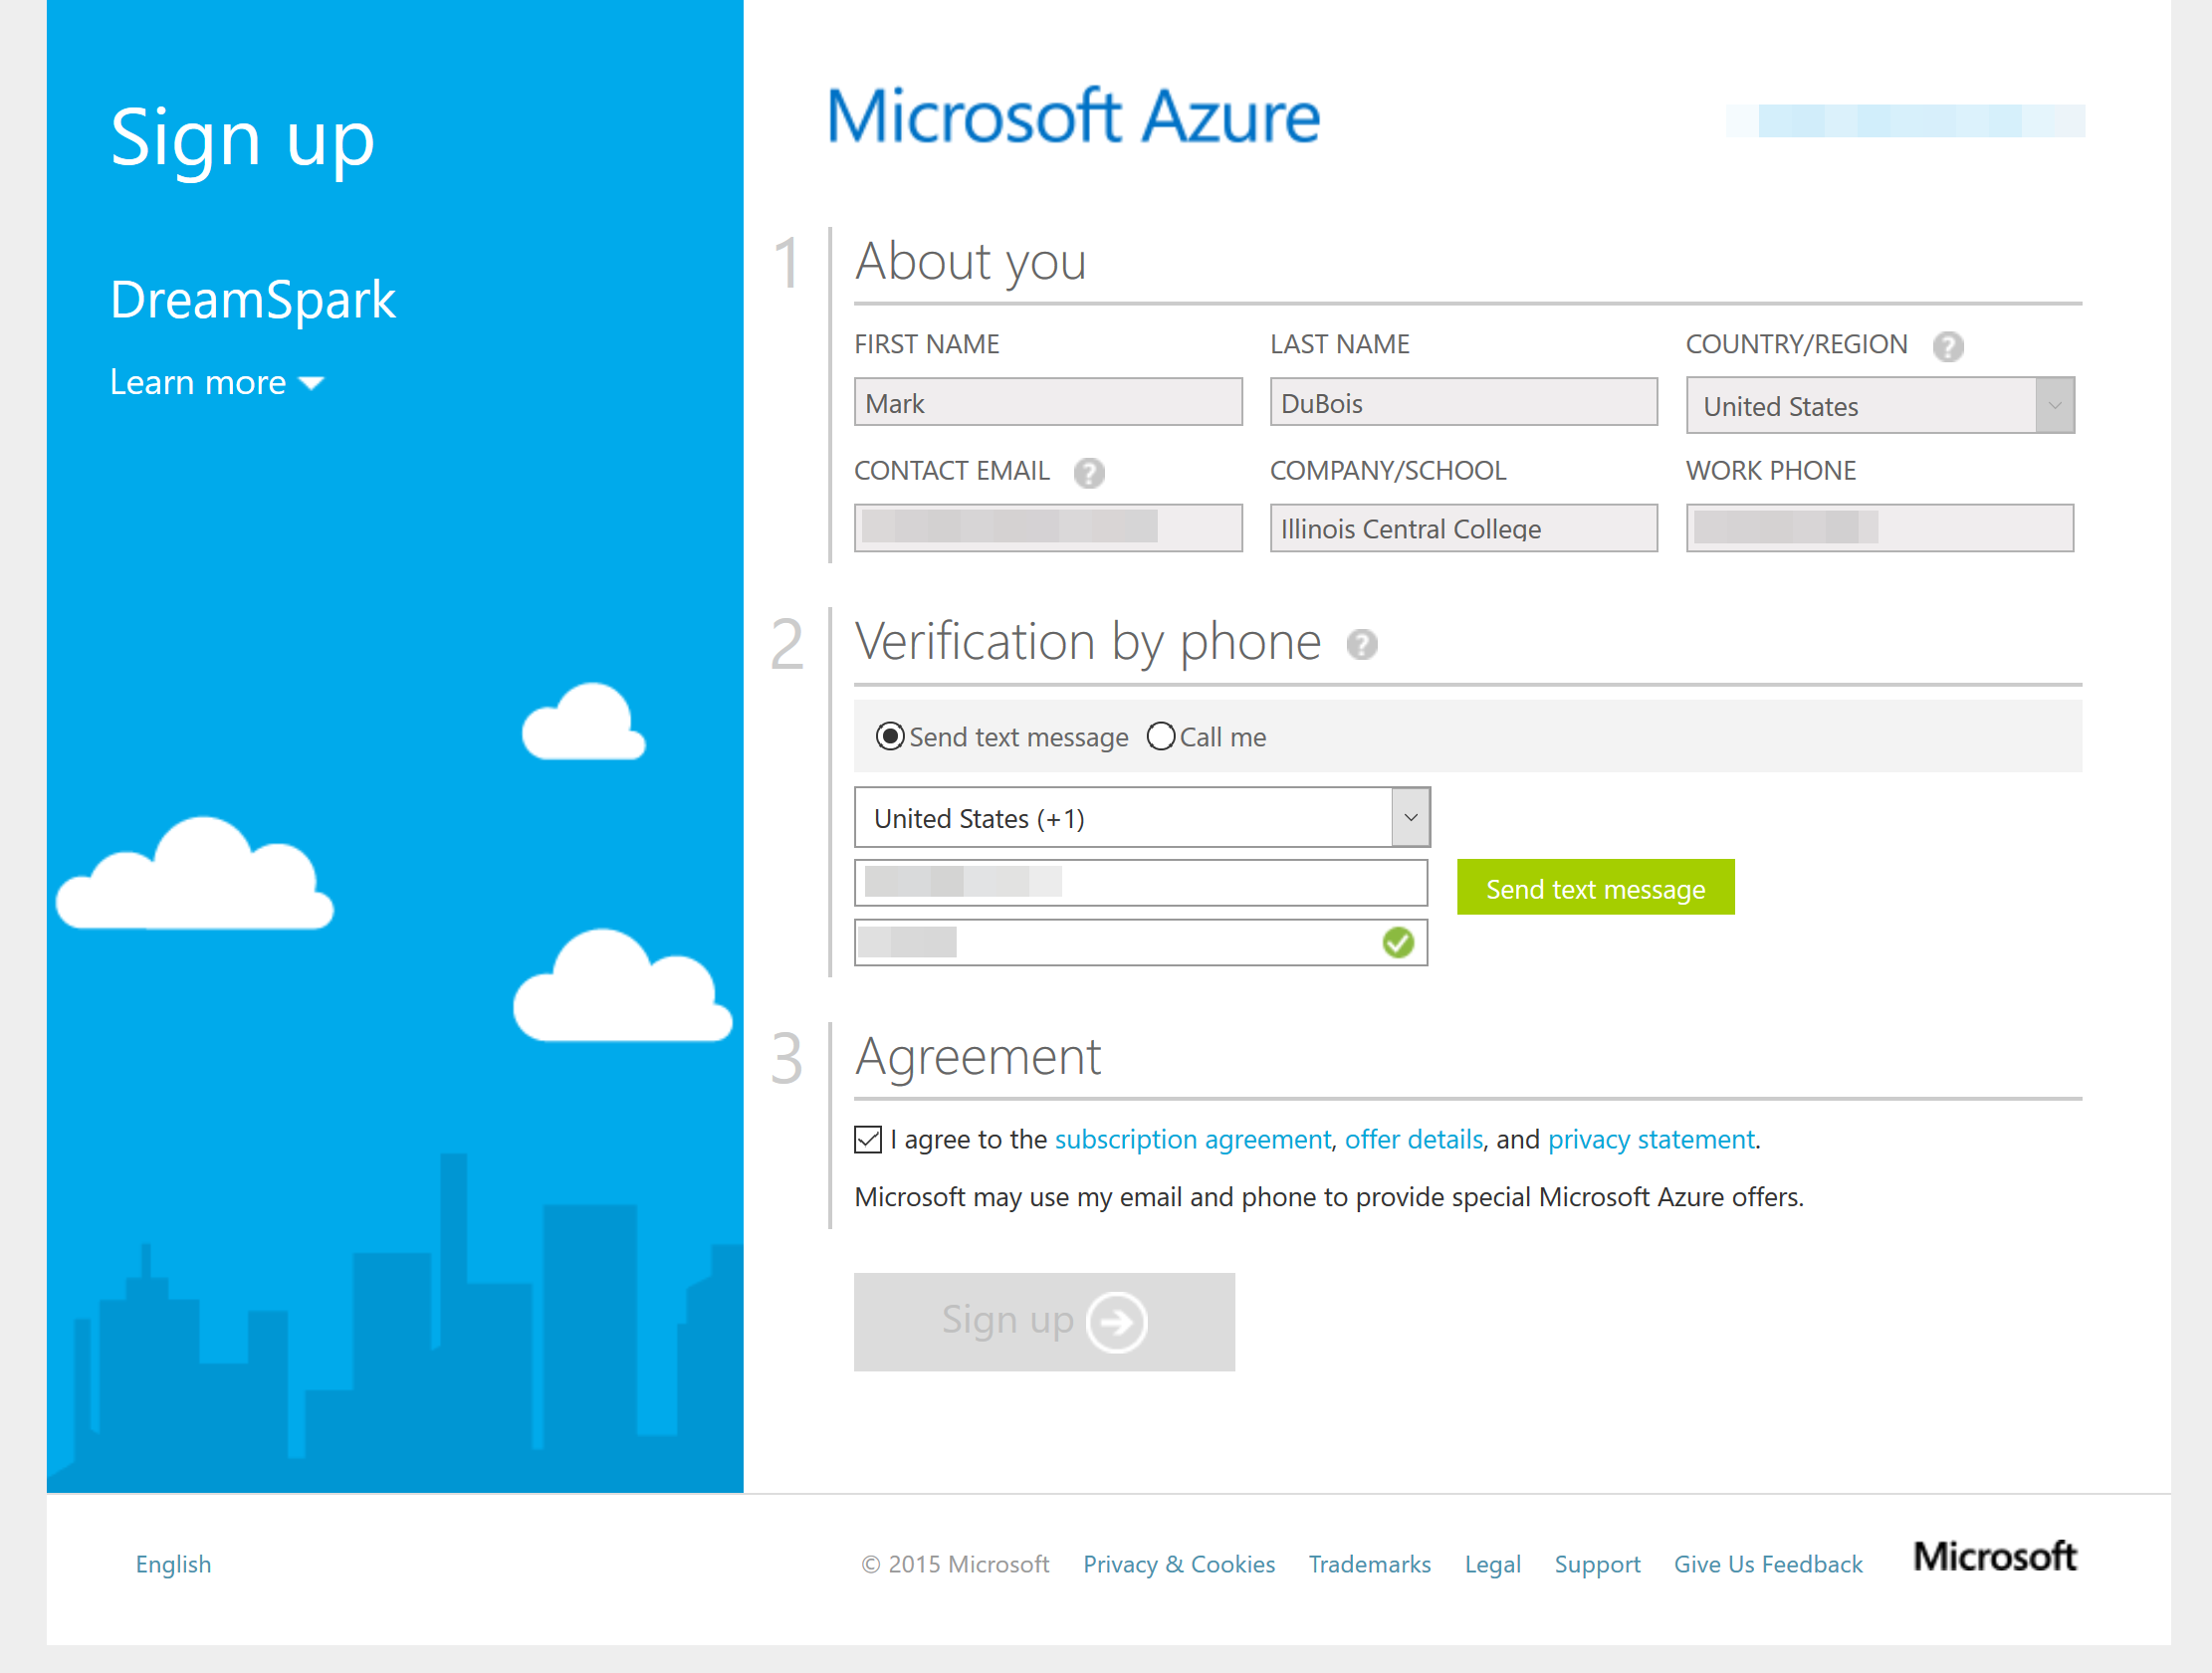
The first thing you need to do is to create a student Azure account. Visit the Azure page at Dreamspark to get started. You will need to confirm your academic status (using the .edu email address you have been provided through ICC).
As part of the sign up process you will need to supply basic information.
Once you have been verified, you should see a screen like the following.
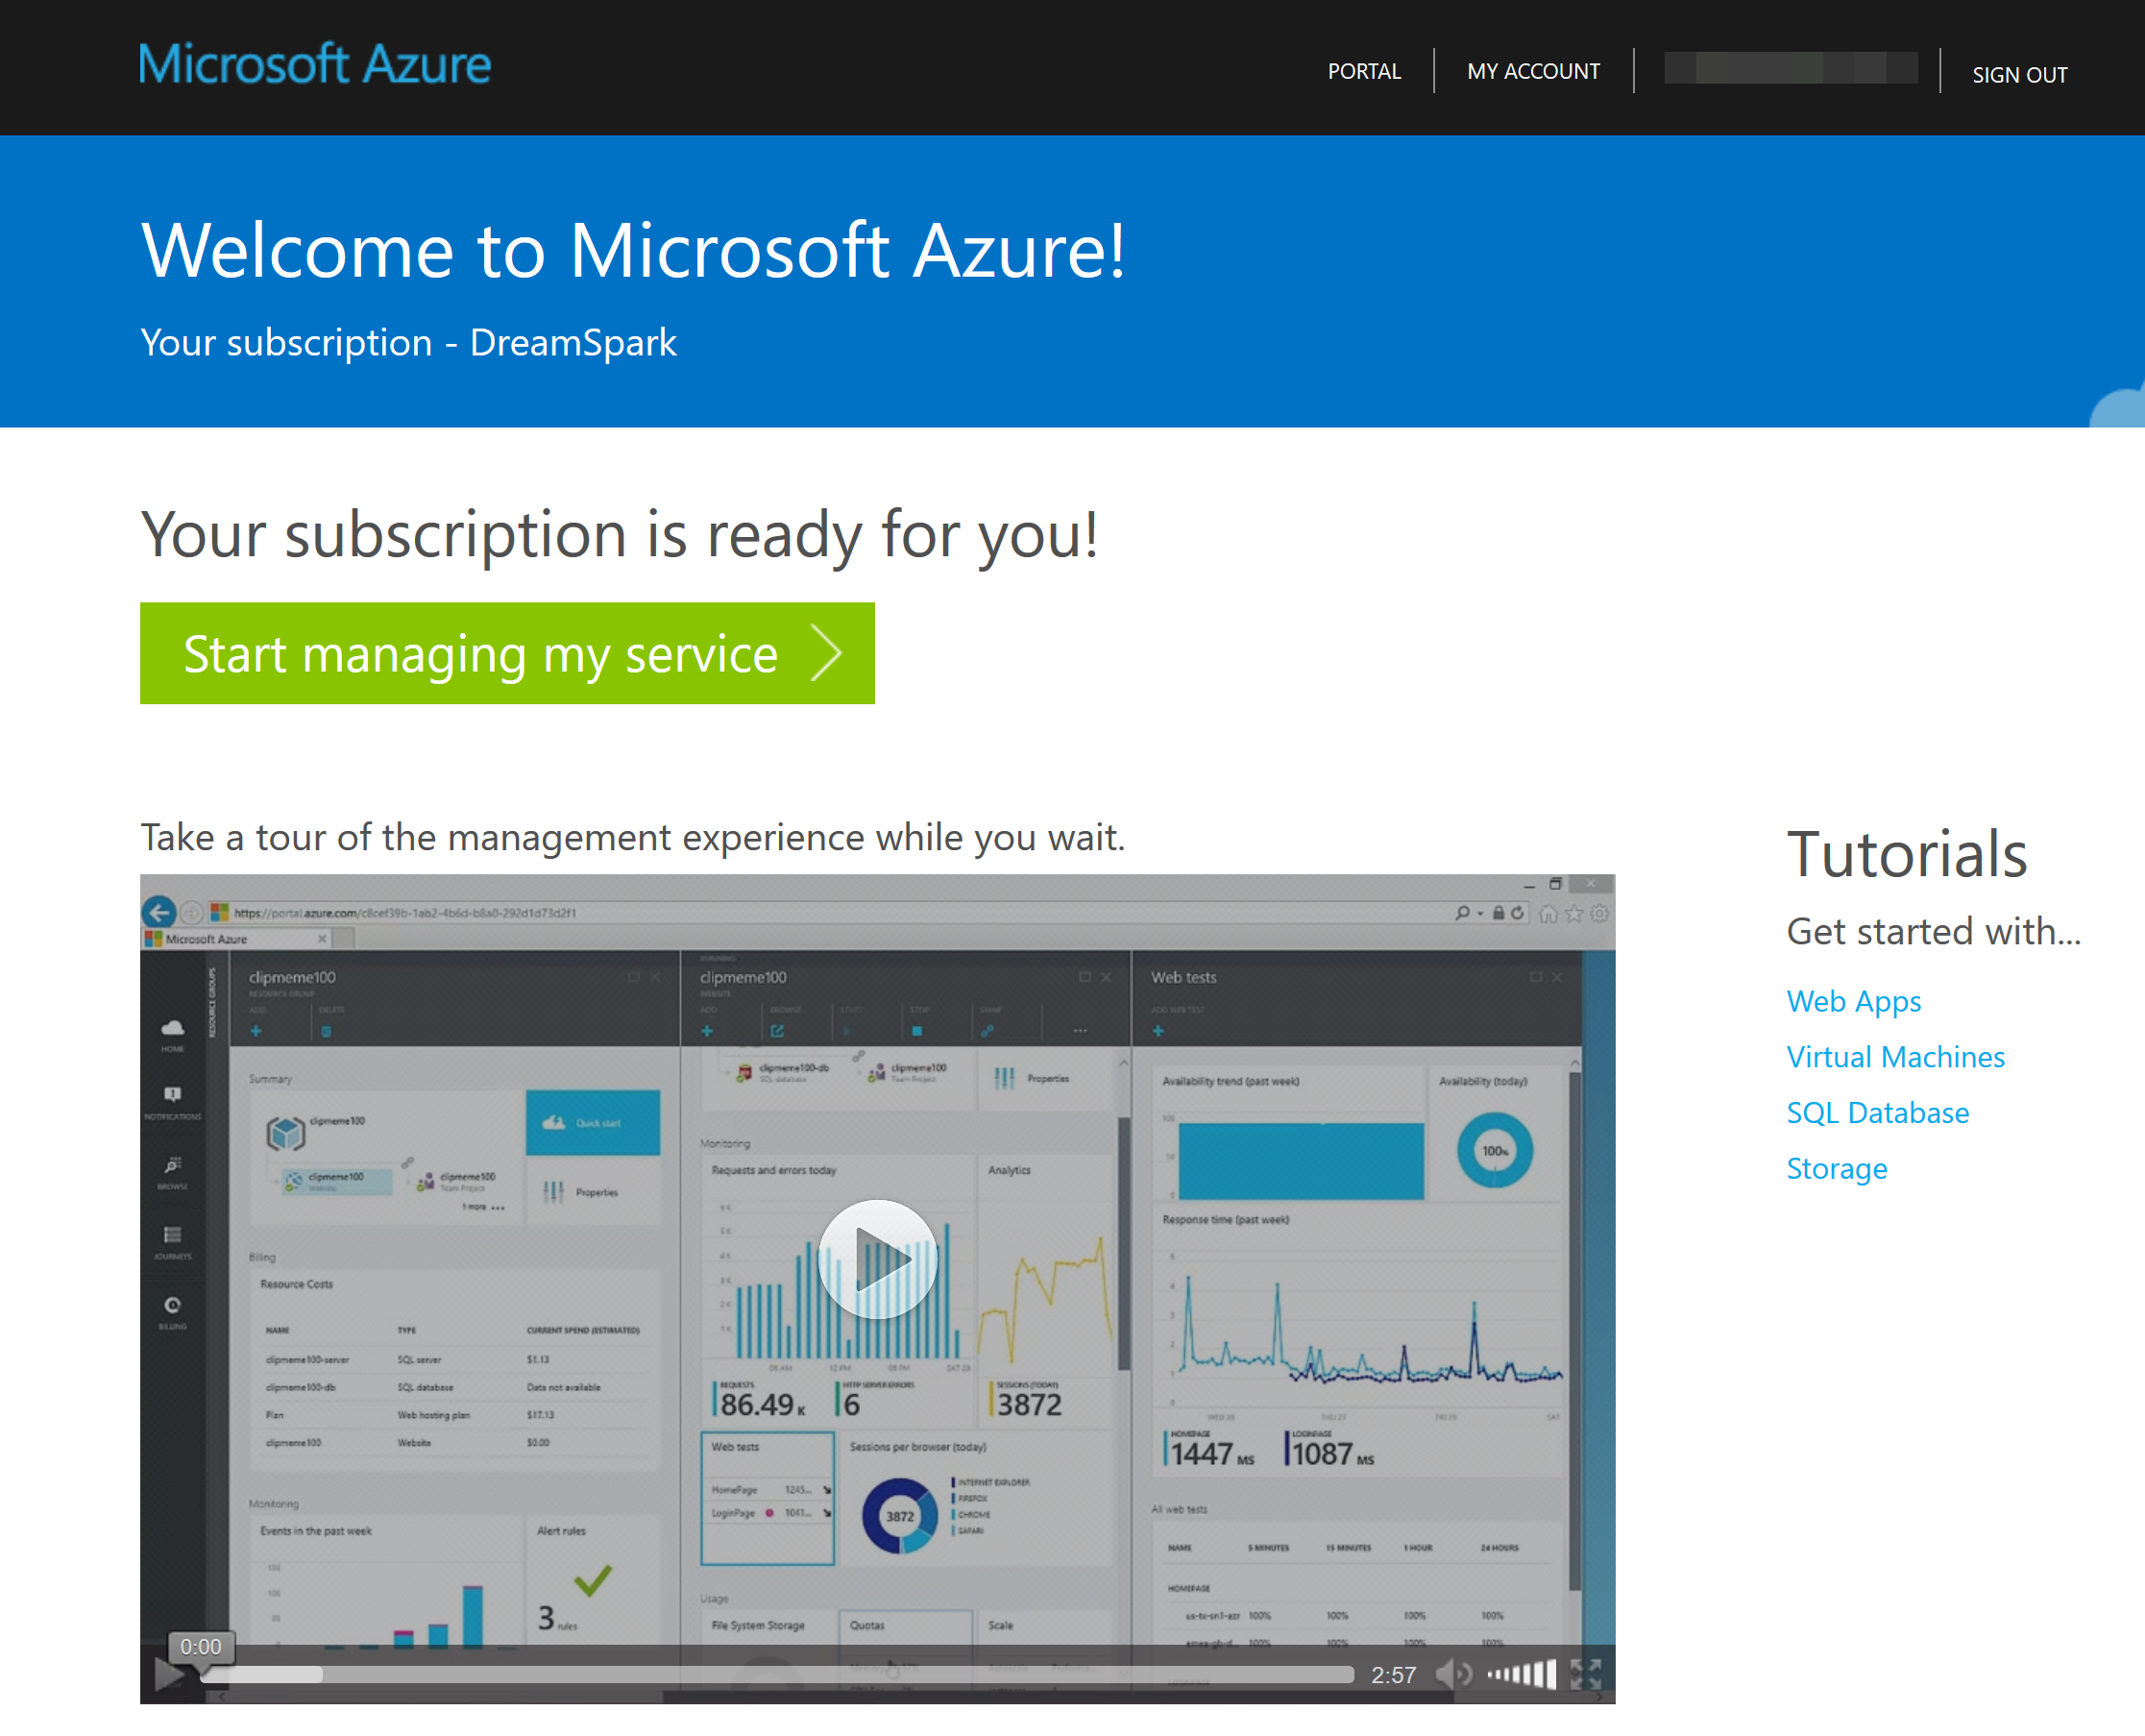
You will note a video in the screen capture above. I recommend you take a moment and watch it (once you have created your account). Once you have done this, you can proceed to the Azure portal. You should see a screen like the following.
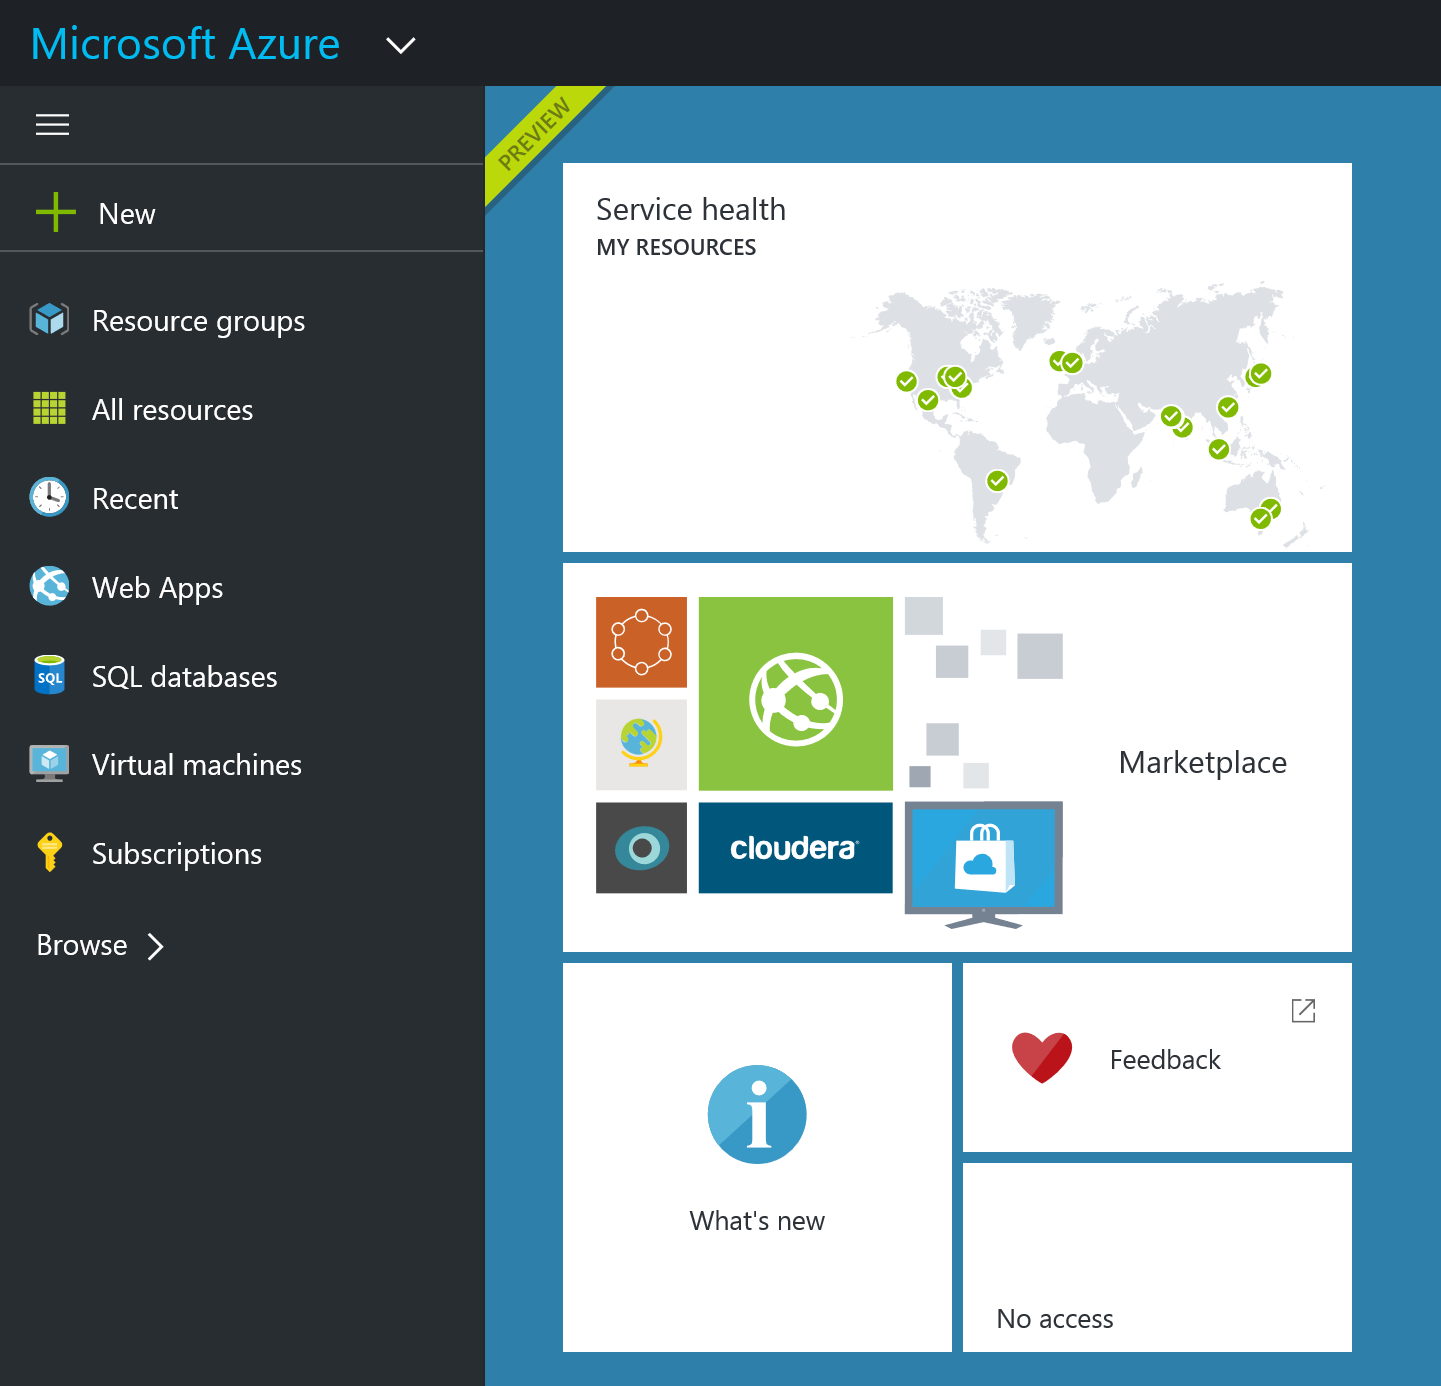
Remember you are using a free account via Dreamspark. You were not prompted to enter credit card information (which would typically be the case). This means that some features and capabilities are simply not available to you. These include:
- There is no access to SQL Server databases.
- You do have access to MySQL.
- You can have one (and only one) MySQL database.
- You can not create or work with virtual machines.
- You have limited access to resources in the Market.
That being said, you do have the ability to work with the fundamentals.
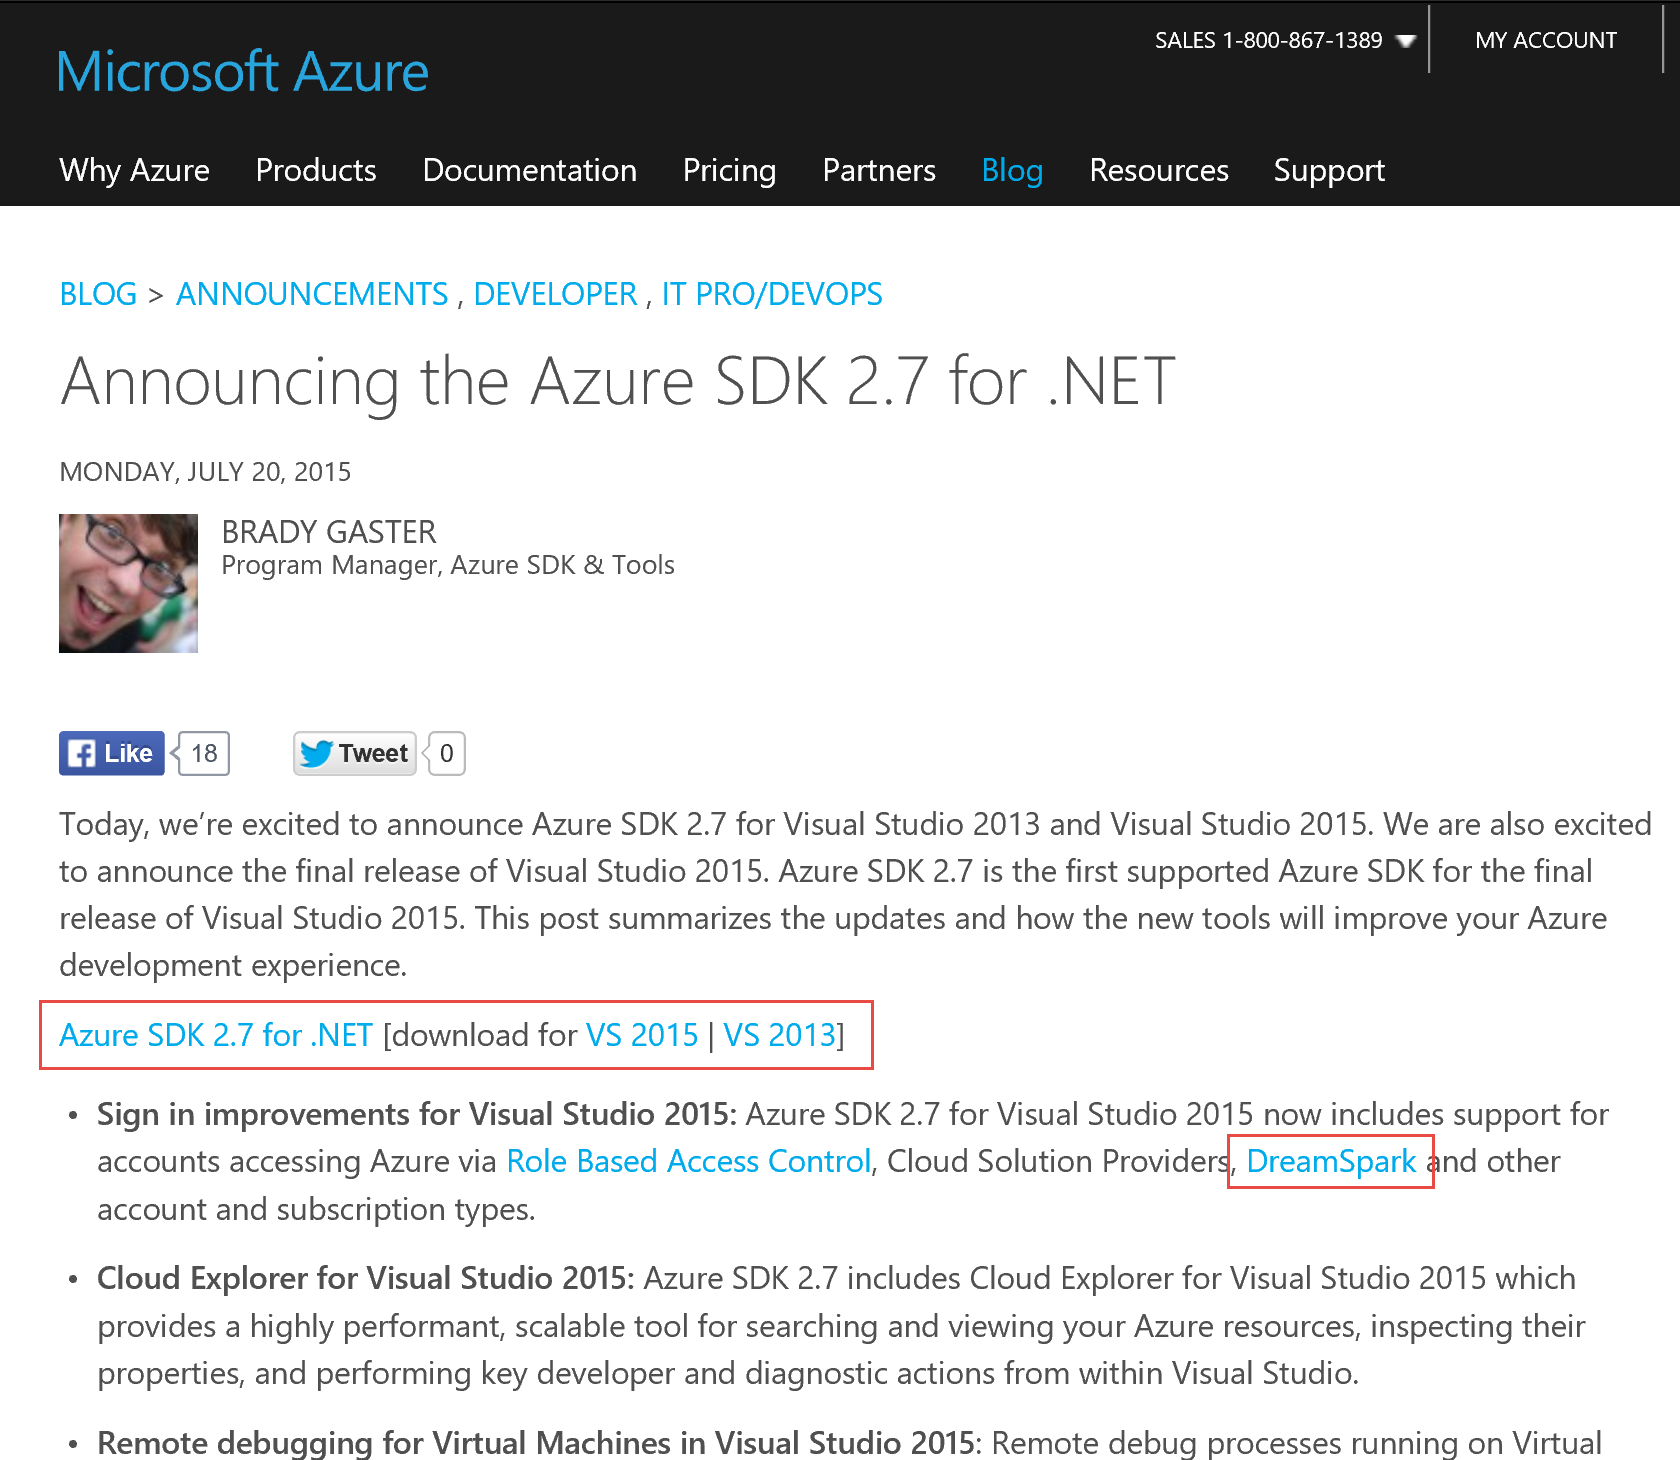
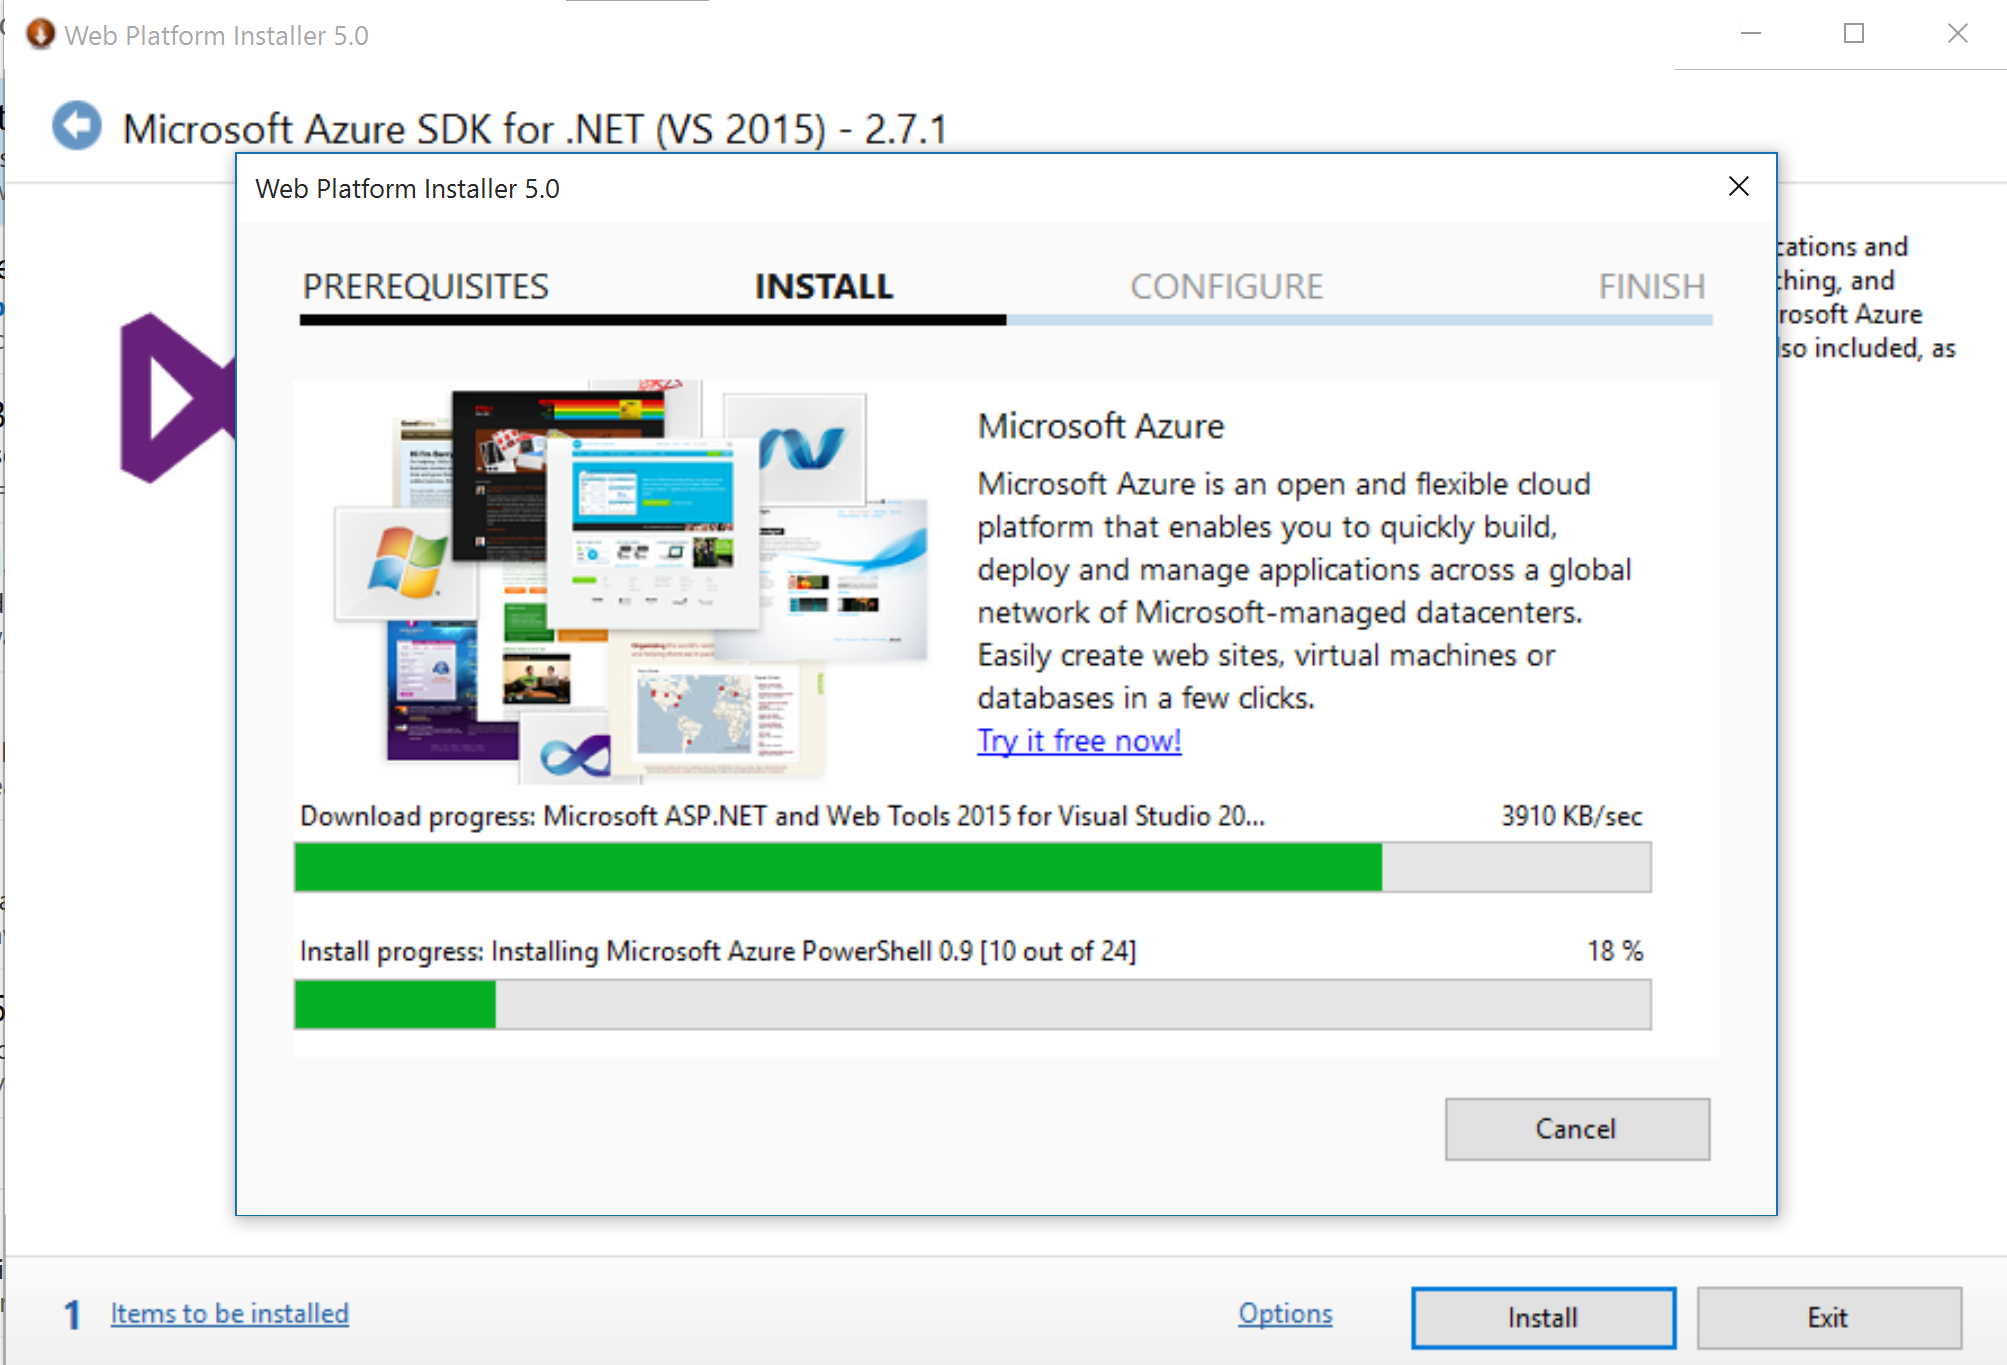
Before you go much further, it is also important to download and install the Azure SDK. Visit the site and you should see a screen like the following. Note this will only work for Visual Studio 2013 and 2015. If you have an earlier version, install the community edition of Visual Studio 2015 (you can find it at the Dreamspark site).
If you do not do this, you will receive a number of warning messages when you try to connect your Visual Studio account to Azure. The Azure SDK (linked above) will launch the Web Platform Installer. You should see a similar screen when running the .msi file.
Once installed, you should see a screen like the following. Obviously, I make the assumption you have a working copy of Visual Studio 2013 or 2015 (2015 recommended).
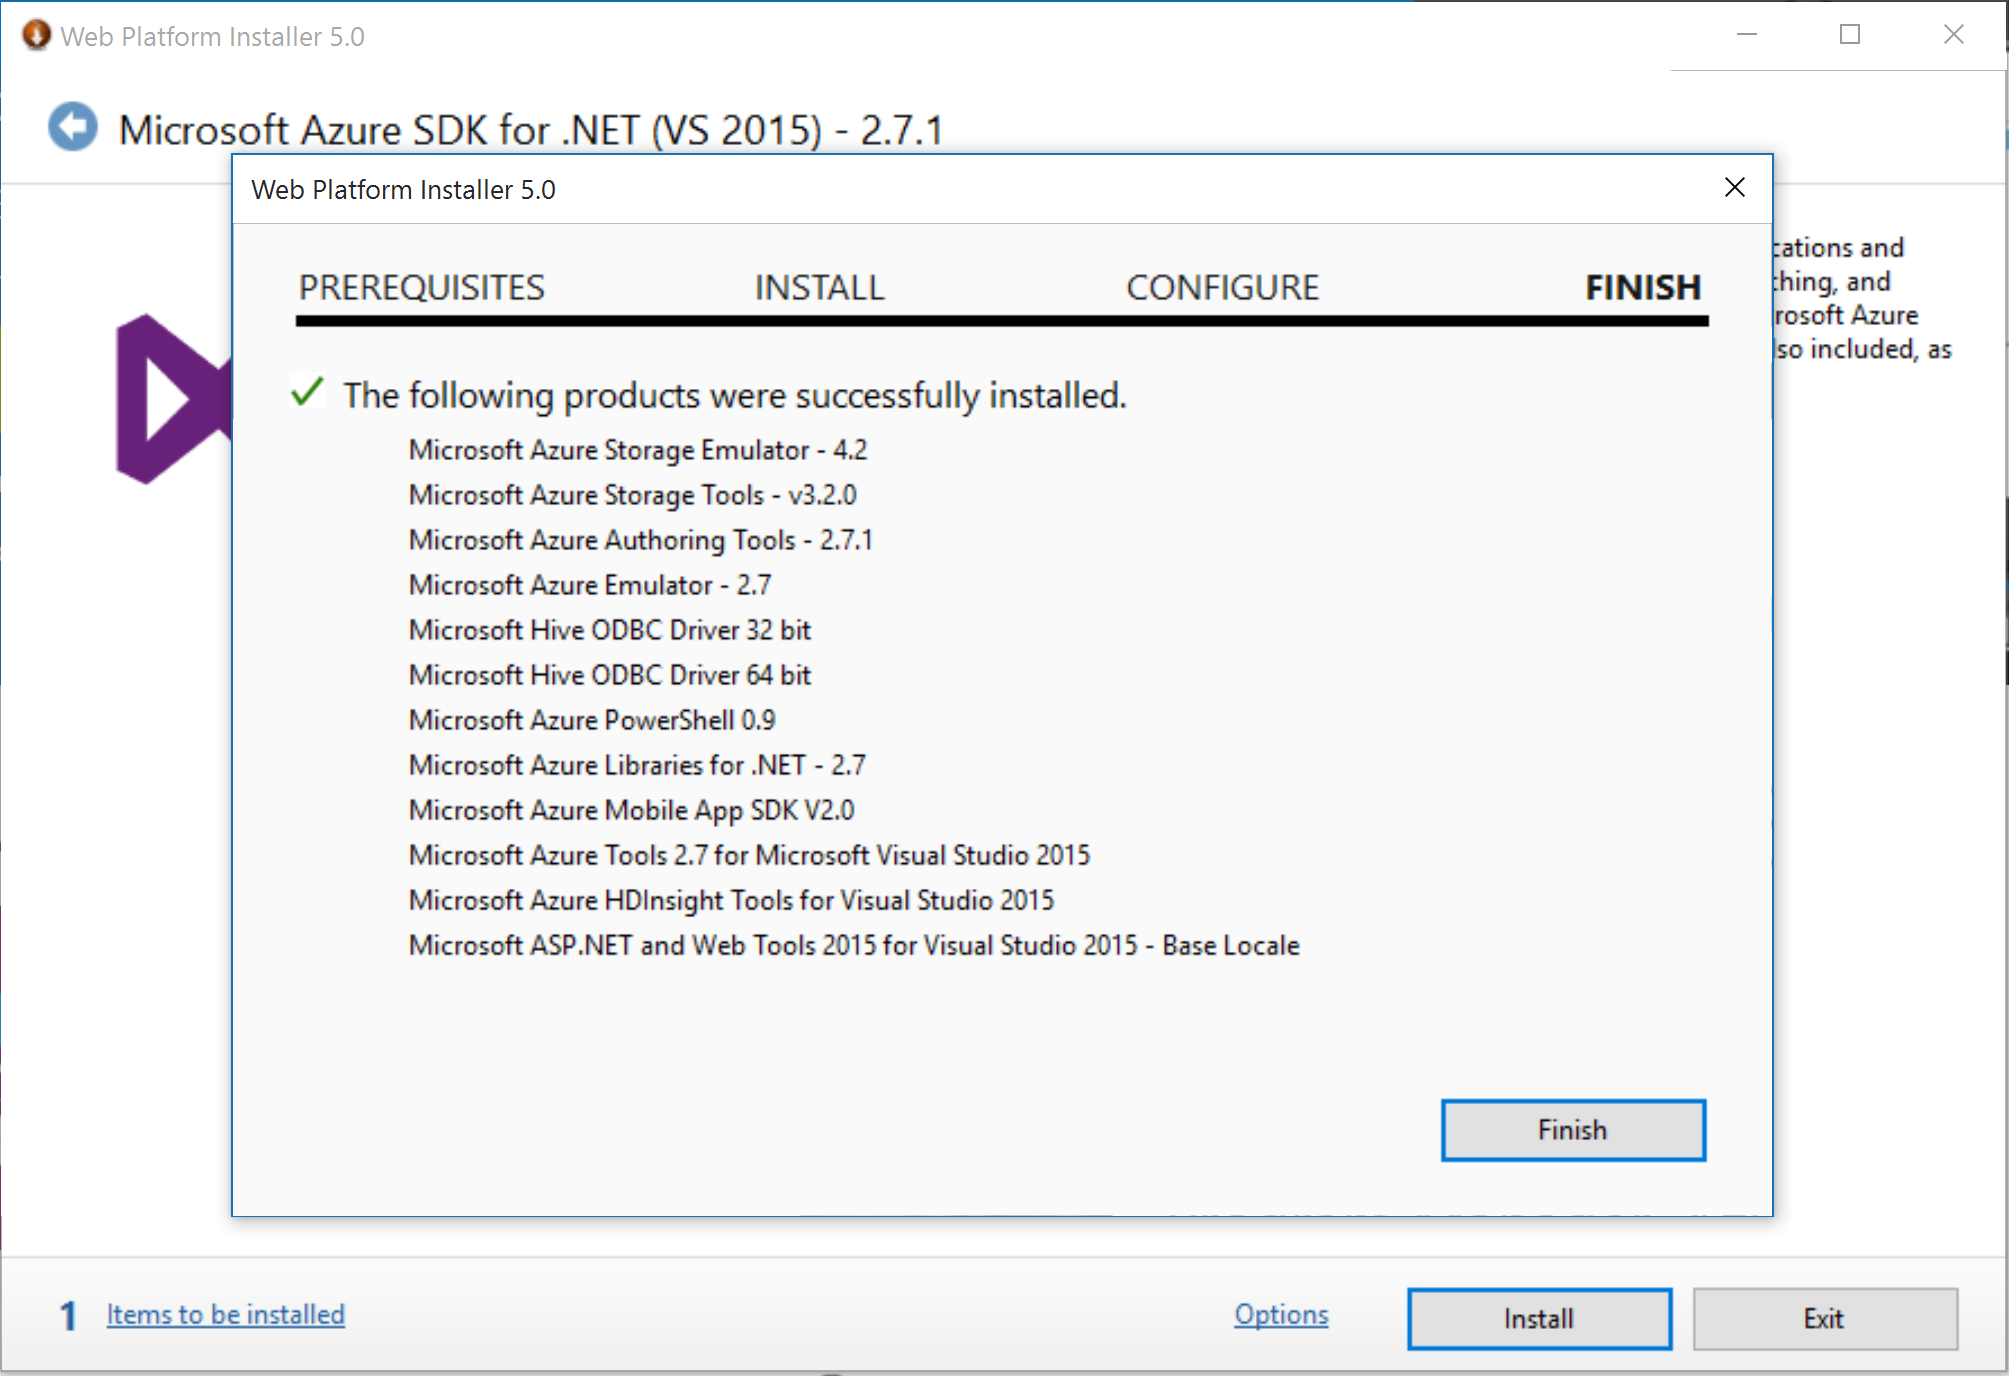
You now have the fundamental tools to begin working with Azure.
MS provides a “getting started” tutorial. I recommend viewing the tutorial and following along to create your first example.
I took this example a bit further. I provide the following video so you gain a clearer example of what you can do with Azure. In this case, I connect to a MySQL database. I provide a video overview of the working end result. Again, this is just to show you what is possible. This is the same video I use as part of an introduction in one of our CMWEB classes.
I encourage you to experiment with Azure. There are lots of capabilities. Unfortunately, at this time, one is not able to create mobile apps with the Dreamspark version. As always, I look forward to your comments. I hope you found this overview helpful.
Actually Azure SQL Database has been added to DreamSpark now 🙂
Excellent news Regan. My students will be thrilled to learn this.
Best always,
Mark