Adobe recently (October 5, 2015) released a new iOS app called Photoshop Fix. I have been experimenting with this tool for a while and find it very helpful for quick edits to images using just my iPad. Of course, for more complex edits, one can always share the image from Photoshop Fix to Photoshop on your desktop (via the Adobe Creative Coud). I find the most beneficial aspects of this tool include the ability to quickly do a “red eye reduction” and to use liquify. I admit it, I have grandsons. When taking a family photo on my phone, one is often not smiling. Liquify is a quick way to remedy that situation. I can simply modify their facial expression to include a smile (no need to take another photo).
In my opinion, tablets and smartphones are coming into their own as devices which can be used as part of a creative workflow. Whether photography or web design is involved, we can use mobile devices to quickly make changes and review those changes with our clients (in almost real time). These capabilities are causing me to start re-thinking how I incorporate these tools into my discussions about workflows in various classes.
Let’s take a look at some of the capabilities. I have also included some screen recordings. I am using Wipster for these so you can readily comment directly on the video itself. Please use your real name and include a comment in this weblog (with your email address) if you want me to get back to you. Let’s see what we can do with Photoshop Fix.
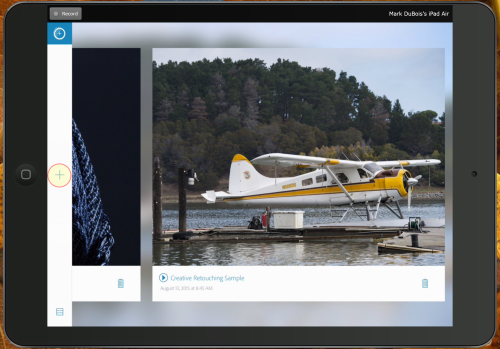
First, let’s look at the interface itself. As with many other Adobe iOS apps, we open the app and click on the plus icon on the left to start a new project. I highlighted that icon on the left in the screen capture below.
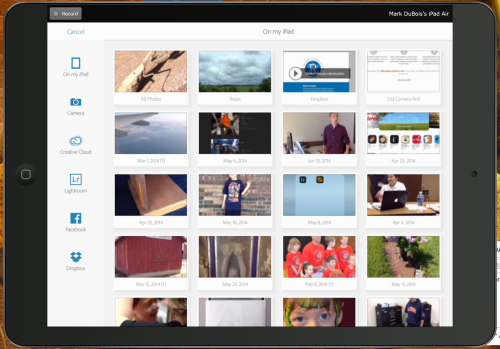
We can then select images from a variety of sources (for example, our camera roll, Dropbox and many other spots).
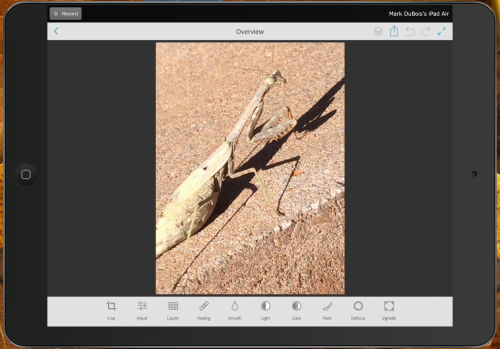
Once the image is imported to Photoshop Fix, we have a number of useful options. For example, we can crop the image, adjust the color or lighten/ darken parts of the image. We can also de-focus parts of the image (essentially introducing a layer mask). There is the ability to preview your changes and you can undo or redo changes in your current session. You can also upload your work and directly continue your editing in Adobe tools like Photoshop on the desktop.
After you have made changes, you will see the tools used are underlined. Consider the vignette below. You will see that a number of tools were used.
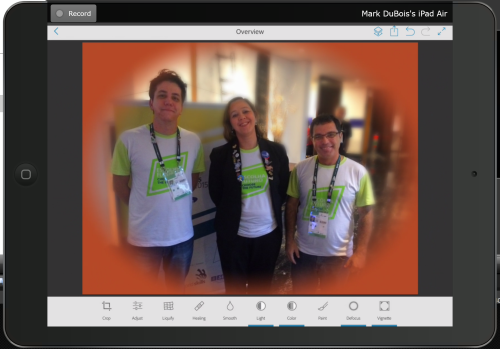
You can see that I did not crop the image, but I did use the Light, Color, Defocus and Vignette tools (all are underlined in the screen capture above).
Let’s see this tool in action. First – defocus. [Don’t forget you can pause these videos and include comments directly on the video. If you do this and want a response, please include a comment below – or send me an email)].
You can also view this video in a new browser tab/ window (if you need more screen real estate to view/ comment).
I particularly like the liquify tool I can easily modify an existing image and make someone smile. Let’s see this in action.
You can also view this video in a new browser tab/ window (if you need more screen real estate to view/ comment).
I encourage you to give Photoshop Fix a try. I have been using it for a lot of small changes to various photos. I do wish there was a version for Android devices (particularly for Android tablets). I am curious if you have used this tool. As always, I look forward to your comments.