As we approach the holidays, I thought it might be appropriate to cover one of the relatively new Adobe apps – Adobe Clip (aka Adobe Premiere Clip). This was released along with a host of other apps on October 6, 2014. I previously covered these briefly in a weblog post. One of the nice features in Premiere Clip is the ability to trim existing video (shot on either your iPhone or iPad). You can also stitch the video together, include transitions (such as cross fades) and either publish your work directly or import it into Adobe Premiere Pro for further editing. Let’s examine this app in more detail.
First, after you install the app (it is free), you open it and see a screen like the following. You can scroll to the left or right (assuming you have existing projects) or you can tap on the plus (+) icon on the left to begin a new project.
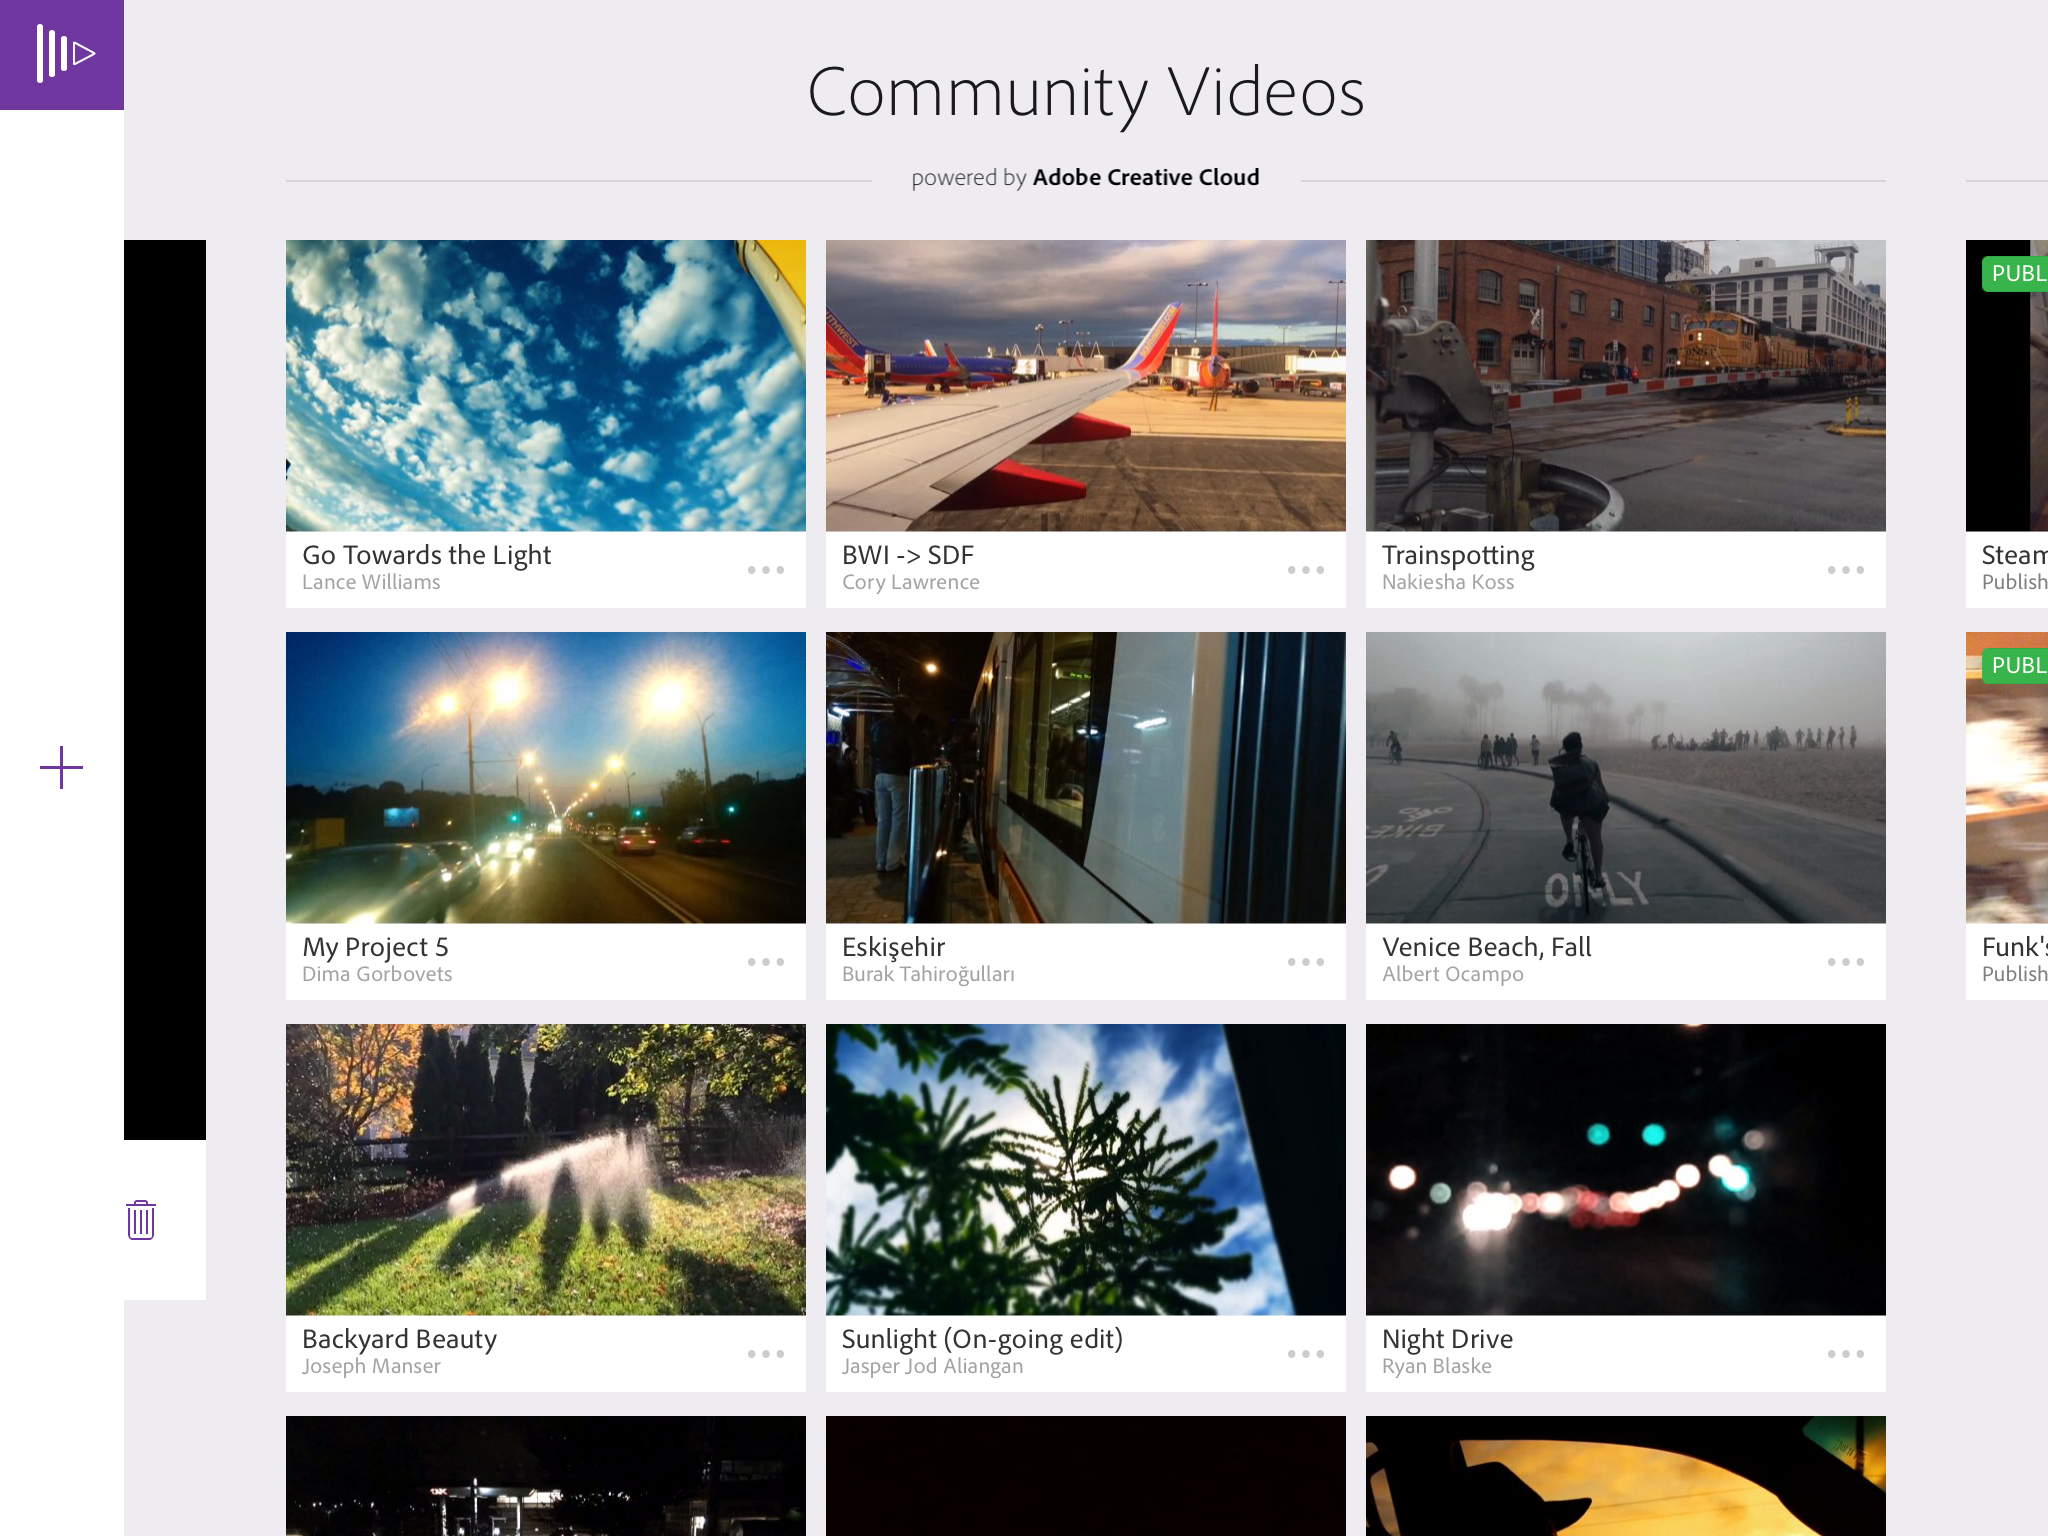
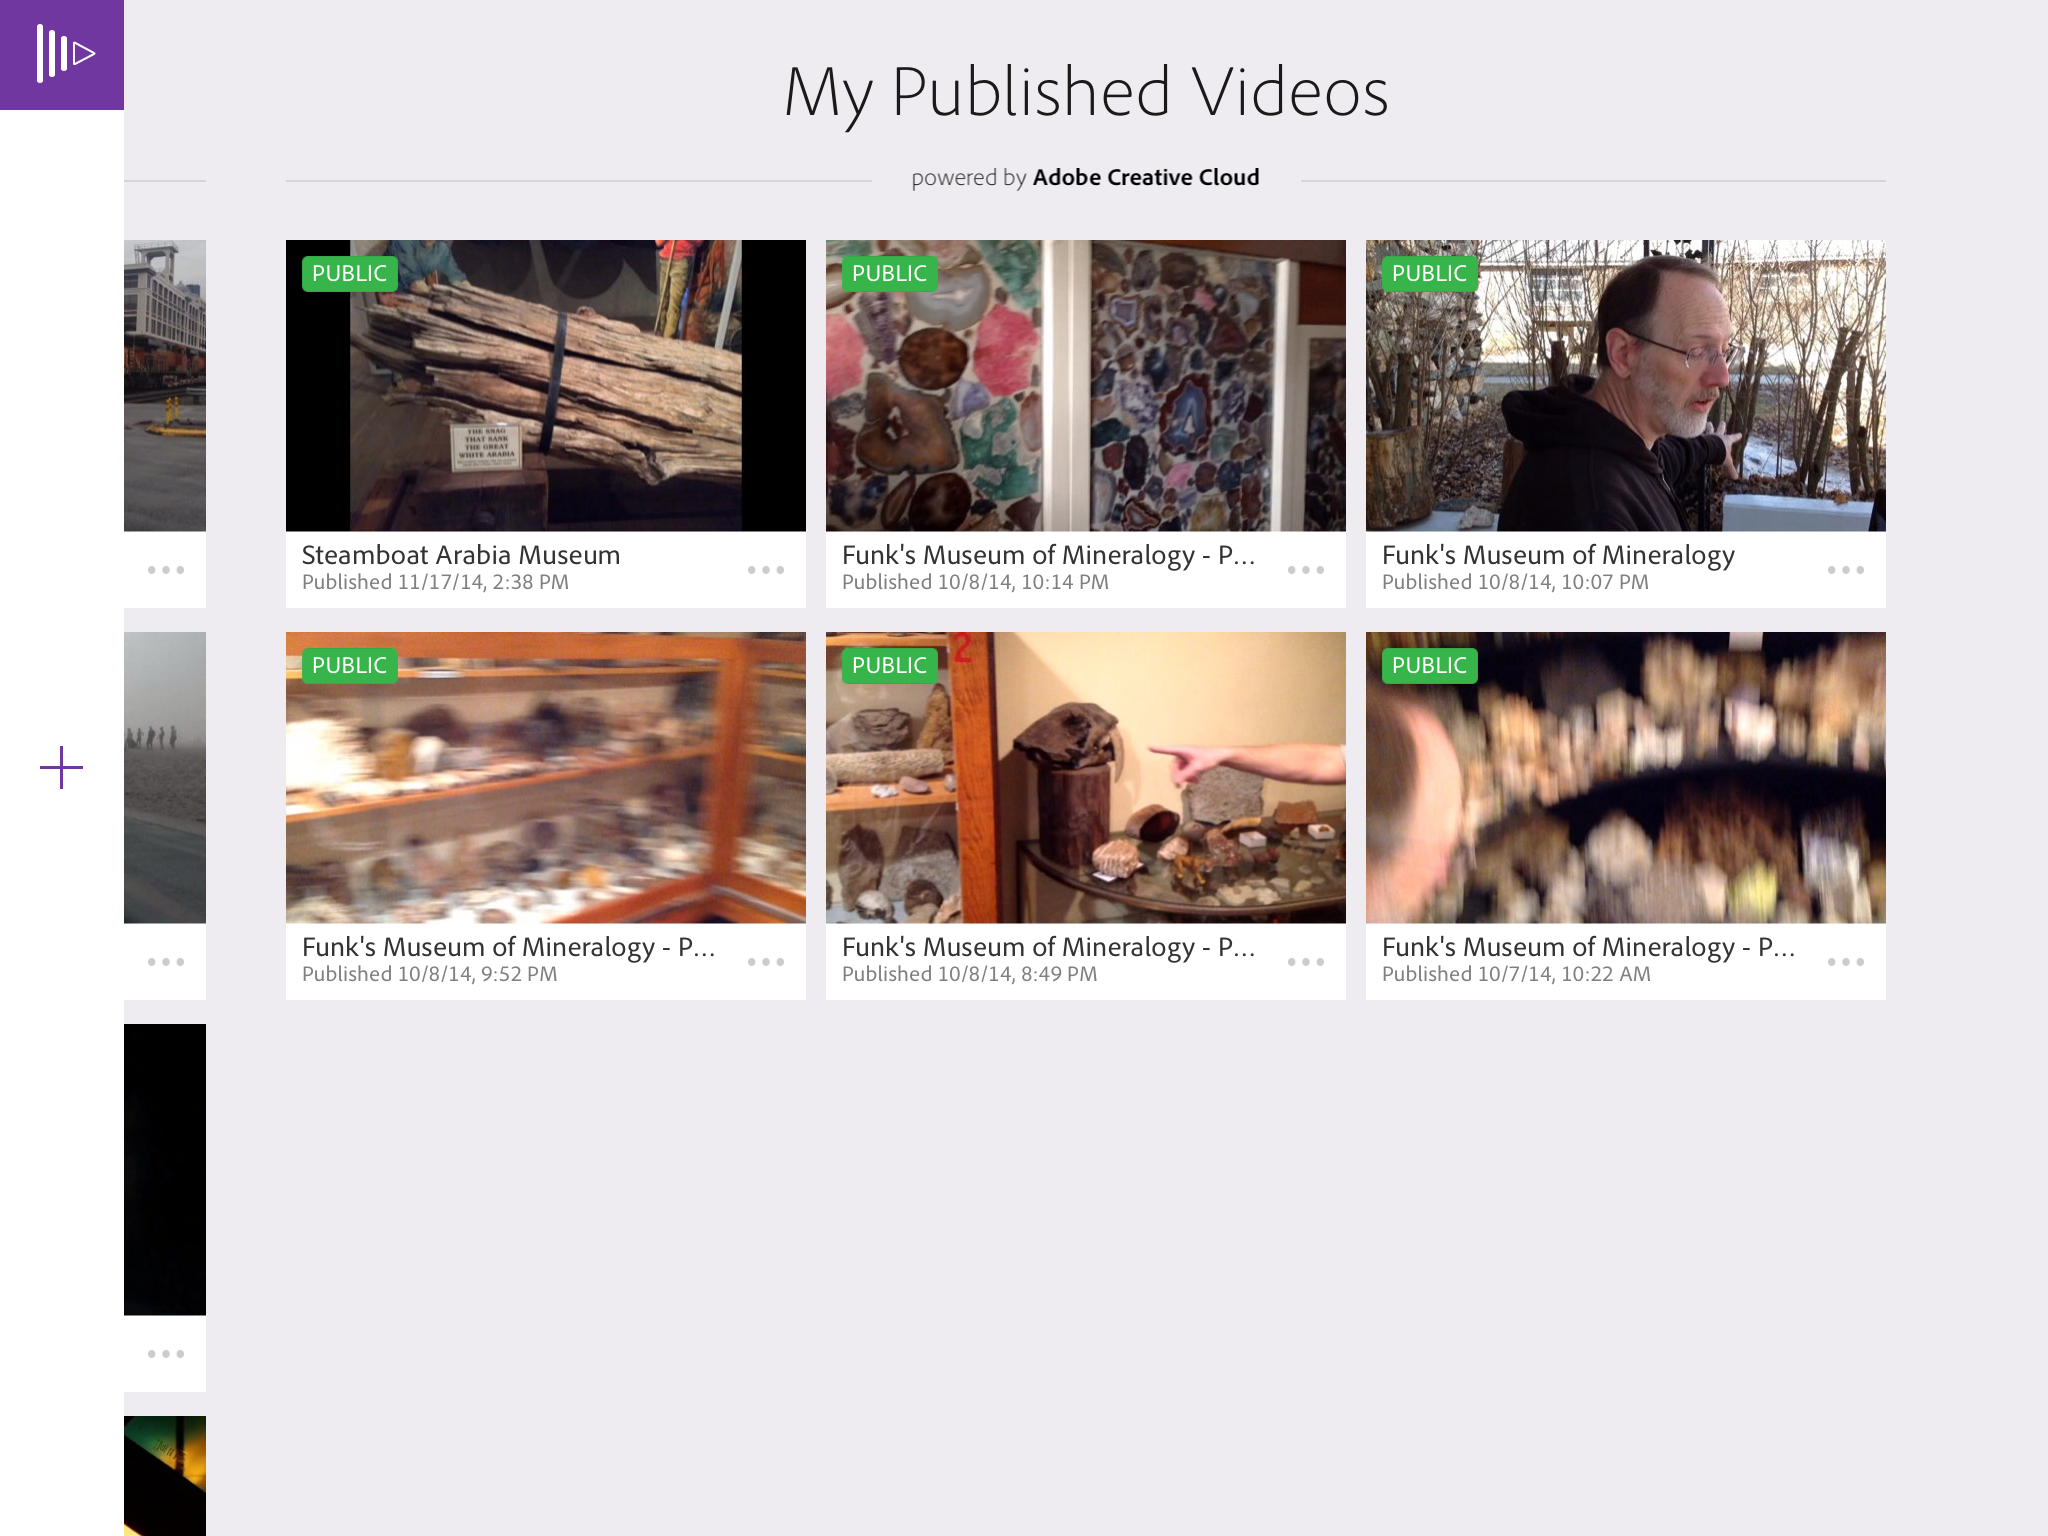
If you scroll to the right you see all your published projects (including whether they are marked public or private). Scroll to the left to see these individual projects and edit them.
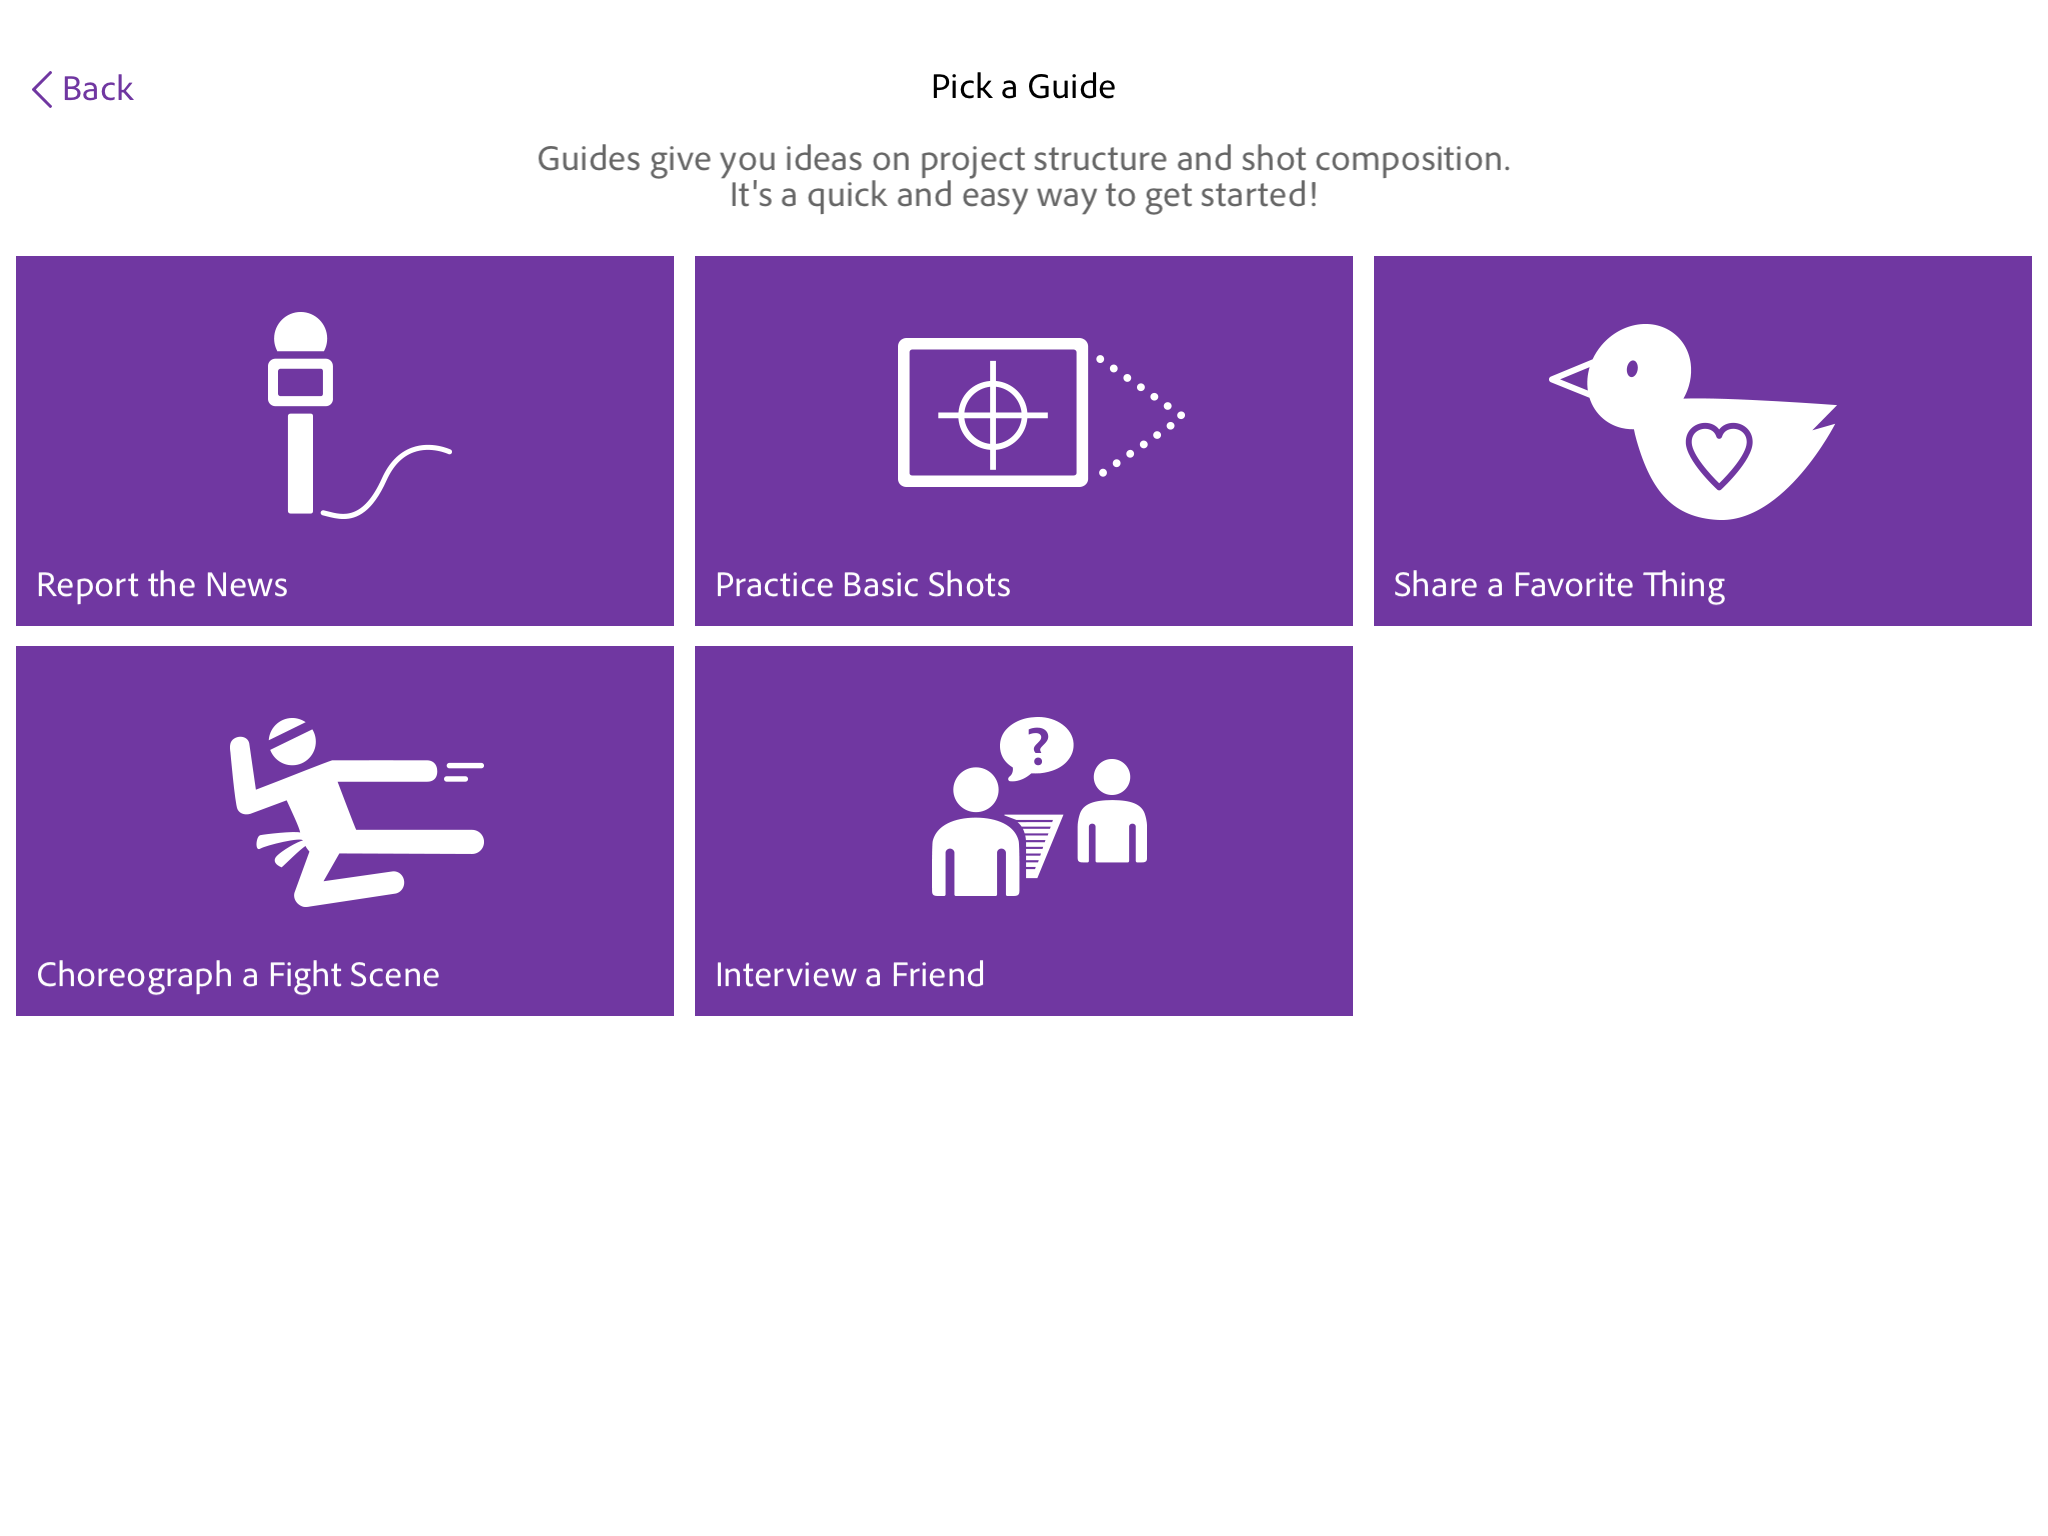
Let’s assume that we are creating our first project. We tap on the plus icon on the initial screen. We have the option of selecting from some helpful tutorials or starting from scratch. The initial tutorials are shown below.
 For our purposes, I will assume we start with a blank project and are presented with the screen shown below.
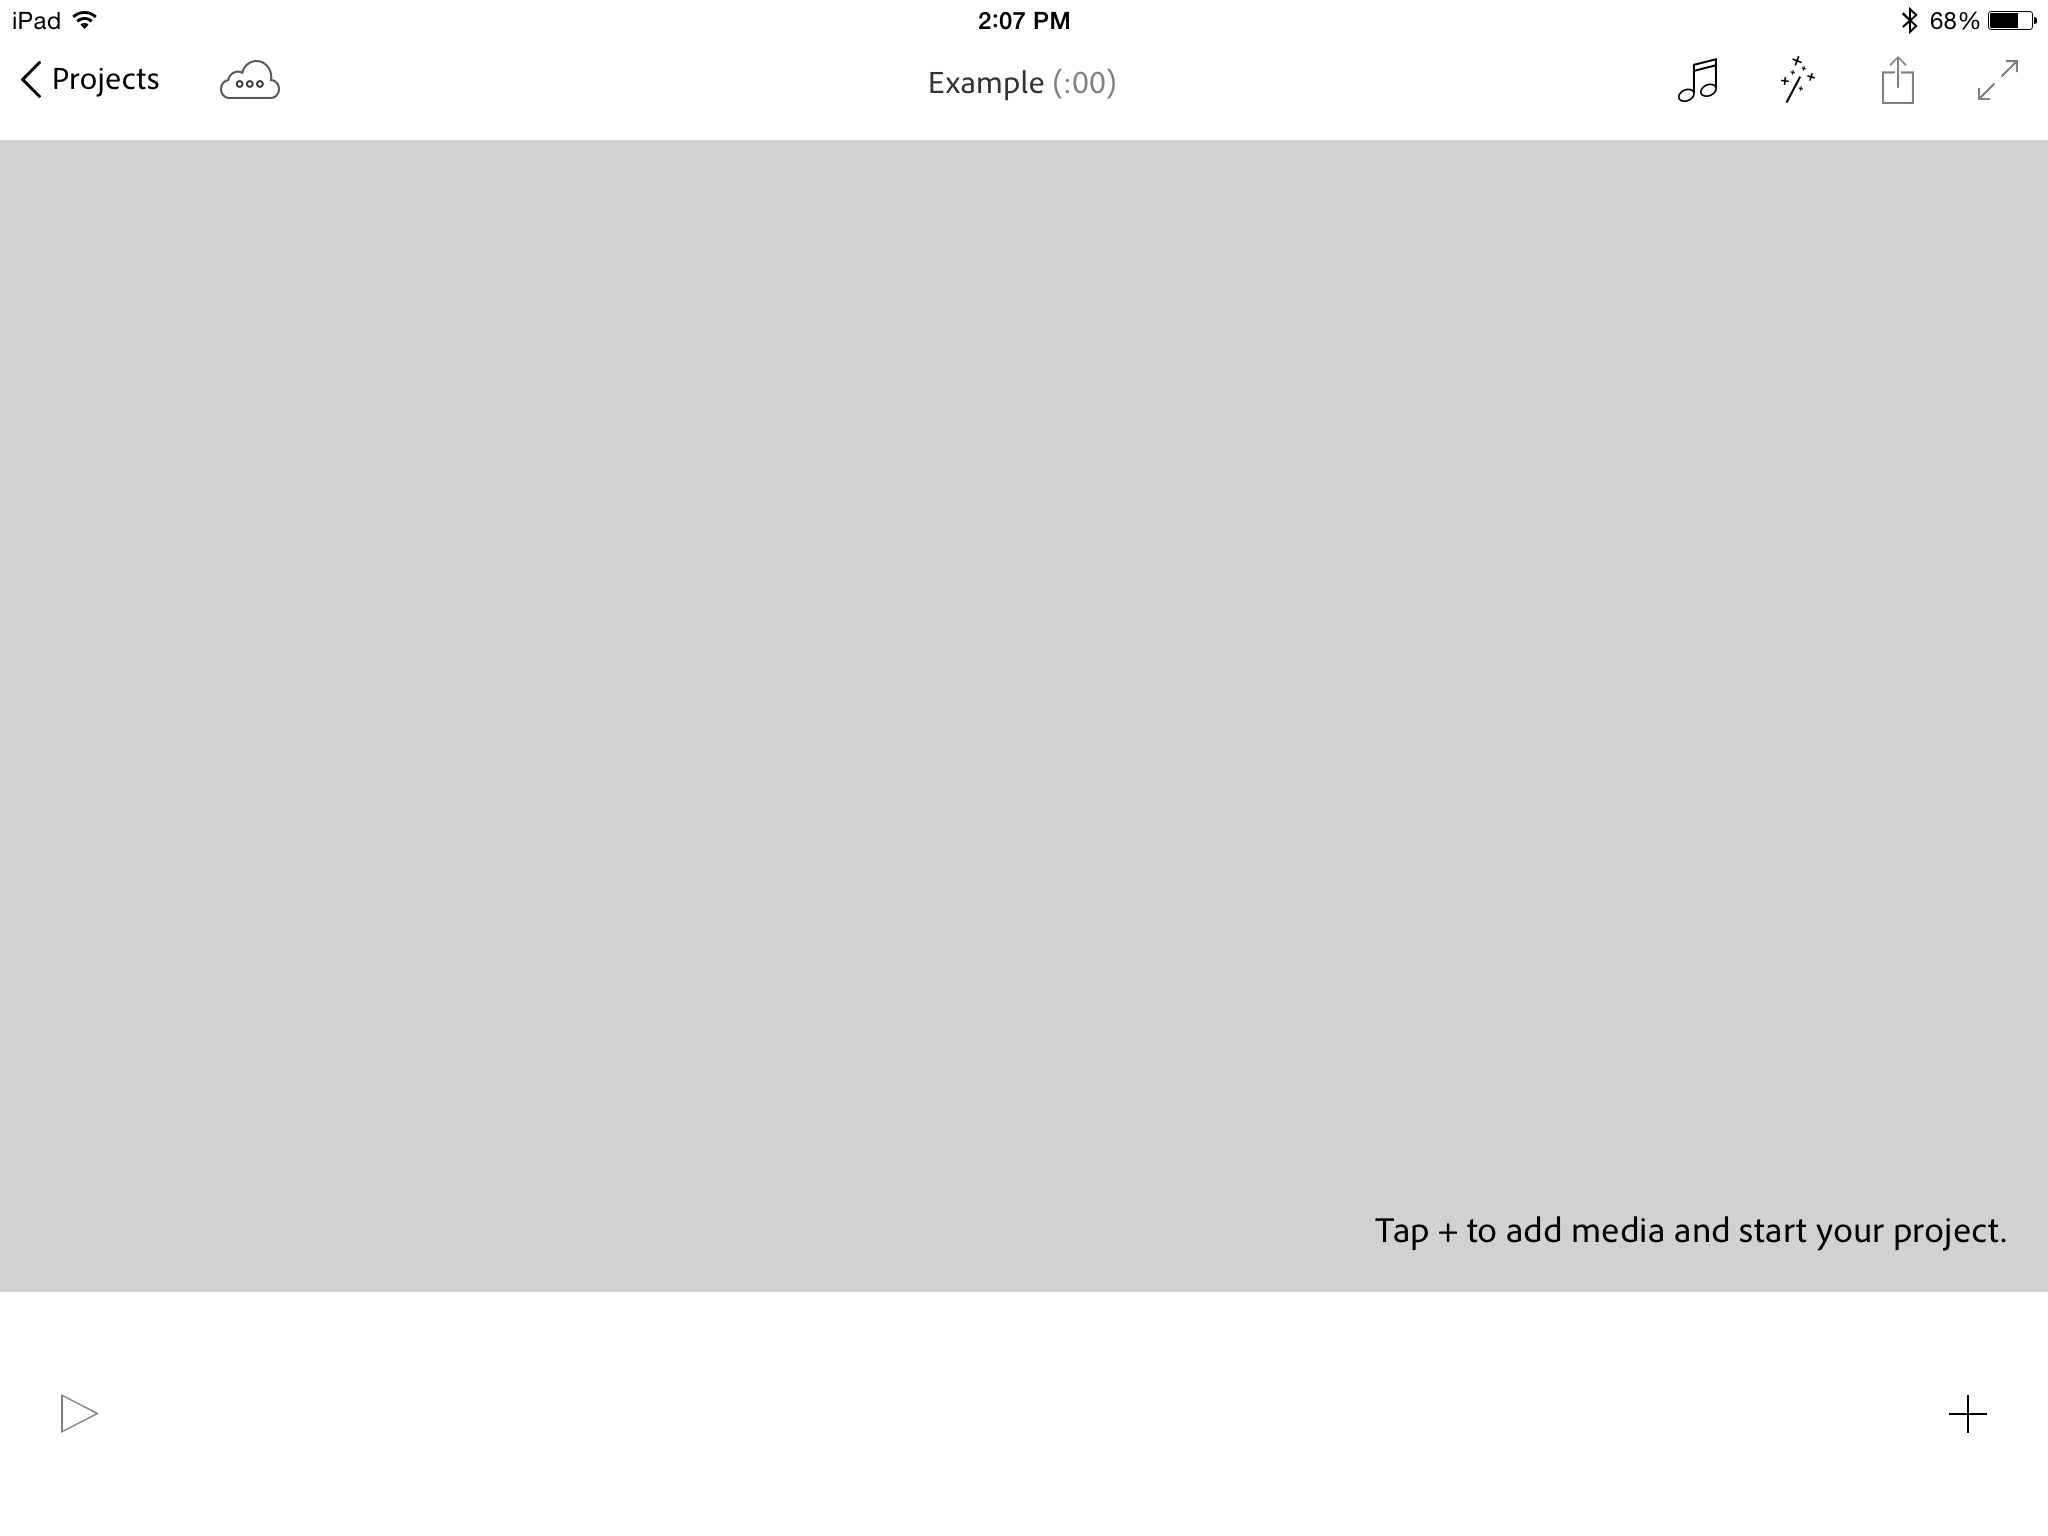
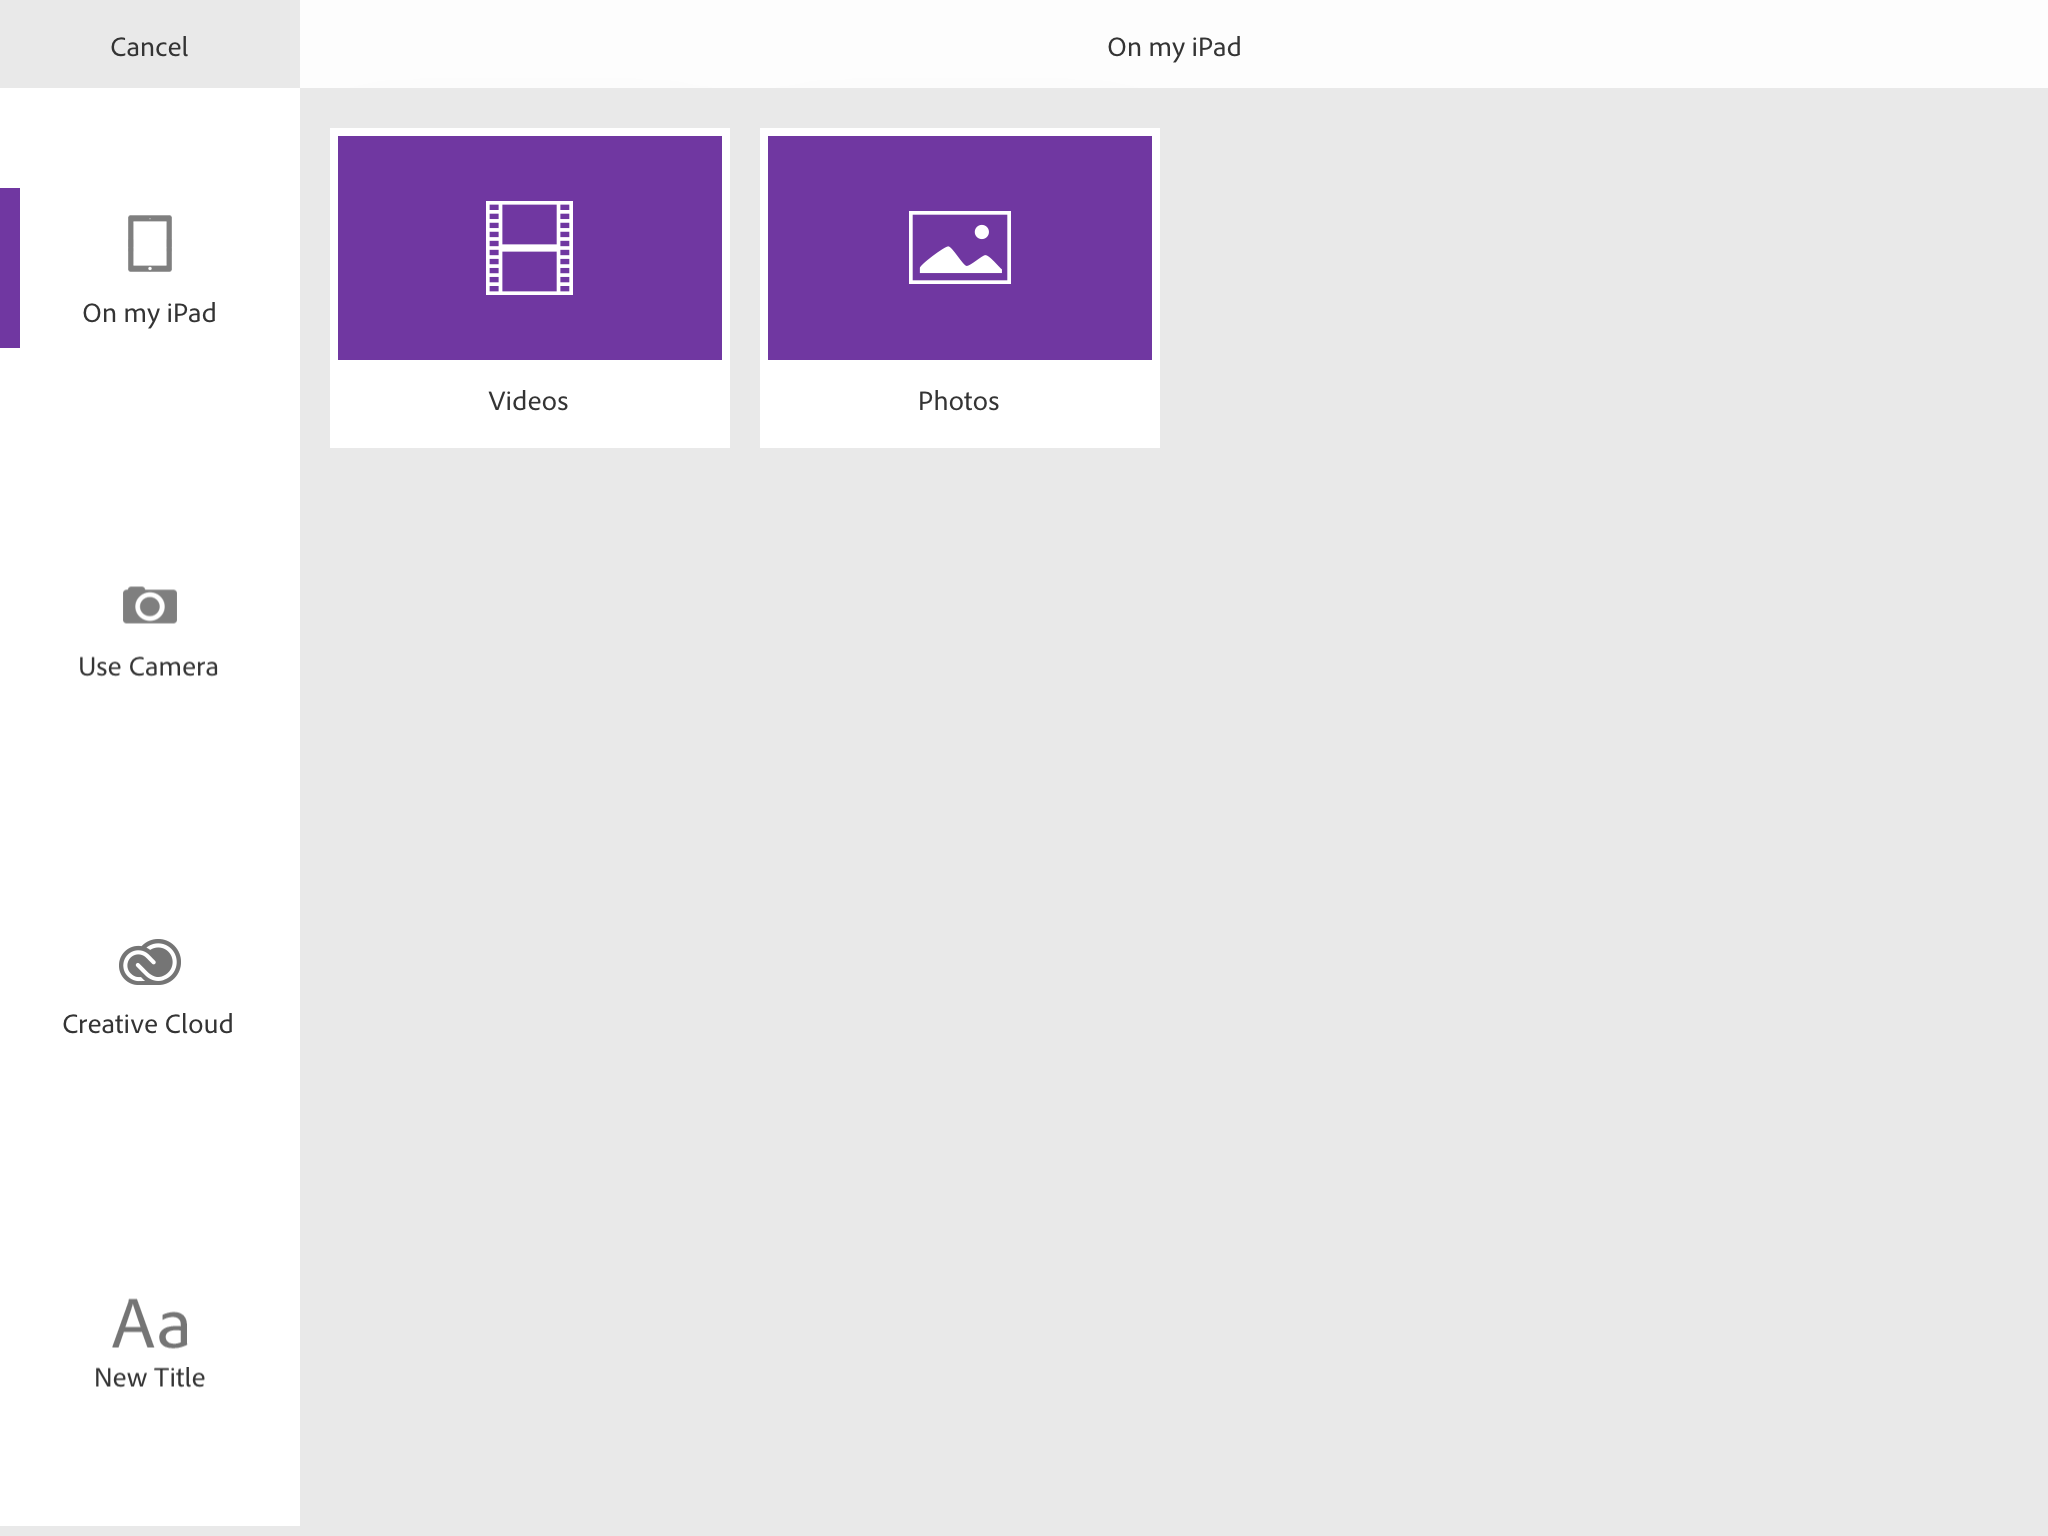
As the instructions state, tap on the plus (+) icon in the lower right to add media. When you do so, you are presented with a number of options.
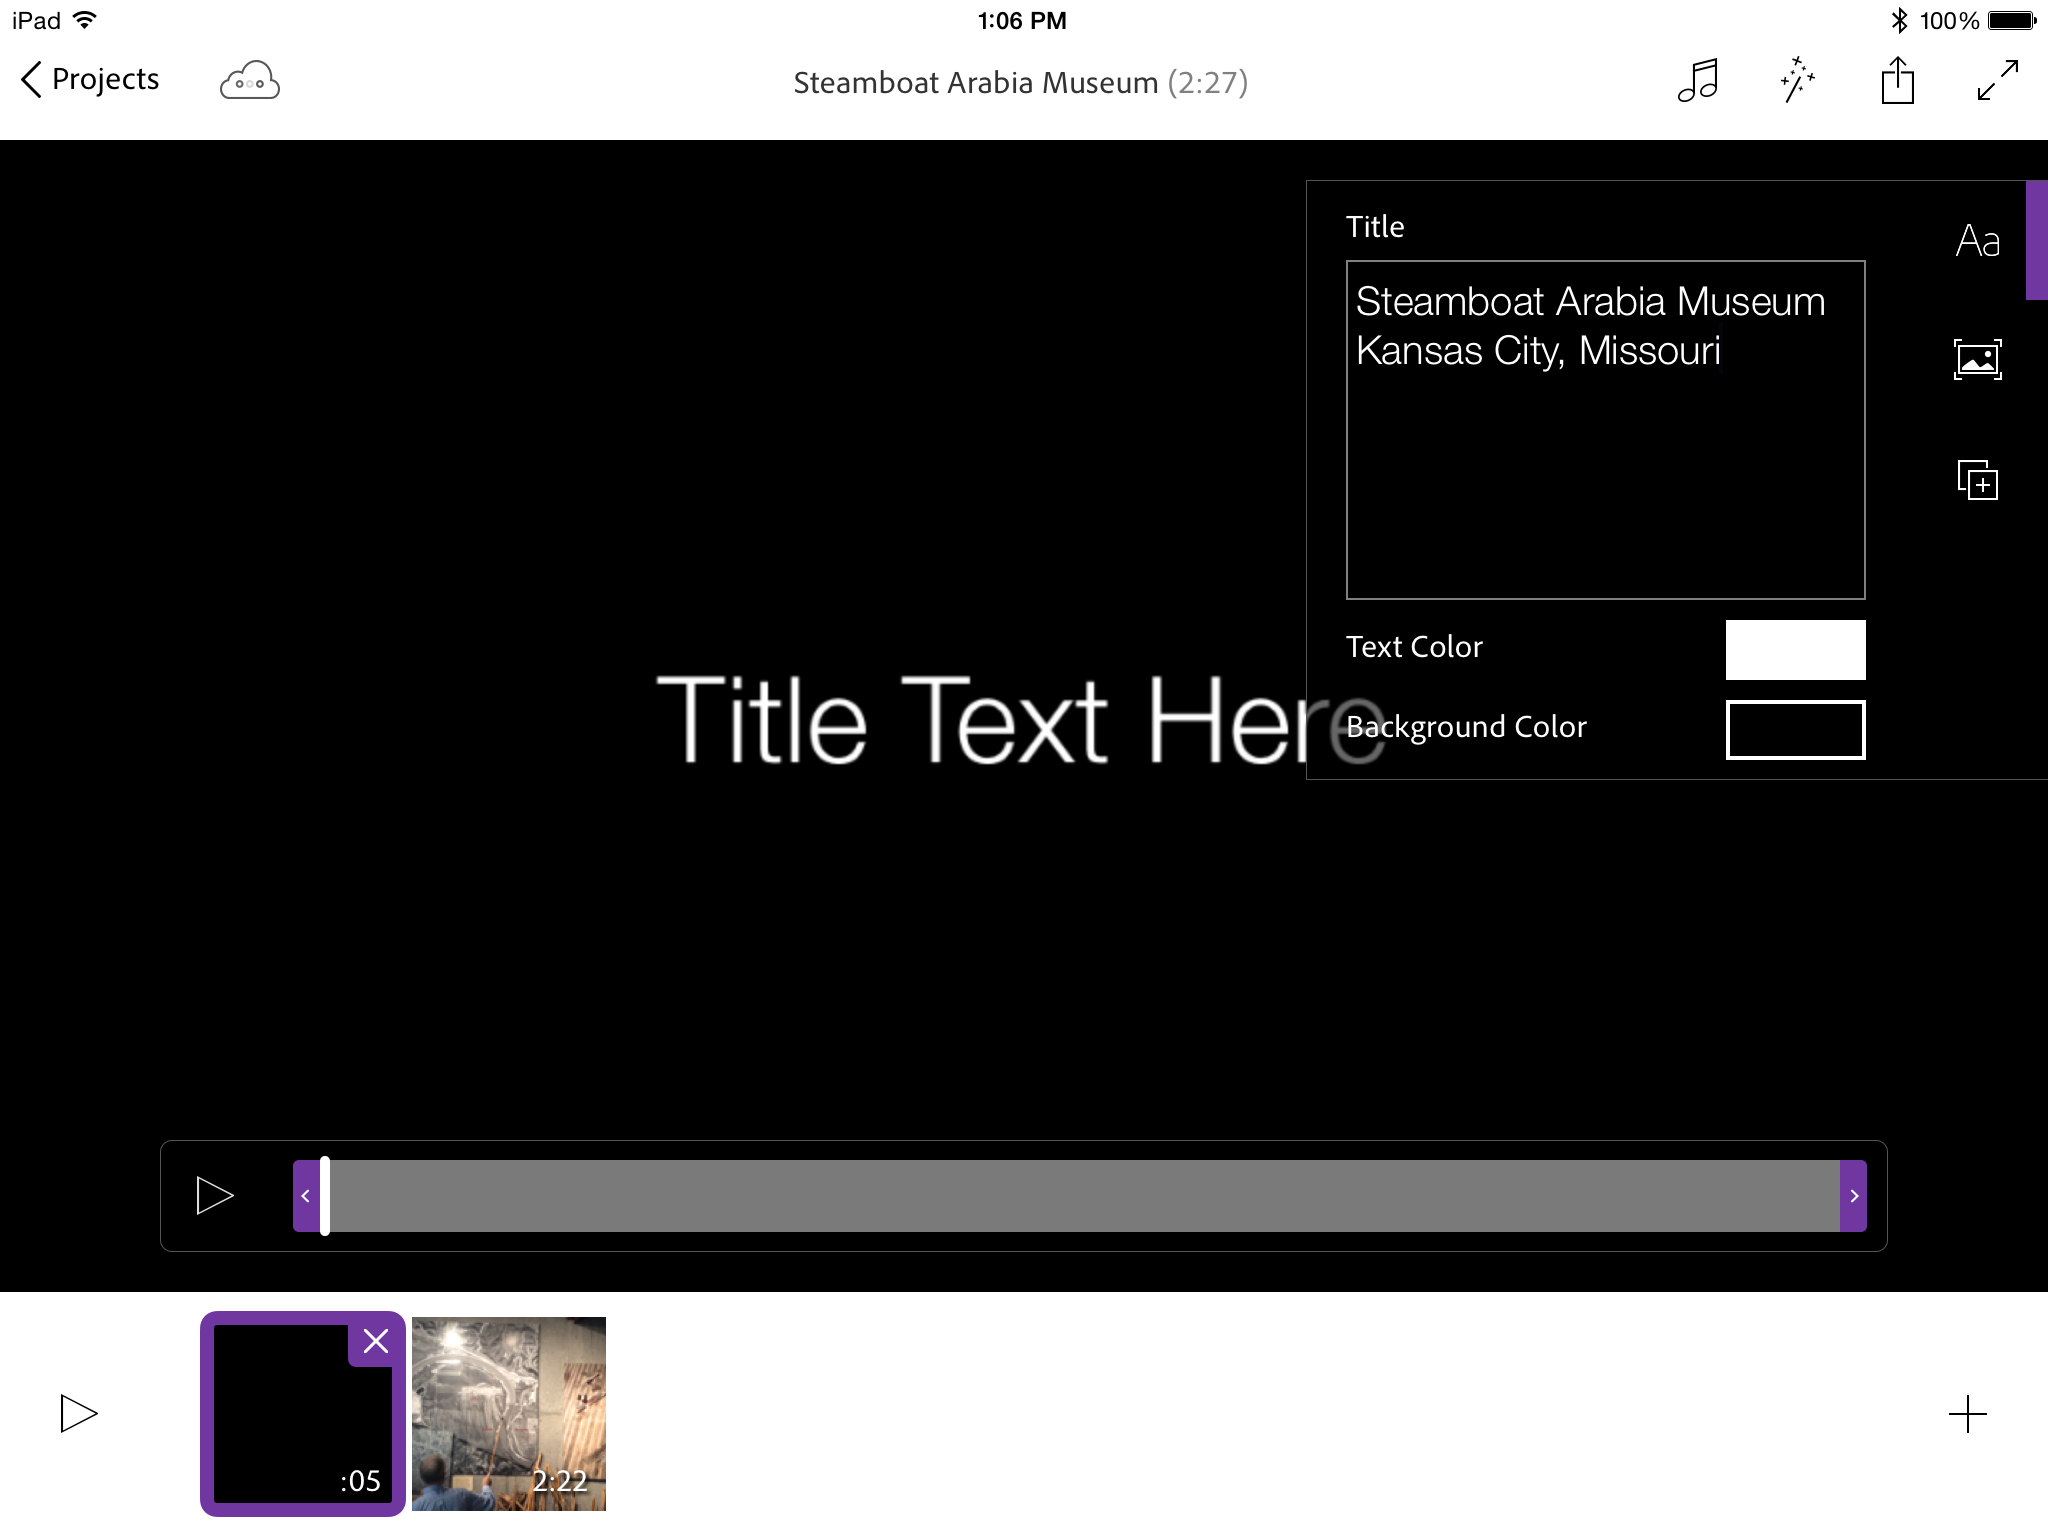
I typically start with a new title (lower left). This is my way of introducing the clips. If you select that option, you are presented with a screen like that shown below. You edit the text in the text area in the upper right and see the results displayed. Note the default display time for this text is set to 5 seconds. You can drag the slider from the right to reduce the time.
Once I have added some text, I next want to add some video clips (or photos). I have just added a video in the screen capture below.
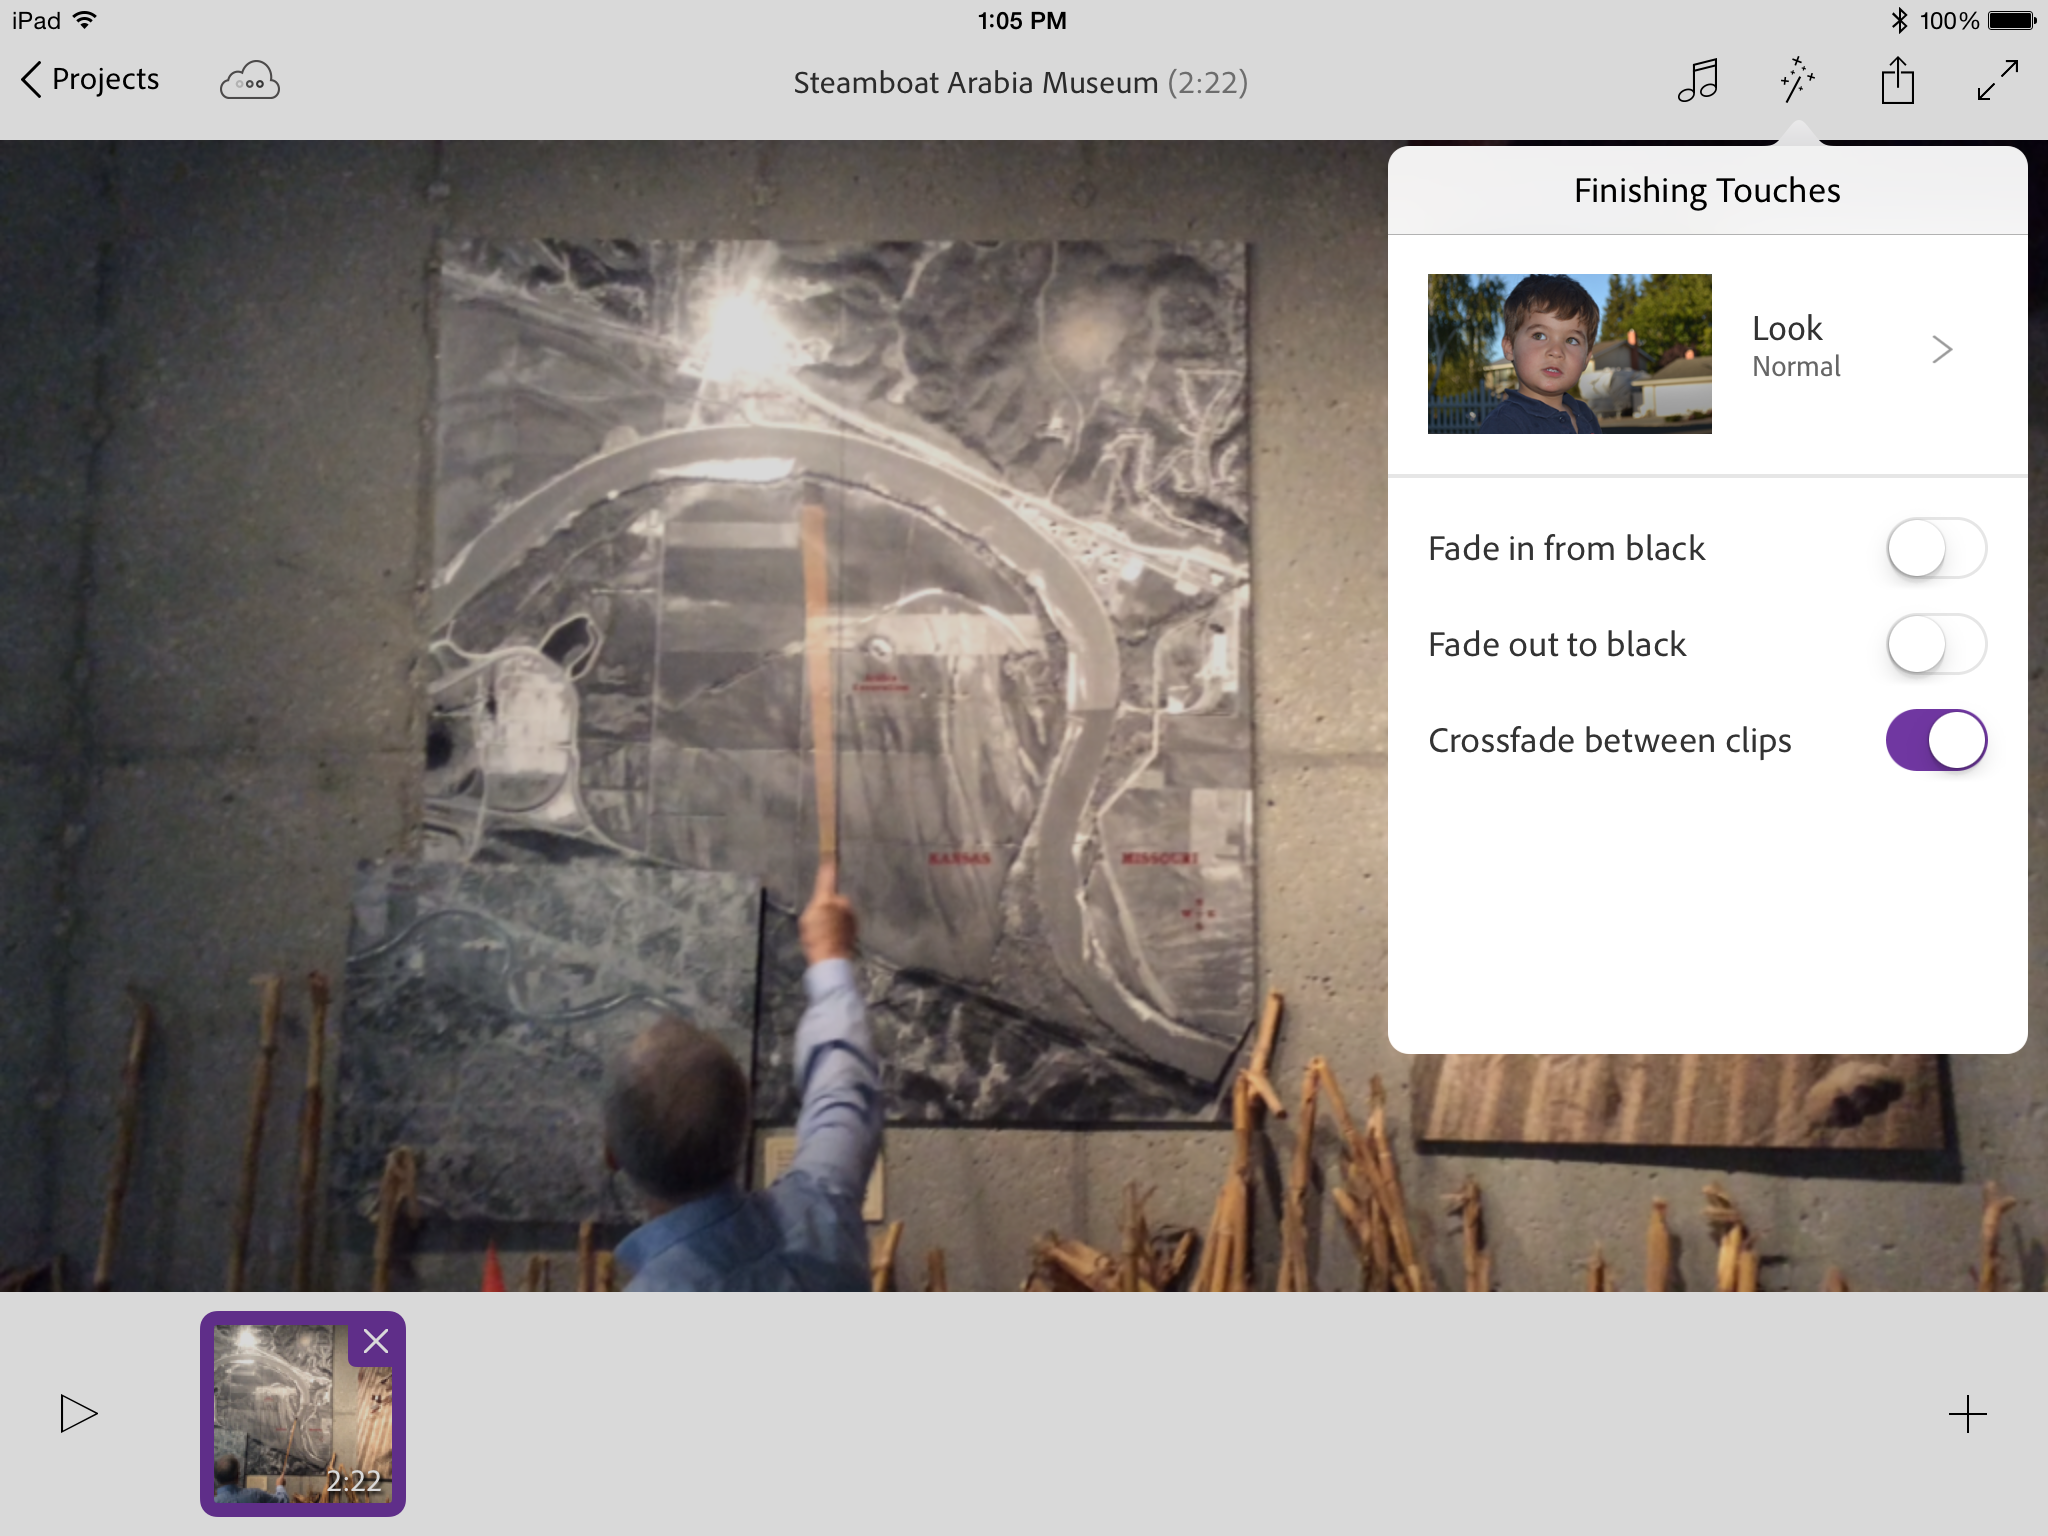
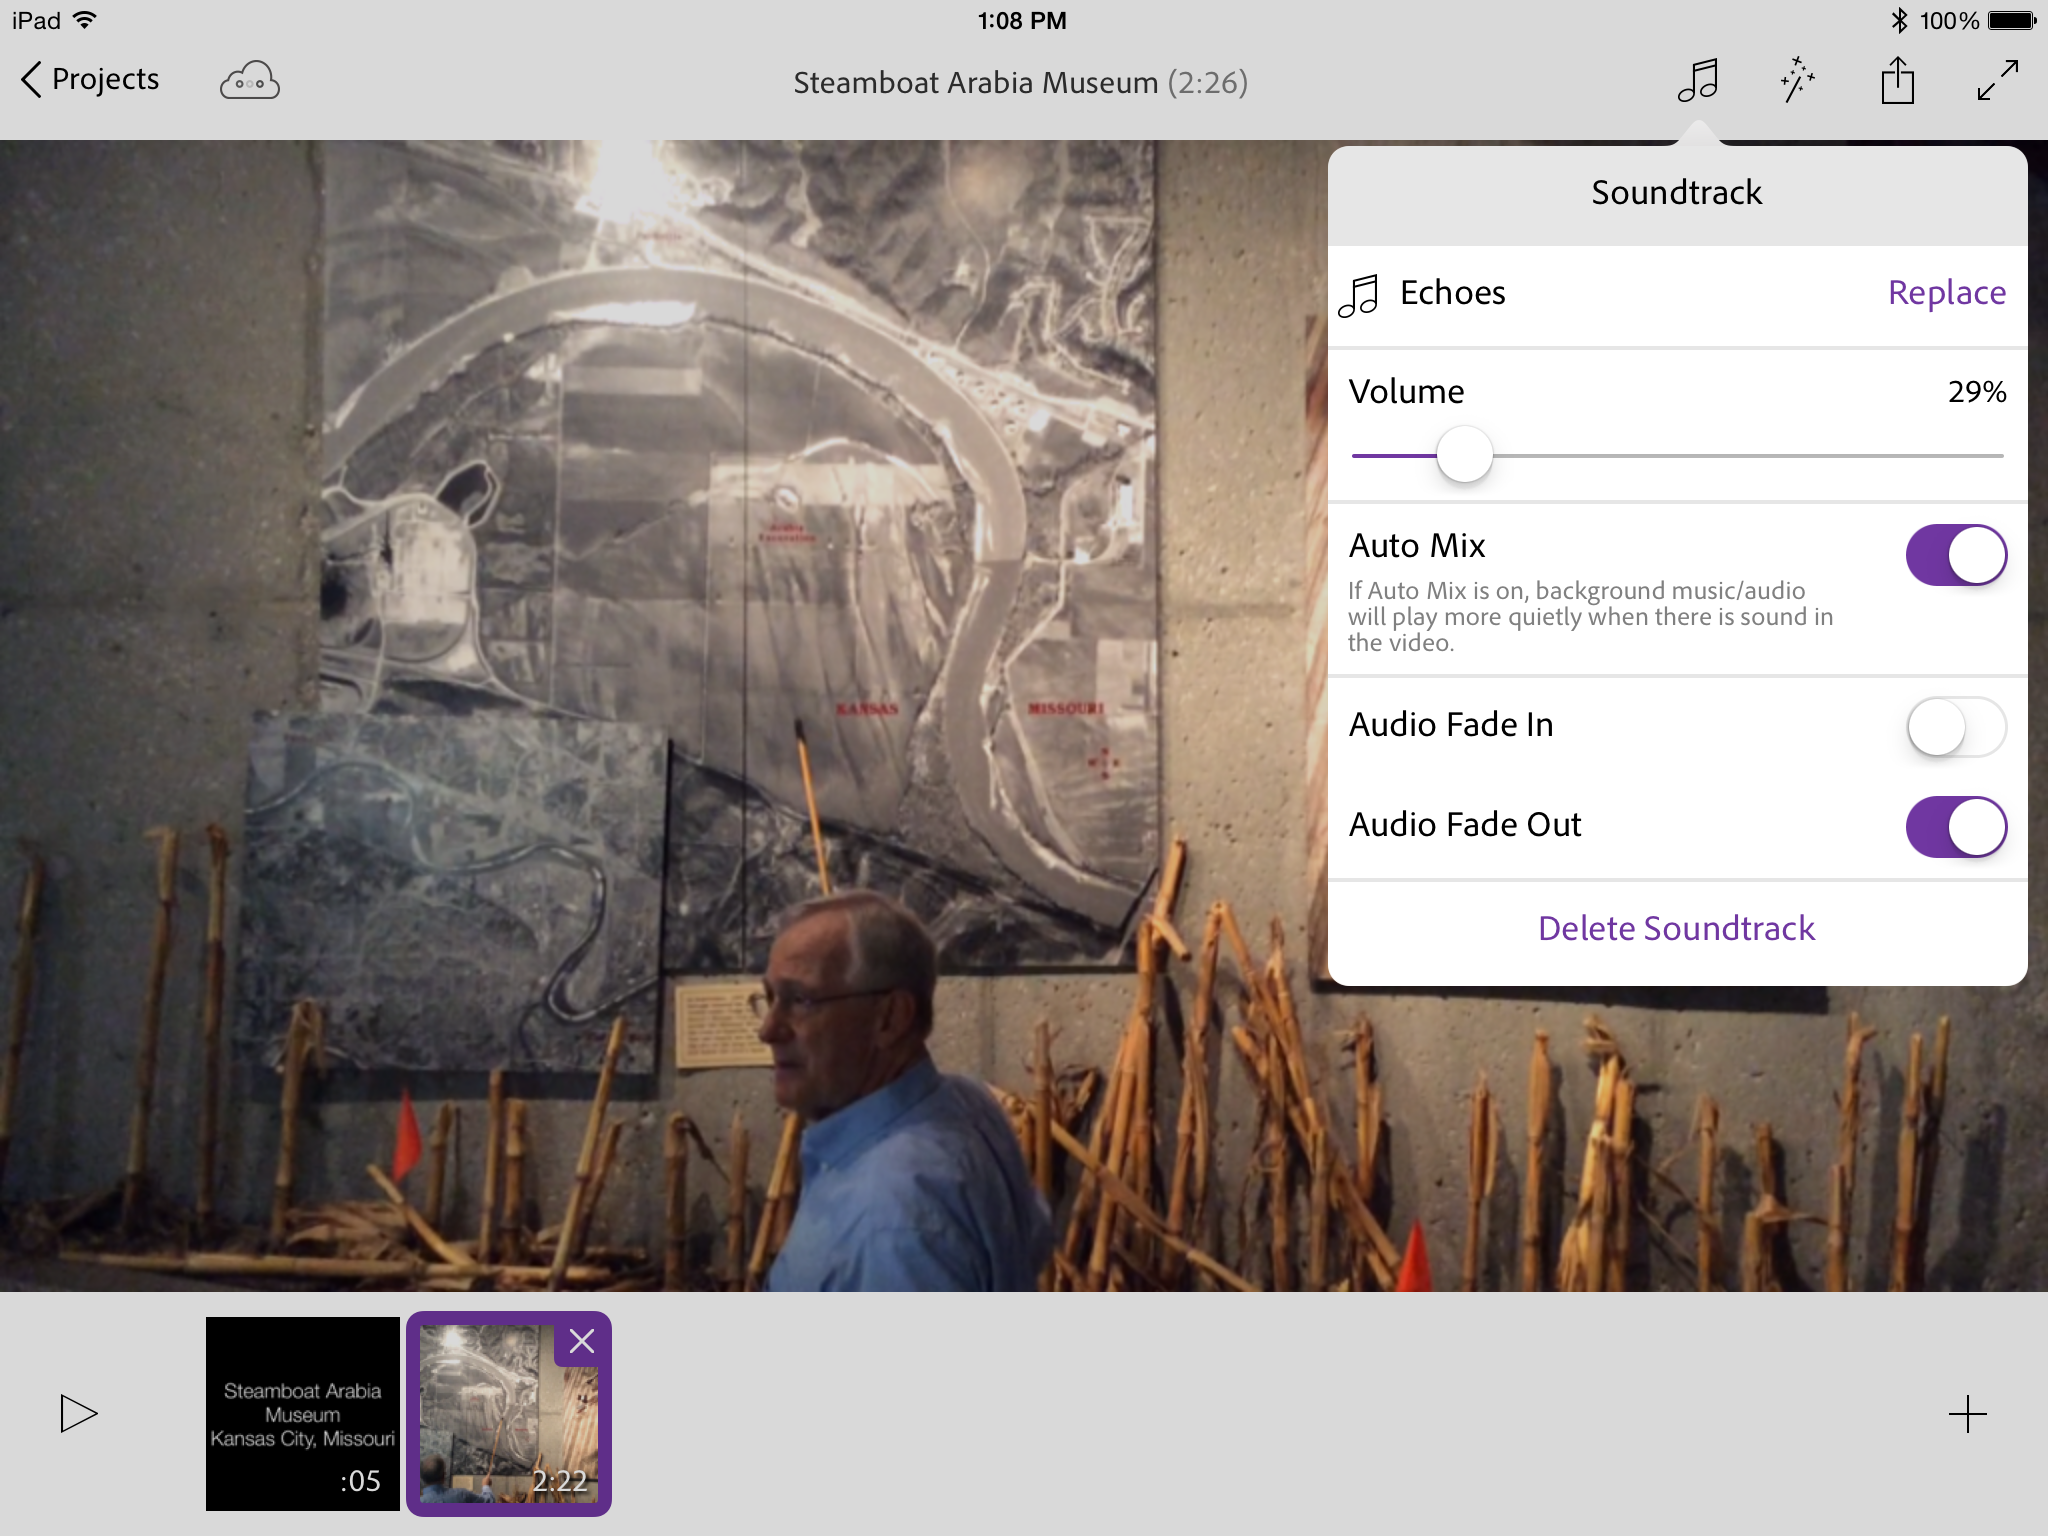
When you examine the upper right part of the screen above, you see there are some additional effects I can use. These include transitions and control over the fade effects.
You can also modify the video clip. For example, you can tap and drag the sizing handles on either side of the selected clip to shorten it. You can also tap on the audio (and other effects) to adjust the volume.
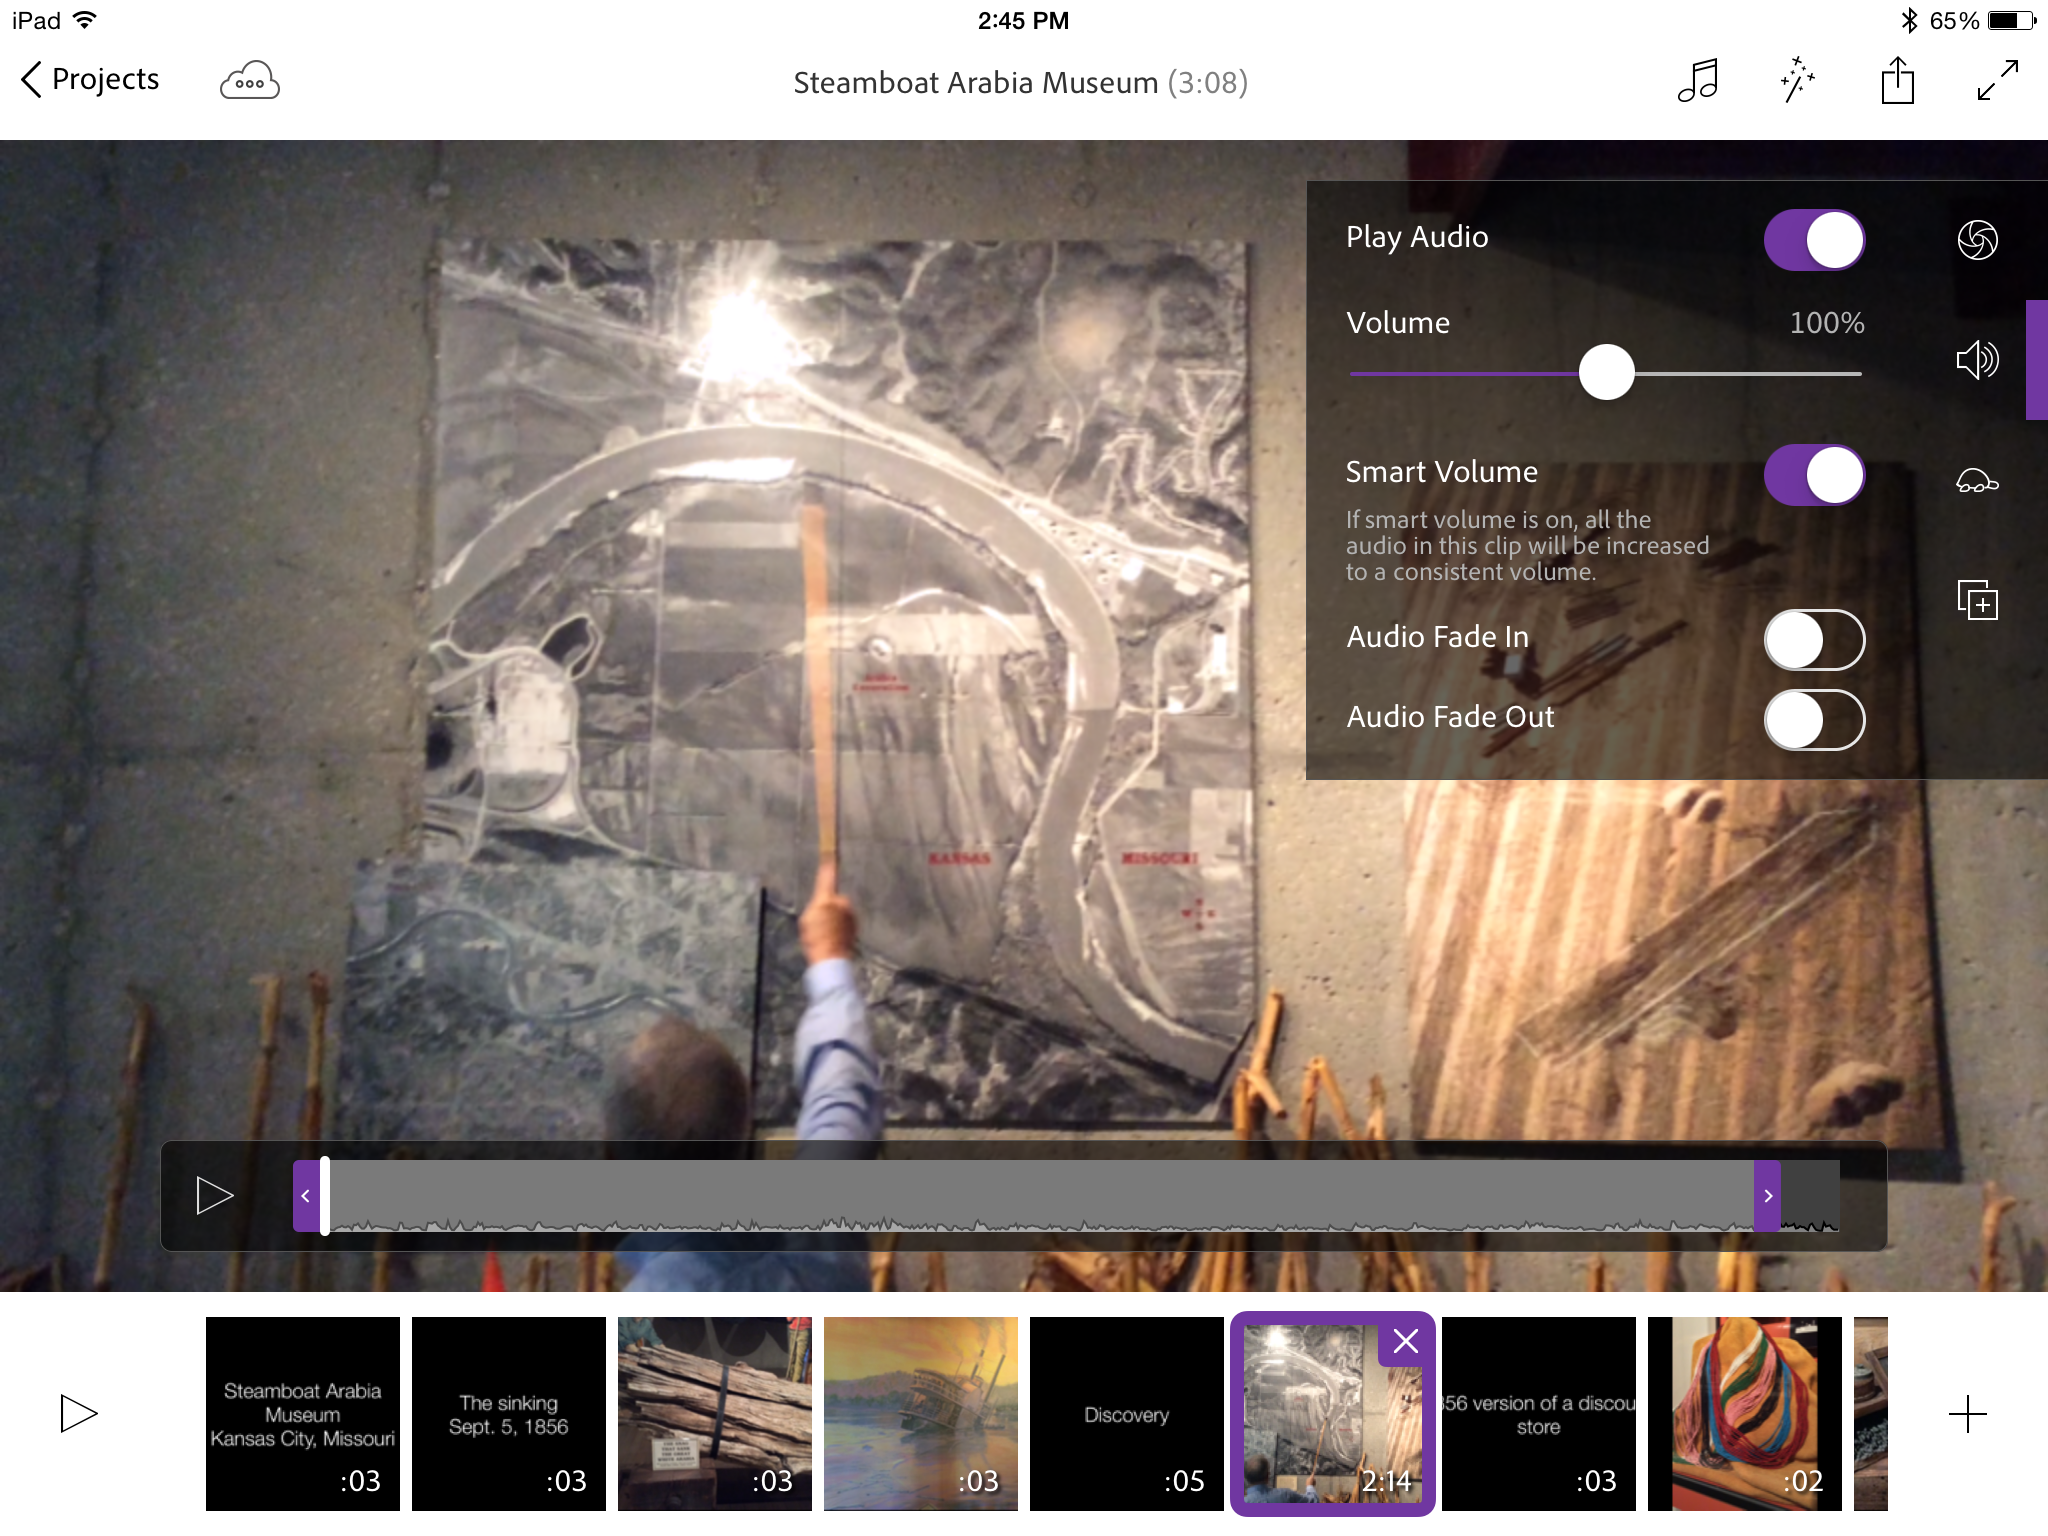
One can also include a background audio track. I recommend choosing from the ones provided with Premiere Clip as those are cleared for proper use per copyrights. Be very careful that you have the rights to include other audio (unless you have recorded it yourself). Premiere Clip will identify if the current video has audio. If so, the background audio will be somewhat muted so as to not impact the audio of the clip. You can also remove the audio from the clip if you just want to focus on the video itself.
If you need to add more title text or additional photos or video, simply tap on the plus icon on the lower right and you will have the ability to add items. If you want to change the display order, just tap, hold, and drag the item to the desired place on the timeline.
Once you have completed your work, you can preview it. Once you are satisfied with the results, you can upload your work. You can upload it to Premiere Pro on your computer (assuming you have it installed). If the application is not open, the act of uploading will open it. Alternately, you can upload your finished work directly to an Adobe server.
I chose to do this with a simple example covering a trip my wife and I took to a museum in Kansas City this August.
To me, this is an ideal app for splicing together clips of events over the holidays. It is relatively easy to piece together a story you can share with family and friends.
One thing I would like to see added to Premiere Clip would be the ability to add your own audio to photos as they are included in the timeline. This would be similar to the capabilities found in Adobe Voice.
I am curious if you have used this app? What are your impressions? I look forward to your comments.