Last week, I had the honor of participating in a session on Premiere Elements taught by fellow Adobe Education Leader Sara Martin. She inspired me to further investigate this tool. Some of the ideas in this post came from her examples. As readers of this blog may recall, I am gradually learning how to use and employ video. I personally believe video if the language of the 21st century (especially as it relates to teaching and learning). I thought it might be appropriate to use some of the video I have generated in Photoshop (as a series of time lapse recordings) in Premiere Elements. Let’s see what was involved in my initial work with this tool.
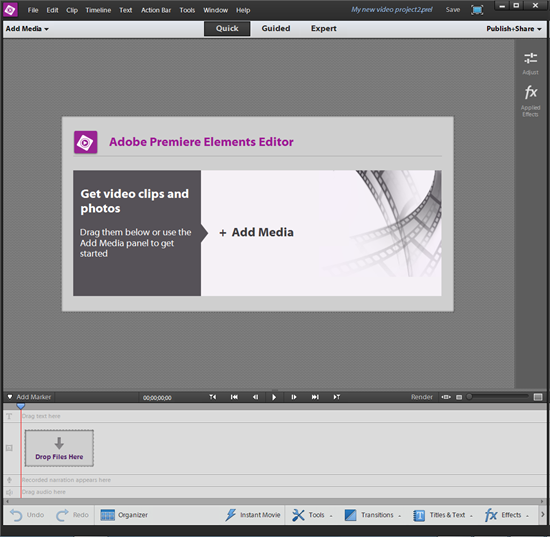
I first opened Premiere Elements and selected a new project. I then needed to add media. It is simply a matter of dragging the desired video clips into the tool. Once they are on the timeline, you can drag them to rearrange them in the desired sequence.
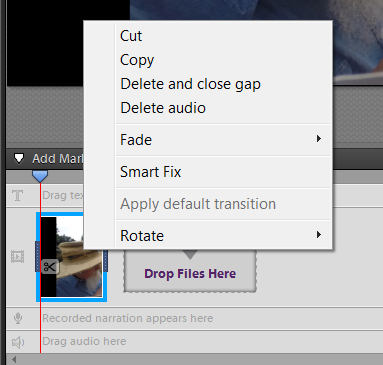
If you have added video and want to remove the existing audio track to add a new one, you can right click on the object in the timeline and delete the audio. You can also set keyframes in the audio and fade it in or out in a manner similar to many other audio applications.
There are a number of interesting effects you can apply to the clips. I did not know about many of these (Sara – many thanks for bringing these to my attention). I chose to turn the entire video into a series of comic strip like videos. There are many other effects. You simply drag the desired effect over the appropriate clip.
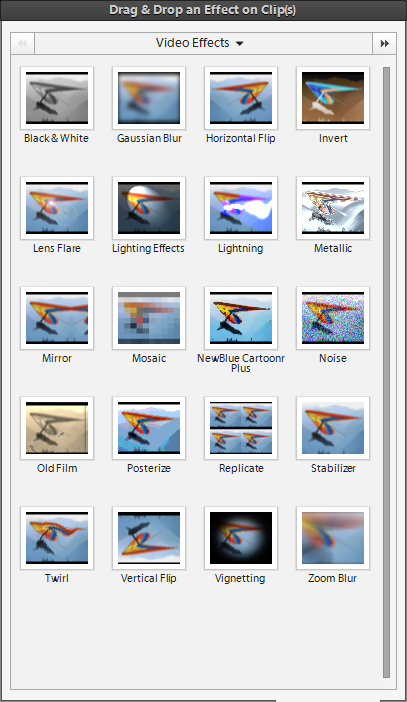
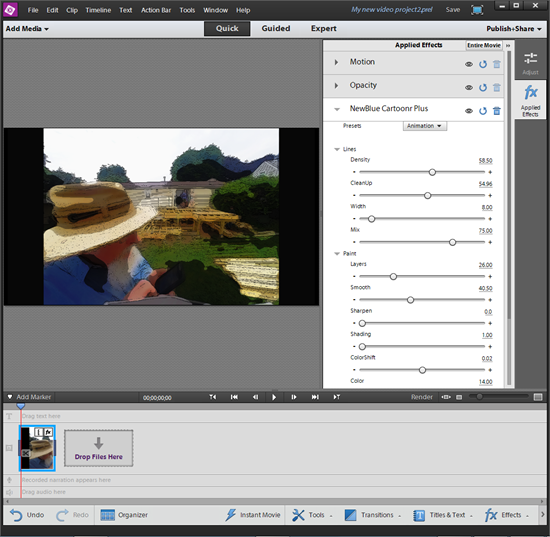
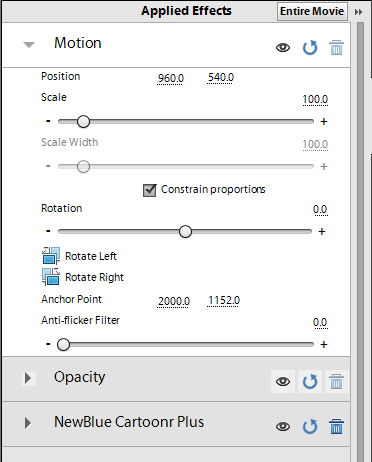
I was impressed with the diversity of choices in these effects. You can also modify many of the aspects of each effect by opening the applied effects panel. You can also change the motion and opacity (if you want to zoom in on a part of the clip, for example). I show some of these in the screen captures below. First, we see we can modify the applied effect. You can see the results in real time (and can change them if desired).
You can also change the motion (perhaps zooming in on a part of the video).
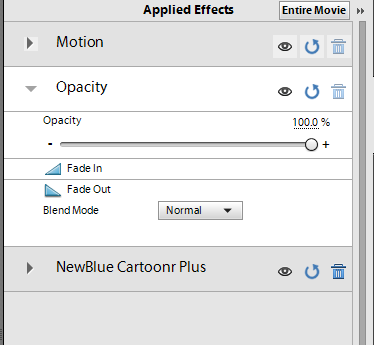
You can also change the opacity (below).
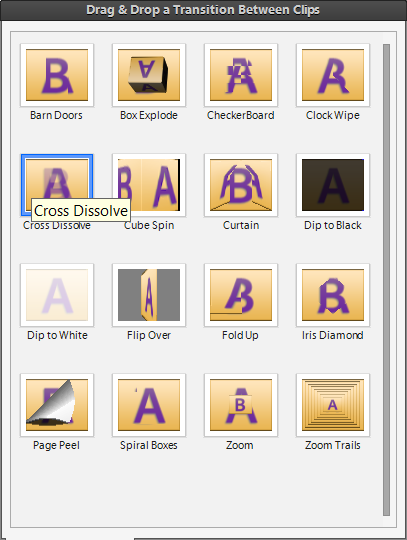
You can also add a number of transitions between each clip (just drag the desired transition between the clips). I was impressed by the number available.
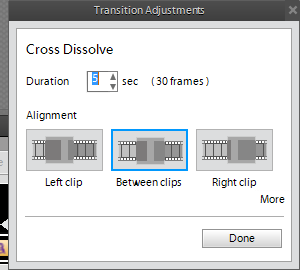
When you drag the transition, you also are prompted to select the duration.
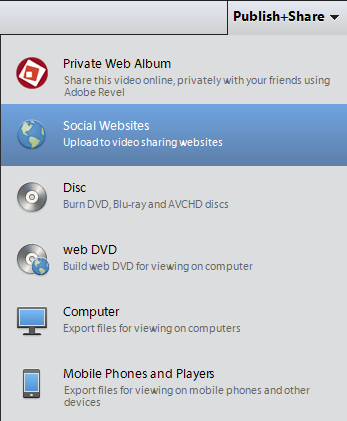
Once you have viewed your work, you can poublish and share it via a number of different approaches. These are shown below.
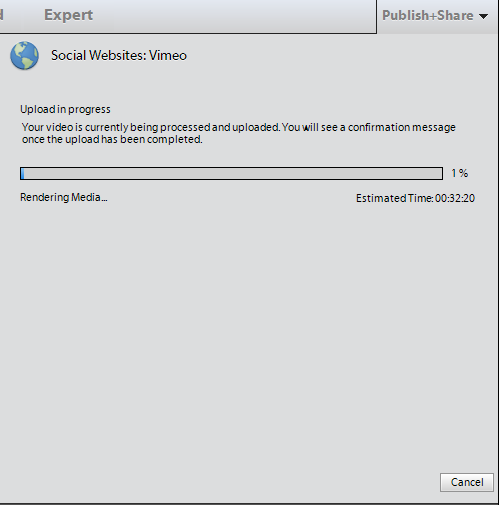
I chose to publish mine to my Vimeo account. You first need to authorize Premiere Elements to access your account. Once you have completed that step, you render the video locally and upload it directly.
Overall, I found this tool very intuitive and easy to use. The completed video is shown below.
I am curious if you have tried this tool and what your thoughts are about using it to create and modify videos. I look forward to your comments.