A large number of enhancements were featured in the initial keynote at AdobeMAX on Monday, October 6. Since there were such a large number of enhancements and new features, I thought I would focus on the mobile apps [there were a number of new apps (and enhancements to existing apps)]. Readers of this blog (and those who know me), know that I am a firm believer that tablets and smartphones are content creation devices (in addition to devices which consume content). Just think of all the photos and recordings taken with smartphones over the past few years. That being said, these devices have a lot more potential than just being cameras. One can use the camera for many creative endeavors. Many of the apps released by Adobe on Monday demonstrate this capability. I am particularly impressed that they work well with the desktop applications many have been using for years (such as Photoshop, Illustrator, Premiere).
Let’s take a brief look at some of the new apps (and some of the enhancements). I am hoping to devote more space to more in depth review of many of these apps in future weblog posts. The good news is that all these apps are available for free. Unfortunately, for readers using Android devices, these are all iOS only. Hopefully, future versions will be available on Android devices.
Content Capture Apps – these apps can be used to capture content (using the camera or existing photos) and turn said content into useful enhancements which feed into other apps or into the Creative Cloud apps. One app was renamed (Kuler became Color – I really liked the former name and was sad to see it go).
Color -Although it has been around for some time (as Kuler), it does show the possibilities of using the camera to capture a series of colors from the environment and employ them as a swatch for designing a web page or other creative activities. The initial photos accompanying the app description show the capability.
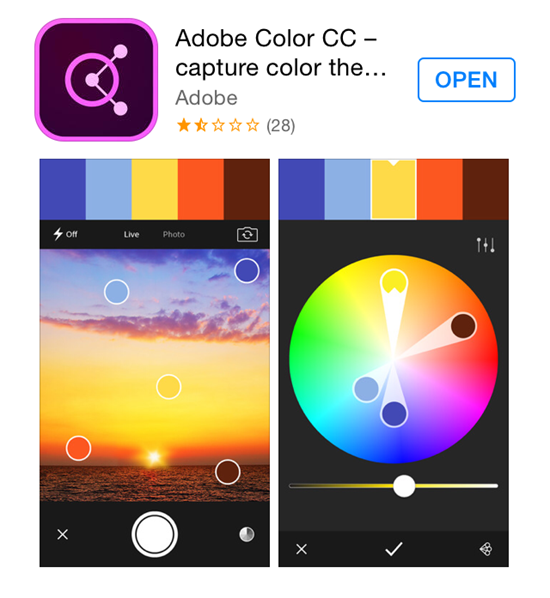
One can use the camera to capture various colors. You can move the dots around and develop a swatch. You can then save that swatch and use it in a number of different applications (for example, Photoshop or Dreamweaver).
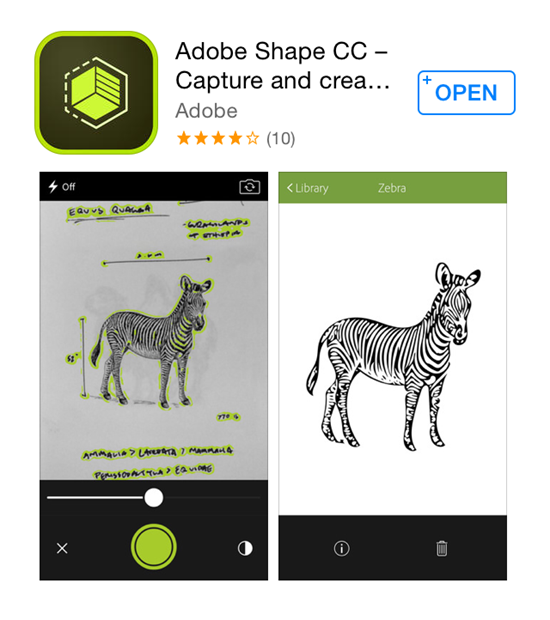
Shape – this app allows you to take a photo and turn it into vector art.
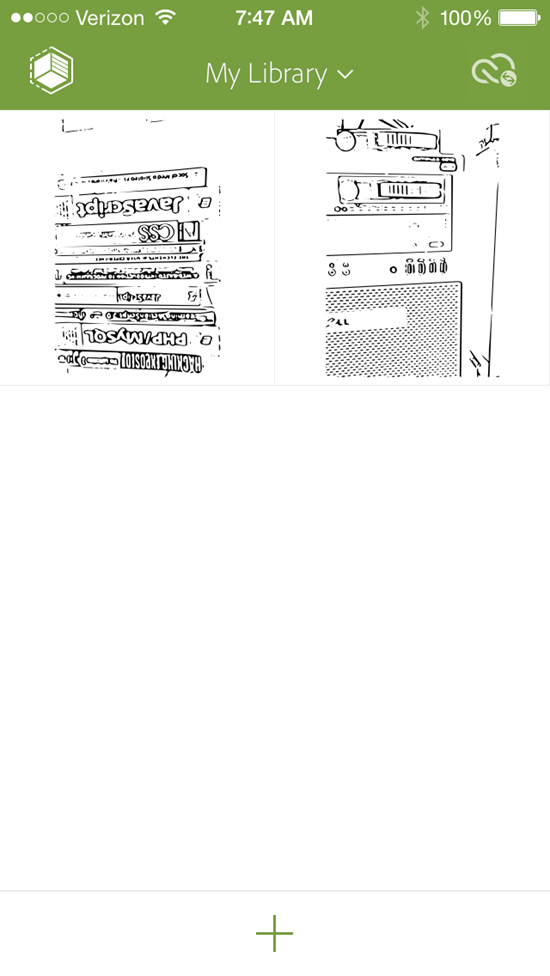
 I took a snapshot of some books in my library this morning using Shape. The results are shown below. To add new shapes, one just taps on the (+) icon below.
Ok, it is an image converted to a set of vector lines. Big deal. Actually, it is a big deal. Because, this library automatically synchs with Creative Cloud. Therefore, it is accessible in tools like Illustrator. In fact, I opened Illustrator, and placed a copy of this vector “art” on an art board (after rotating and resizing). I can move seamlessly from my iPhone to my desktop apps and use the files appropriately.
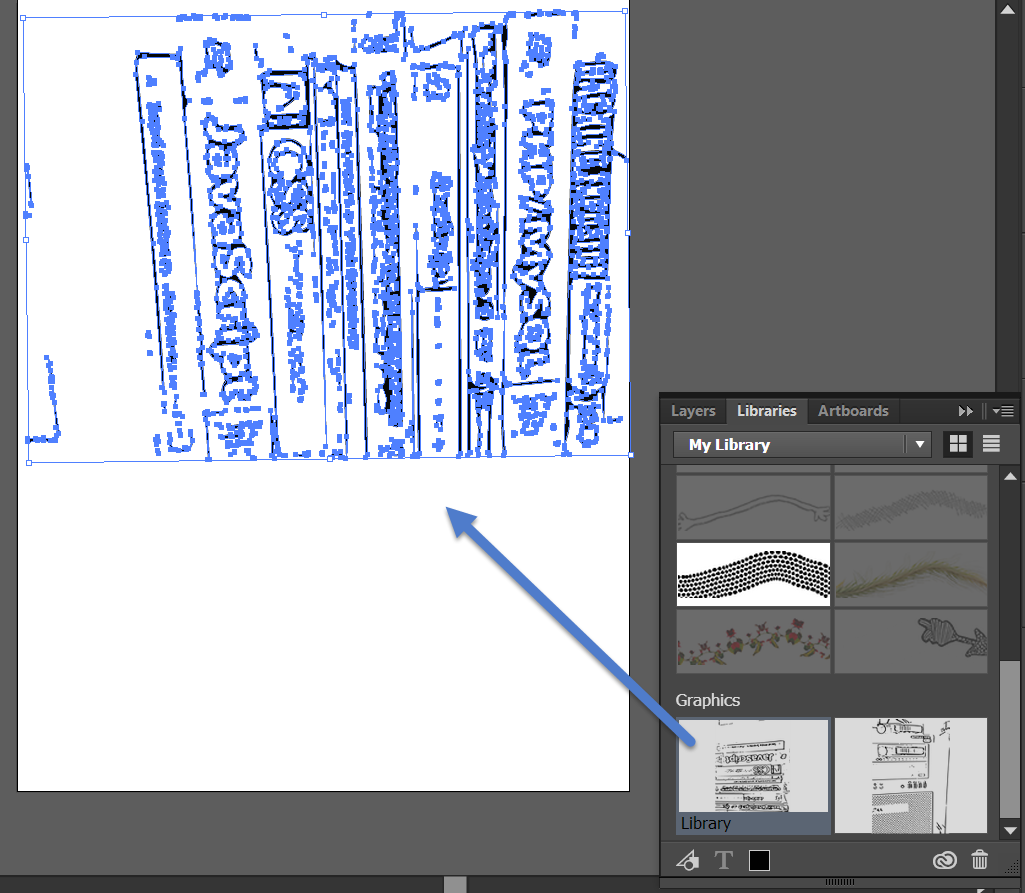
You see the library is available and I simply placed the work into Illustrator (the arrow shows how easy it was to drag from the library). To me, this app has a lot of possibilities.
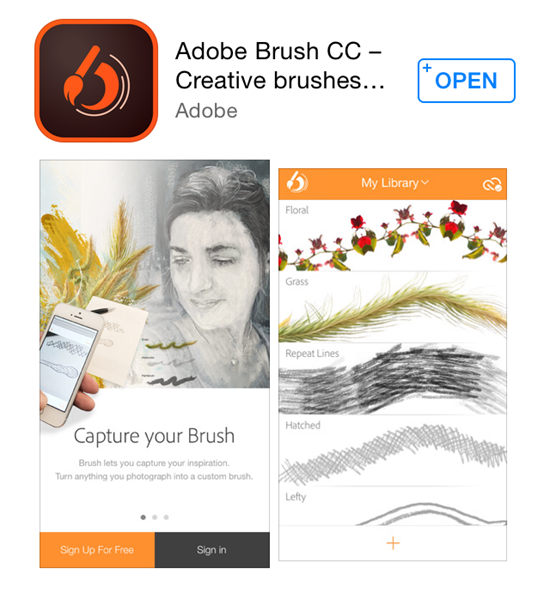
Brush is the final content capture app. This is more for those who want additional brushes (and have a very creative mind). Essentially, you take a photo of something and convert that into a brush. The brush can be used in other mobile apps (like Sketch) and desktop applications (like Illustrator and Photoshop).
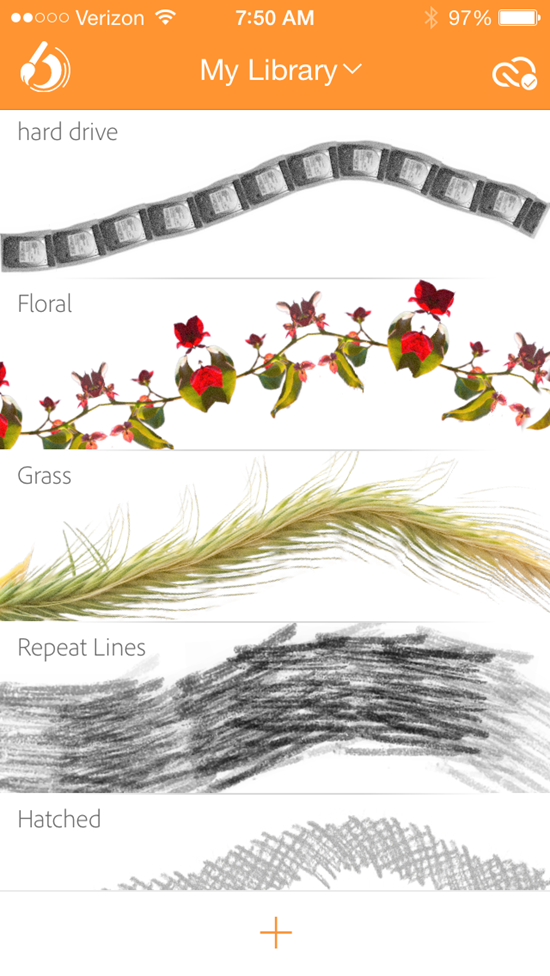
I took a photo of a removable hard drive in the CMWEB Open Lab and turned it into a brush. Note there are a number of defined brushes to get you started.
In addition to using the image itself as a brush, you can create a head and tail on the brush and make other refinements.
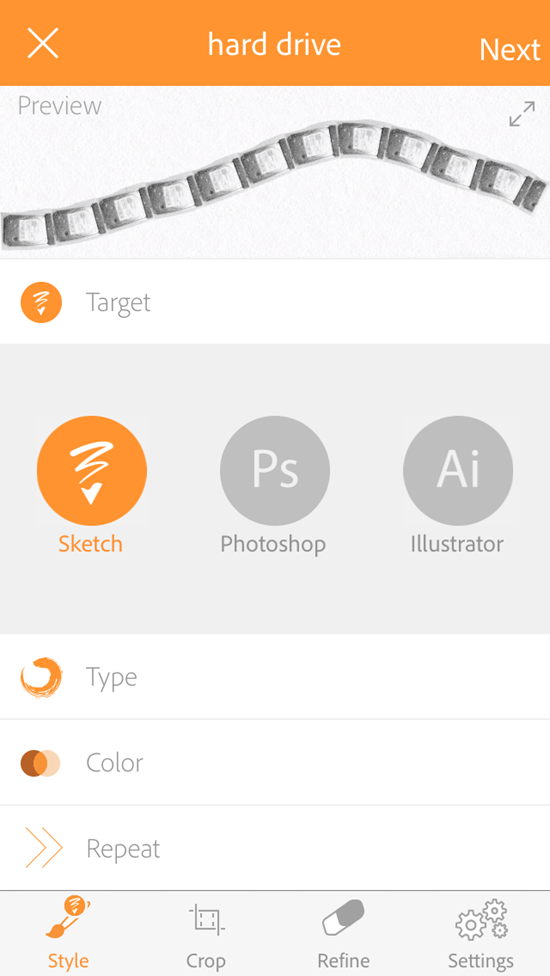
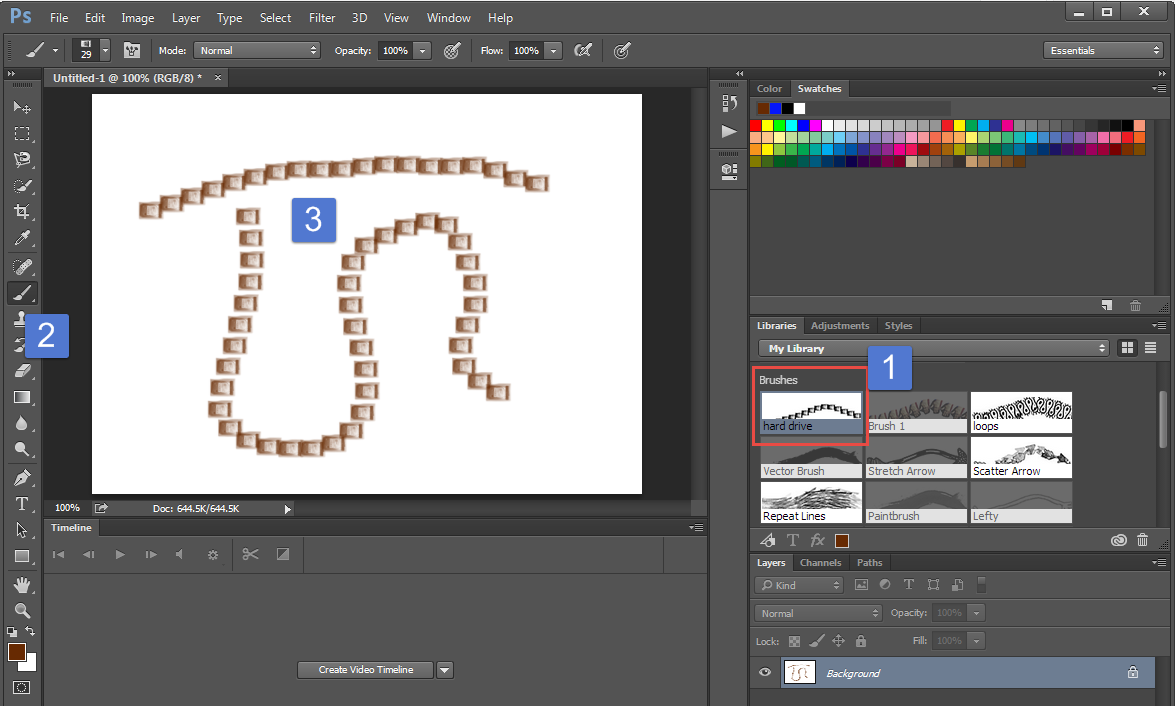
Note that you do need to specify where you plan to use the brush. Sketch is the default, but you can tap either Photoshop or Illustrator so you can use the brush in those desktop applications. In the example below, I am painting with the removable drive brush in Photoshop. I selected the brush from my library (item 1). The brush tool was selected for me (item 2). the resulting drawing (item 3) is done with that brush. You might need to click on the image to enlarge it if you are not that familiar with Photoshop.
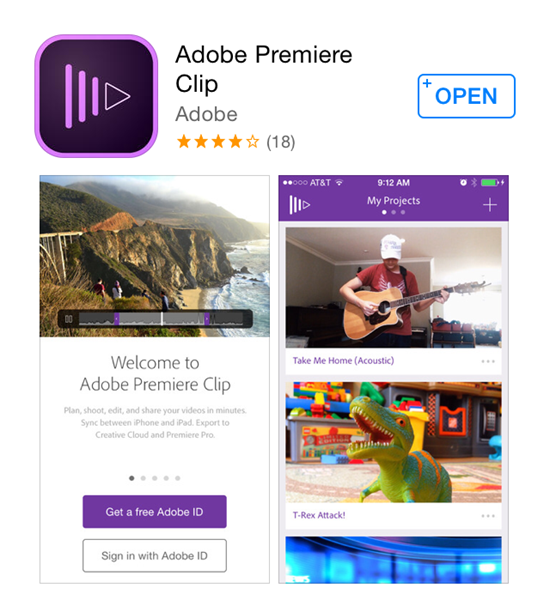
Another new app is also available – Adobe Premiere Clip – This allows you to work with your video files directly on your iPhone or iPad. You can publish your work directly from these devices. Alternately, you can pull them directly into Premiere Pro for further editing and enhancements. For those just getting started with video, I find that is is easiest to use Premiere Clip (as I still find Premiere Pro intimidating).
 I find this tool very easy to work with. You can add music (which is provided so you don’t have to worry about copyright infringement). You can include text, photos, and a number of enhancements. This is a sample that I developed some time ago in this tool.
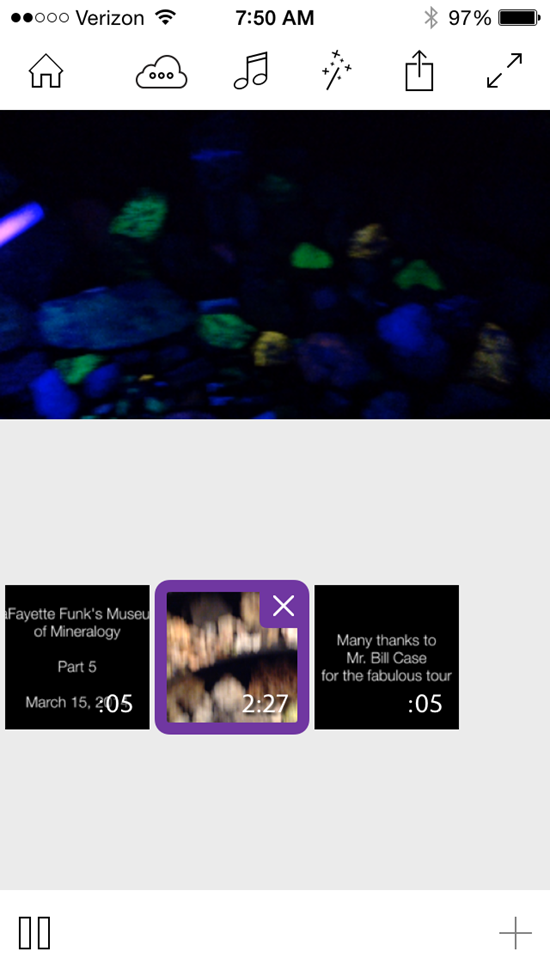
Those who are interested can view the video I created (and uploaded directly from my iPhone). This is the one in the screen capture above.
There were a number of improvements to existing mobile apps (and several were renamed).
In the Photoshop family, there is Lightroom Mobile, Photoshop Mix (which I mentioned in a previous weblog post), and Photoshop Sketch (which was renamed from Sketch – I also discussed this in a previous weblog post).
In the Illustrator family, there is Illustrator Line and Illustrator Draw.
These are just some of the enhancements announced at AdobeMAX this Monday. Yes, I have downloaded all these apps and am experimenting with them as time permits. I am curious if you have tried any and what your thoughts are on these content creation tools for iOS devices.